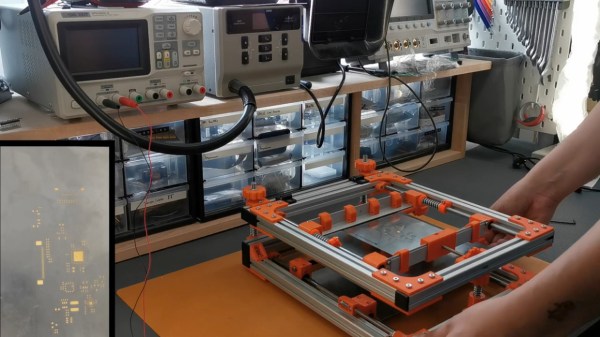
Thermal printers are cool… or, uh, warm actually. They use heat to make images, so they never need ink and they print on receipt rolls. The thermal printer available from Adafruit is a particularly tasty example, as it comes fully documented for the budding hacker. [Ed] is one such person, who set about writing his own driver to use the hardware with Linux on a Raspberry Pi.
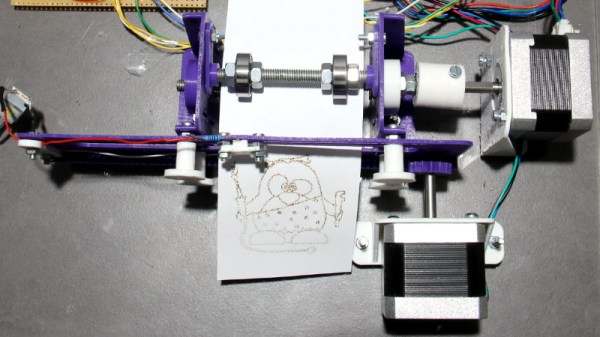
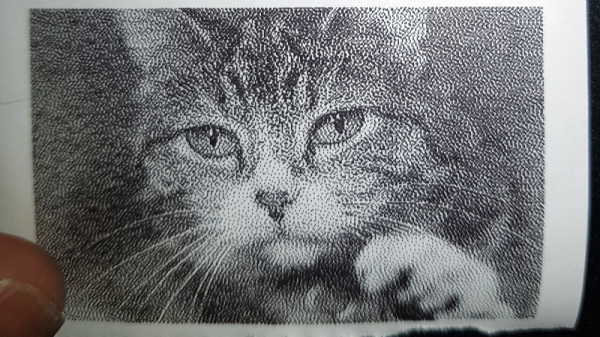
The project came about as [Ed] didn’t like the halftone output from the standard Adafruit CUPS driver. Thus, a dithering-capable driver was needed instead. The first step of the project was to get dithering working via running such an algorithm into a custom driver, as well as to vary the heating time of the print head to gain greyscale capability. From there, the driver was integrated with CUPS and could be used with the Linux lp command. Finally, measures to deal with the paper running out were coded in as well.
It’s a fun dive into the nitty-gritty of talking to printers at the low level, something that few of us think about when printing concert tickets in a rush. There’s a lot that goes on to get a page to print successfully, and [Ed]’s work leaves us more respect for everything that goes on to get an image on the paper. The driver is available for keen tinkerers over at Github.
Meanwhile, consider a thermal printer for all your banner-printing needs.