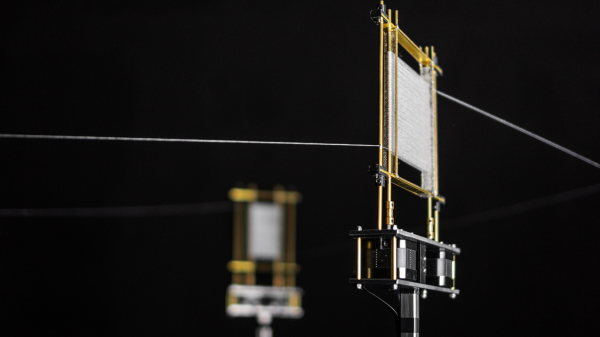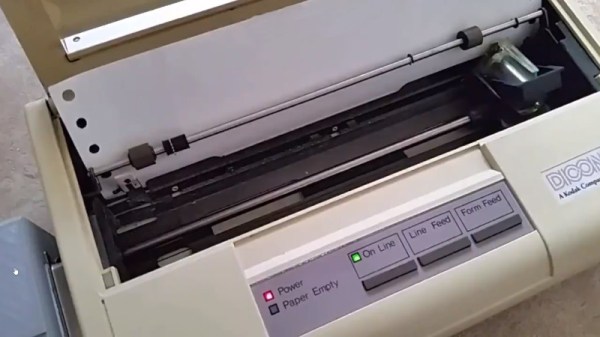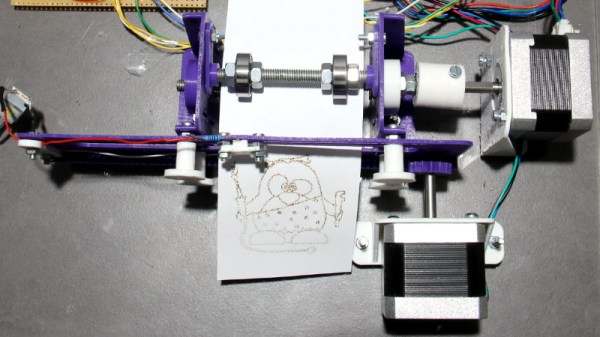
Over the years there have been a variety of methods for a computer to commit its thoughts to paper. Be it a daisy wheel, a dot matrix, a laser, or an inkjet, we’ve all cursed at a recalcitrant printer. There’s another type of printer that maybe we don’t think of quite as often but is workhorse in a million cash registers and parking ticket machines: the thermal printer. These mechanisms can be readily found as surplus items and have made their way into more than one project here over the years. [HomoFaciens] has taken thermal printing a step further by building a plasma printer from scratch that makes use of the thermal paper.
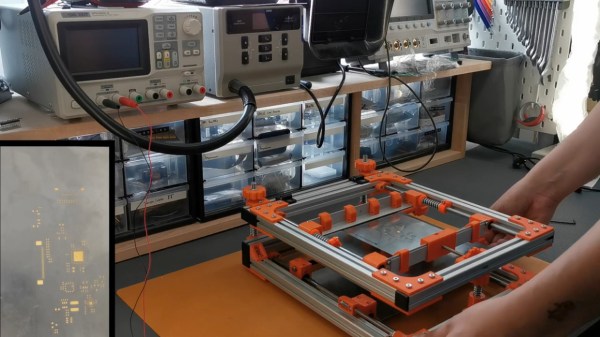
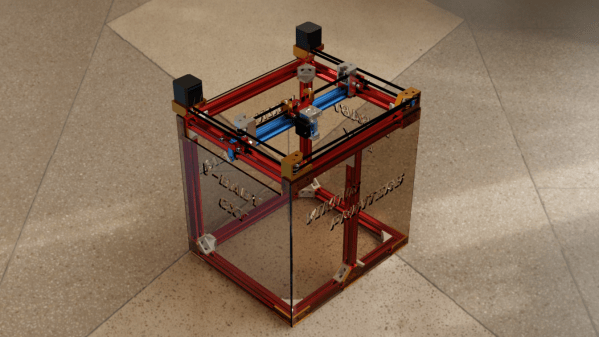
A thermal printer does its job as its name suggests, by burning the image into the paper. It may not deliver the best quality print, but scores on not needing ink ribbons, cartridges, or toner. This DIY version uses an off-the-shelf battery-powered plasma lighter to do the job, mounted on a 3D printed XY printer mechanism driven by two stepper motors. Behind the scenes is an Arduino Uno, which receives its instructions via USB from a command-line program on a Linux box. It’s admitted that this is hardly the pinnacle of printing technology, but it does at least make for a fascinating project. You can see it in action in the video below the break.
This isn’t [HomoFaciens]’ first printer, we’re instantly reminded of this ink drop printer from a few years ago.