While the average computer user likely hasn’t given much thought to the lowly serial port in decades, the same can’t be said for the hardware hacker. Cheap serial-to-USB adapters are invaluable for snooping debug ports or programming chips, and if you ask us, you can never have too many laying around the bench. [Quentin Bolsée] loves them so much that he’s even figured out how to build a dual-port adapter with a SAMD11C14 microcontroller.
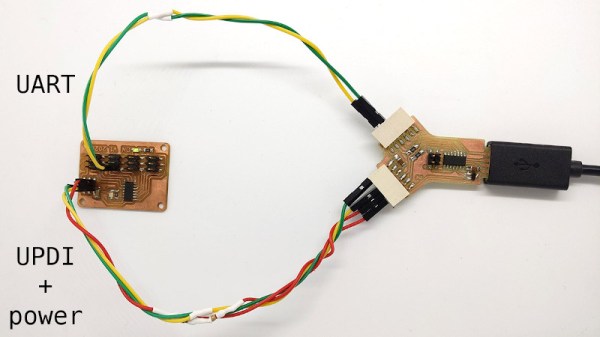
 As [Quentin] explains in the write-up, this isn’t just some kind of Y-cable. When connected to the host computer, the adapter shows up as two distinct serial ports, each with independent settings for things like baud rate and parity. This handy little gadget will let you tap into the serial ports of two devices simultaneously if you’re looking to do some Hollywood-style hacking, but more practically, it allows you to establish a debug and programming interface to the same board using just one USB connection.
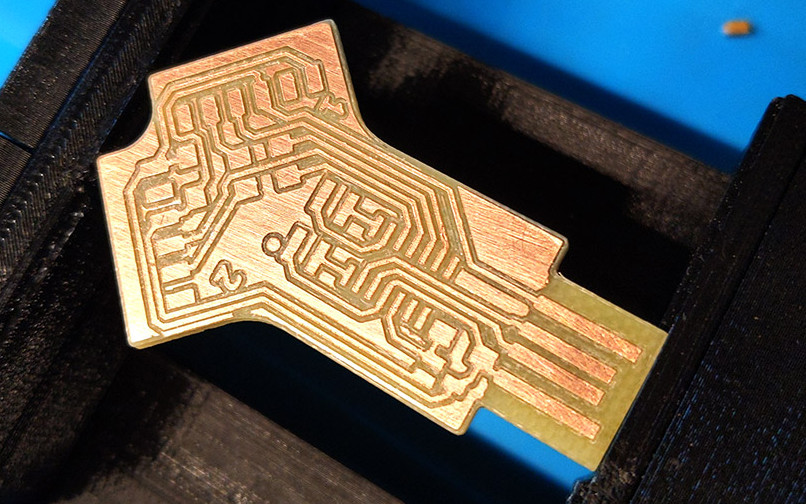
[Quentin] milled a custom PCB for his adapter, which we have to say looks phenomenal, but those with more limited equipment at home should be able to send the MIT licensed board files off for production. He’s also provided the source code for the SAMD11C14’s firmware, so you’ve got everything you need to spin up your own version of this neat tool.
Two ports not enough for your parallel hacking needs? Believe it or not, we’ve also seen a quad USB-to-serial adapter that you can put together, though it’s a considerably more complex circuit.