[Sam Miller], [Sahil Gupta], and [Mashrur Mohiuddin] worked together on a very fast LED matrix display for their final project in ECE 5760 at Cornell University.
Real time!
They started, as any good engineering students, by finding a way to make their lives easier. [Sam] had built a 32×32 LED matrix for another class. So, they made three more and ended up with a larger and more impressive 64×64 LED display.
They claim their motivation was the love of music, but we have a suspicion that the true reason was the love all EEs share for unnaturally bright LEDs; just look at any appliance at night and try not be blinded.
The brains of the display is an Altera DE2-115 FPGA board. The code is all pure Verilog. The FFT and LED control are implemented in hardware on the FPGA; none of that Altera core stuff. To generate images and patterns they wrote a series of python scripts. But for us it’s the particle test shown in the video below that really turns our head. This system is capable of tracking and reacting to a lot of different elements on the fly why scanning the display at about 310 FPS. They have tested display scanning at twice that speed but some screen-wrap artifacts need to be worked out before that’s ready for prime time.
The team has promised to upload all the code to GitHub, but it will likely be a while before the success hangover blows over and they can approach the project again. You can view a video interview and samples of the visualizations in the videos after the break.
Thanks to their Professor, [Bruce Land], for submitting the tip! His students are always doing cool things. You can even watch some of his excellent courses online if you like: Here’s one on the AVR micro-controller.
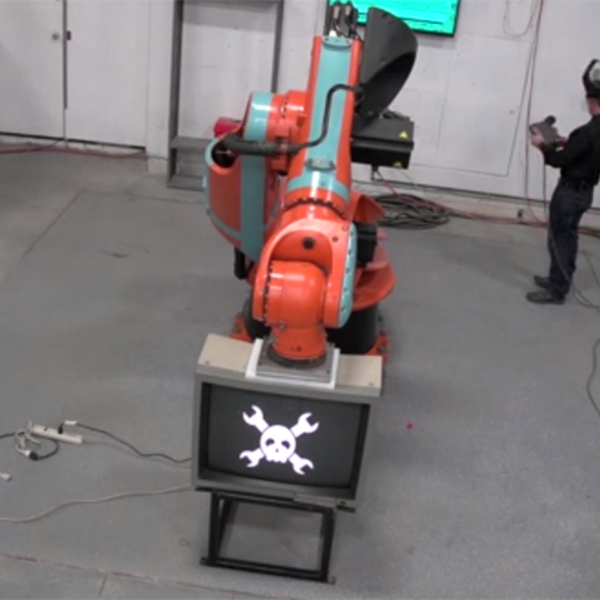
We’re not sure we condone this at all. CRT monitors are virtually extinct, and here we have some folks just smashing them up for no good reason. That said, it’s kinda cool to see large industrial robots in motion, so we can’t really blame them. (Video embedded below.)
We’ve covered the [Geek Group] crushing TVs with their robot arm before although that first try was more like a fail, in the sense that the TV was only partly smashed. At the time, we joked that it was because they had a Jolly Wrencher holding the CRT together. But it could have been that the robot arm simply lacked the requisite grunt.
This time they came to it with a stronger robot arm, and removed the Jolly Wrencher from the screens. These folks aren’t scientists — changing two variables at once leaves the experiment inconclusive. But they do smash things. So that’s a success, right?
A stock Arduino isn’t really known for its hi-fi audio generating abilities. For “serious” audio like sample playback, people usually add a shield with hardware to do the heavy lifting. Short of that, many projects limit themselves to constant-volume square waves, which is musically uninspiring, but it’s easy.
[Connor]’s volume-control scheme for the Arduino bridges the gap. He starts off with the tone library that makes those boring square waves, and adds dynamic volume control. The difference is easy to hear: in nature almost no sounds start and end instantaneously. Hit a gong and it rings, all the while getting quieter. That’s what [Connor]’s code lets you do with your Arduino and very little extra work on your part.
Within our community of hackers and makers you may sometimes encounter a belief that we have somehow regained a hold on the workshop lost by everyone else. But while it might be true that some of the general population may barely know one end of a screwdriver from the other it’s a huge overstatement to claim exclusivity. There are plenty of other scenes blessed with an astonishing level of engineering skill and from which breathtaking projects emerge, and it is a great pity that sometimes they exist in isolation from each other.
One such scene is that of car modification. By this we don’t mean the youths with their inadequately powered bottom-feeder cars adorned with deformed plastic, fake carbon fibre and farty exhaust pipe extensions from Halfords or Advance Auto, nor do we mean the silly-priced professional hotrods beloved of certain cable TV reality shows. Instead we mean the ordinary car hackers who take the unexciting and unloved of the automotive world into their garages and through a combination of vision and skill fashion it into something amazing. As an illustration of this art we’d like to introduce you to [ScaryOldCortina]’s “Mayday”. It’s a build from a few years ago, but no less impressive for the elapsed time.
A very rusty Austin Somerset indeed
If you are British the chances are your grandparents might have driven an Austin Somerset in the early 1950s. An unexciting mid-sized chassis-based saloon car that wasn’t badly designed but had all the inadequate rust protection you’d expect from a car of that era. A Somerset arrived in [ScaryOldCortina]’s garage that looked solid but turned out on inspection to be rusty enough that it could almost be disassembled with a hefty tug on some of the panels. He could have scrapped it, but instead he refashioned it into something a lot more exciting, a two-seater hotrod roadster. In a particularly impressive touch, he re-used most of the metal from the Somerset in its new body in a different form, for example its curved roof was cut in half to form the side panels of the new car.
The full build is in a very long thread on the Retro Rides car forum. If you read it from start to finish you’ll find an in-depth description of the minutiae of the 1950s British car parts bin, but if that will be a bit much for you we have some highlights.
When the car arrived, in his first post you can see just how far the rust had eaten into an outwardly complete vehicle and how easily he could strip away its panels. Fortunately the Somerset is a chassis-based car, so underneath the rusty bodywork was a rolling chassis which had miraculously escaped the worst of the corrosion. His vision for the car required the chassis to be shortened, but he was able to place the panels on the chassis to get an idea of what it might look line before getting out the cutter and welder and assembling the new body tub. A lot of hard work assembling the running gear into a roadworthy form and making its unlovely Austin “B” series engine into something a little more useful, and he was finally able to take it for a short test drive. The car passed all the relevant tests for British roadworthiness, and made a very cool piece of transport.
3D Hubs, the distributed ‘3D printing service’ thing, now has 30,000 machines distributed around the globe. They also put together the definitive guide to 3D printing recently. For just about everyone reading this, a ‘introduction to 3D printing’ is old news, but this is a very good guide for telling your weird aunt what you’re building in the basement. Forward this one to your family on Facebook.
This one is amazing. Over on Hackaday.io, [Arsenijs] is working on a Raspberry Pi project. It uses a Raspberry Pi, and several accessories and components to make this Raspberry Pi project work. This Raspberry Pi project is already getting far more than the usual number of likes and follows, making this one of the most interesting Raspberry Pi projects in recent memory.
Moog is re-releasing the Minimoog, the original Moog synth from 1970. That’s cool, but what about a DIY Minimoog? That’s what [Scott Rider] is doing with the Crowminius Analog Music Synthesizer on Kickstarter. It’s an analog synth that’s more or less a Minimoog with MIDI, and one of the Kickstarter rewards is a bare PCB.
What do you do when you need to get your Hackaday fix, but all you have is a laptop from 1995 and a dial-up modem? The Hackaday Retro Edition, of course. That’s a bunch of retro Hackaday posts, posted five at a time, with all the CSS and JavaScript cruft stripped. We’re always interested to see the old machines that are pulling the retro edition down, and [djnikochan] has the latest entry. He found a Thinkpad 380ED from 1997 at the Goodwill store for $15. The RAM was upgraded with a 64MB SIMM, giving this machine a total of 80MB. The Hackaday Retro Edition is viewable with IE 5.5 over a trusty PCMICA WiFi card. Awesome job, and we love to see old iron rendering the retro edition. Send some pics in if you get your old battlestation to load it.
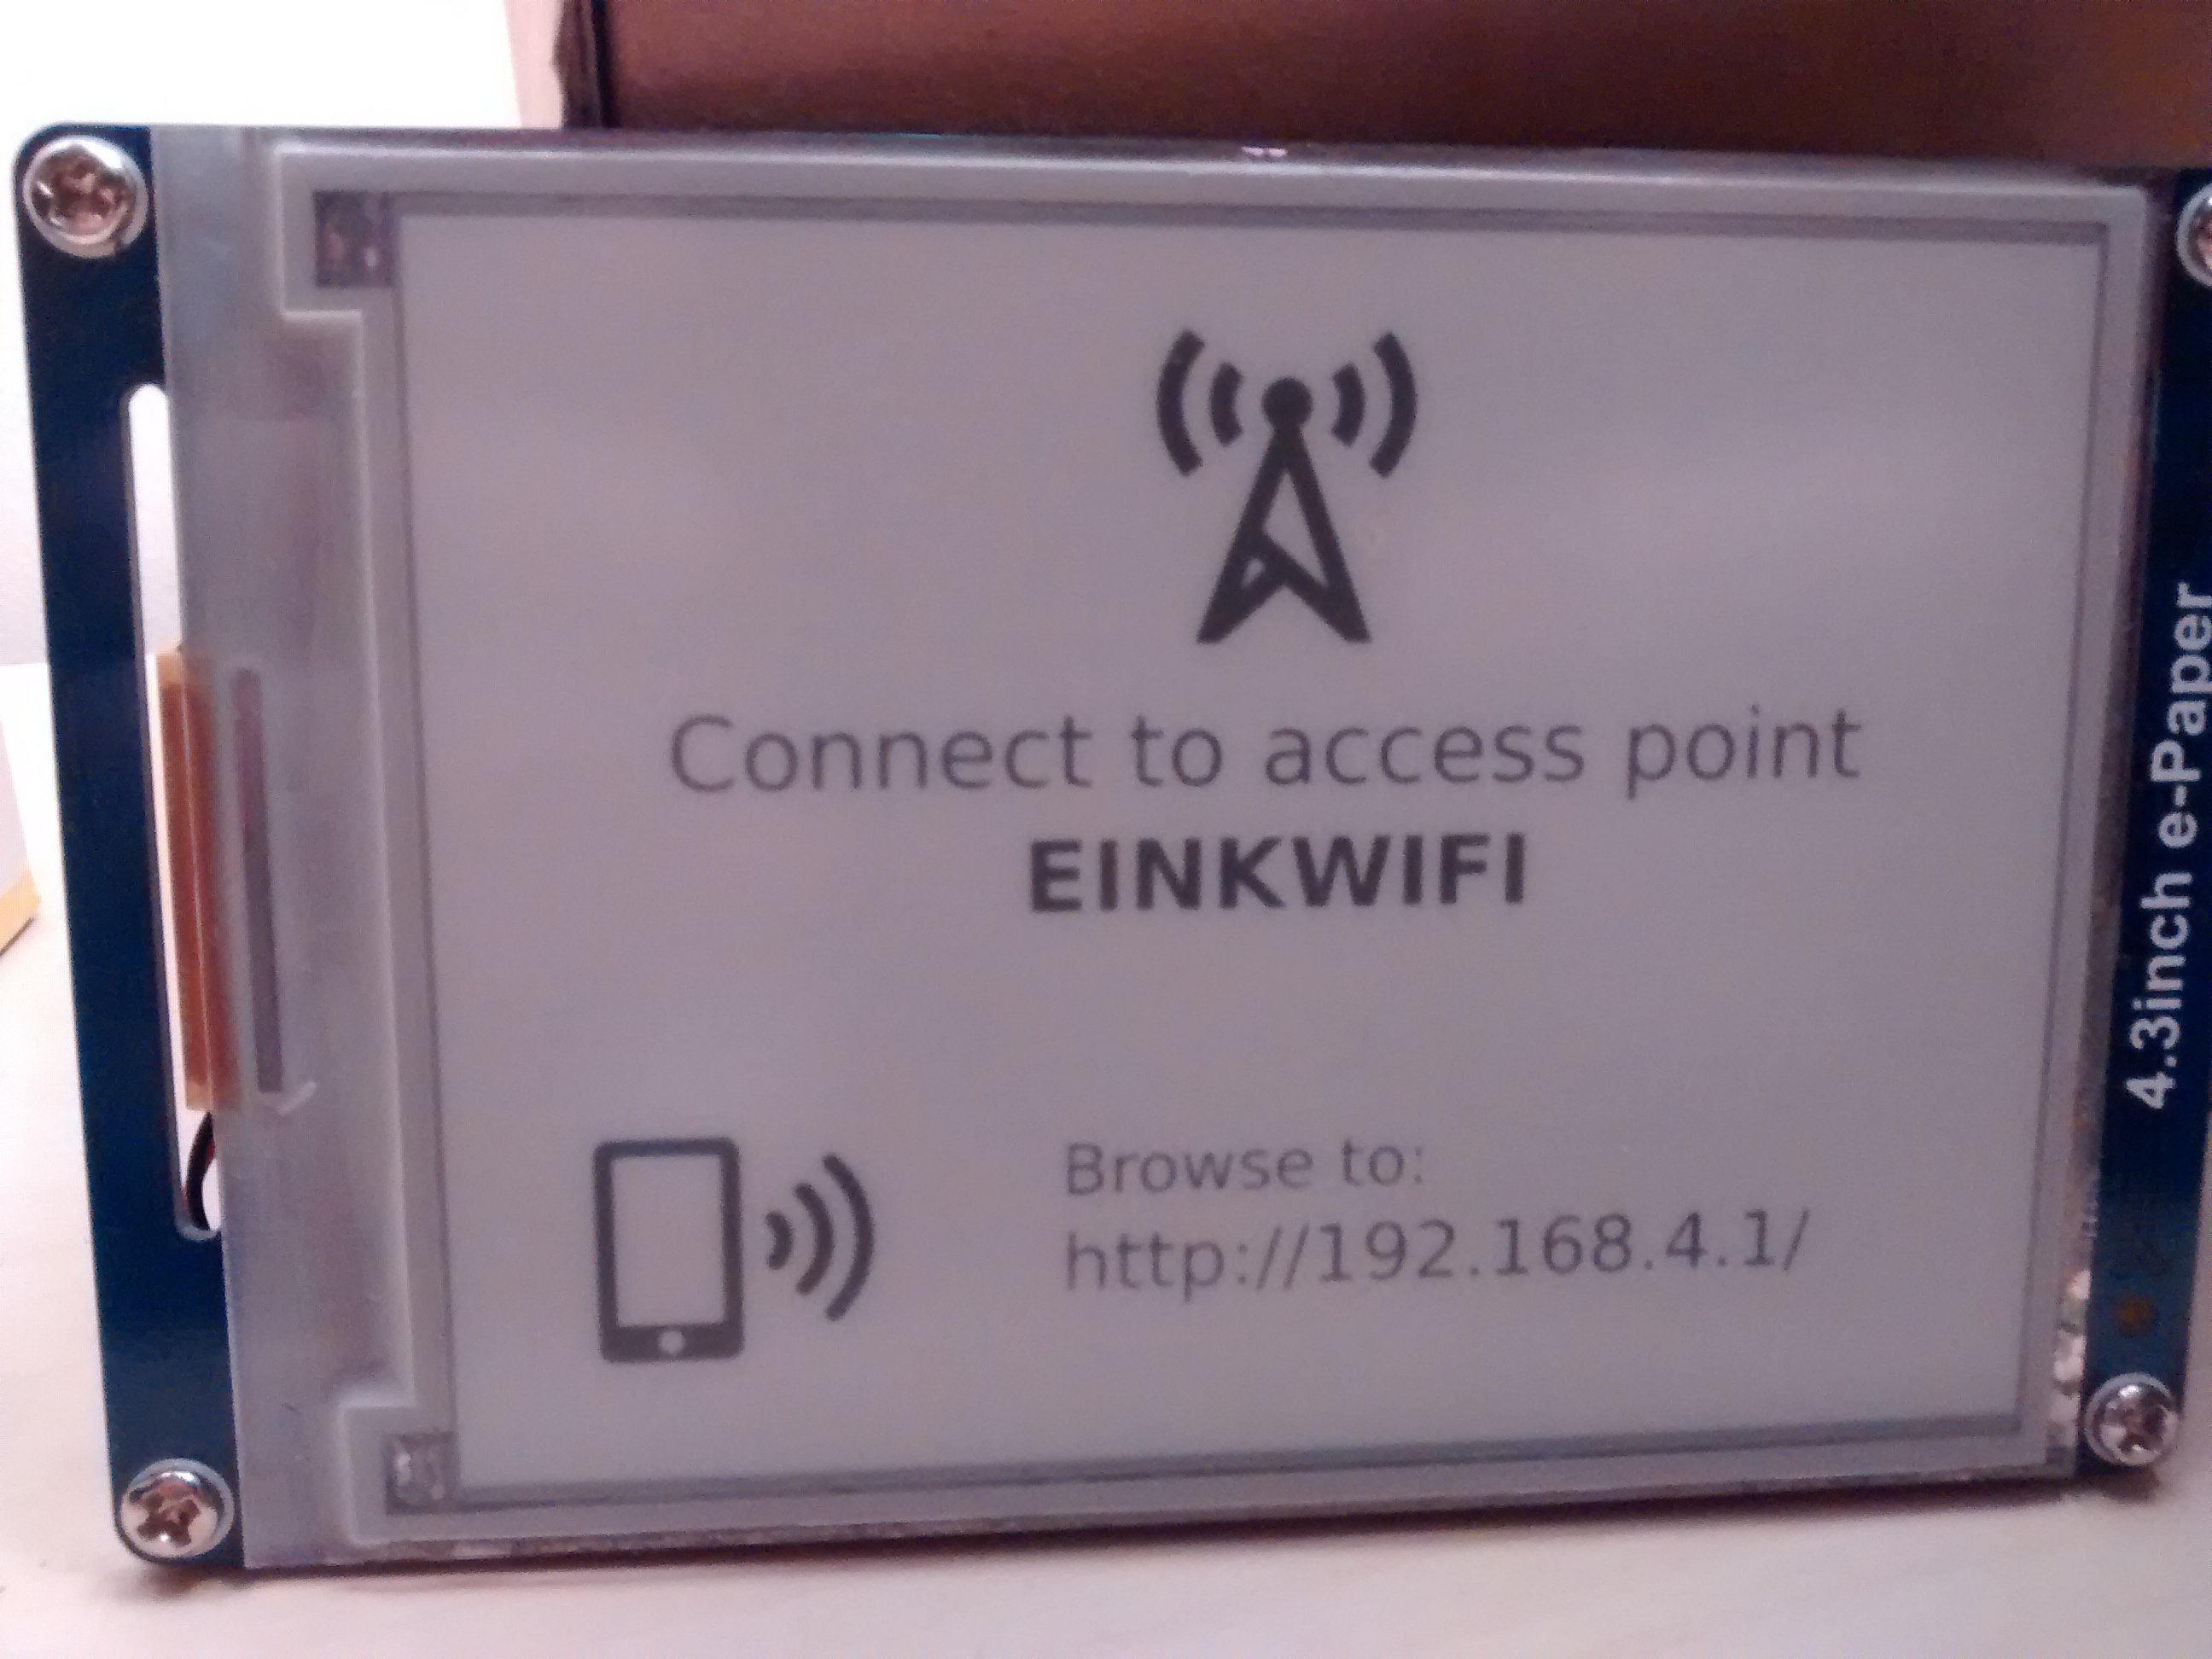
[David] created a great looking e-ink WiFi display project that works a little like a network-connected picture frame with a few improvements over other similar projects. With the help of an ESP8266 it boots up, grabs an 800×600 image over the network, updates the screen, then goes back to sleep. Thanks to some reverse engineering, he was able to make his own firmware for the onboard controller to handle the low-level driving of the display. Since e-ink displays require no power to hold an image and the rest of the unit spends most of the time either asleep or off, power use is extremely low. [David] hopes to go months without needing to recharge the internal lithium-polymer battery.
Lithium-polymer charger (top left); Single-cell lithium-polymer battery (center); pullups and power cutoff for nonessential electronics (green board, lower right); ESP866 (lower left).
We previously featured another WiFi-connected e-ink display project that was in fact also the inspiration for this version. [David] uses a 4.3″ 800×600 GDE043A e-ink display and wrote his own firmware for the STM32F103ZE ARM CortexM3 SoC used as a display controller, a process that required some reverse engineering but was aided by the manufacturer providing a closed-source driver for him to use. [David] writes that some reverse-engineering work for this display had already been done, but he had such a hard time getting a clear understanding from it that he reverse engineered the firmware anyway and used the documents mainly for validation and guidance.
As a result, [David] was able to make use of the low-level driver electronics already present on the board instead of having to make and interface his own. E-ink displays have some unusual driving requirements which include generating relatively high positive and negative voltages, and rapidly switching them when updating the display. Taking advantage of the board’s existing low-level driver electronics was a big benefit.
The ESP8266 rounds out the project by taking care of periodically booting things up, connecting to the wireless network and downloading an image, feeding the image data to the STM32 to update the display, then disconnecting power from all non-essential electronics and going back to sleep. We especially like how the unit automatically creates a WiFi access point to allow easy (re)configuring.
There’s one more nice touch. [David] goes the extra mile with server software (in the form of PHP scripts) to design screens for the display with data like weather forecasts, stock prices, and exchange rates. Check it out in the project’s github repository.
There are a ton of applications that we use that can benefit from keyboard shortcuts, and we use ’em religiously. Indeed, there are some tasks that we do so often that they warrant their own physical button. And the only thing cooler than custom keyboards are custom keyboards that you’ve made yourself.
Which brings us to [Dan]’s four-button Cherry MX USB keypad. It’s not really all that much more than four keyswitch footprints and an AVR ATmega32u4, but that plus some software is all you really need. He programs the Arduino bootloader into the chip, and then he’s using the Arduino Leonardo keyboard libraries. Bam! Check out the video below.