Retro-Inspired Computer Case Hosts Mechanical Keyboard

During the time in the 1980s when the personal computer was gaining steam as a household fixture, plenty of models shipped with the keyboard built in to the machine itself. This helped reduce costs, lower the physical footprint of the device, and arguably improved aesthetics. But as technology progressed, this type of design fell by the wayside as computers became more modular and configurable. That’s not to say there aren’t any benefits to building a computer like this, though. [jit] is here to show off this Amiga-inspired computer with its own modern built-in mechanical keyboard.

Like the Raspberry Pi 400 which is built into its own case, modern computers like this are extremely portable, relatively simple, and space-efficient. But [jit] did not like the uninspired design of the Pi so he was looking to make some improvements. Starting with the keyboard, it boasts a 60% size board with mechanical keys which are backlit by LEDs. Inside the machine is a Odroid XU4 which has a little bit more power (and is often easier to find) than a comparable Raspberry Pi. The case is 3D printed and includes ventilation and support for the addition of various cooling fans, I/O ports, status LEDs, and switches for the computer inside.

Additionally, some modification of the Odroid itself was needed in order to move the various switches to the case, and the build also includes a somewhat customized power supply internally as well. It’s a well-rounded build that captures the spirit of the old computer cases, but takes advantage of a lot of modern technology at the same time. If you want to go all-out with a build like this, though, take a look at this retro-inspired case (with keyboard included) that manages to get most of a Framework laptop inside.

Continue reading “Retro-Inspired Computer Case Hosts Mechanical Keyboard”

A 32-Bit RISC-V CPU Core In 600 Lines Of C

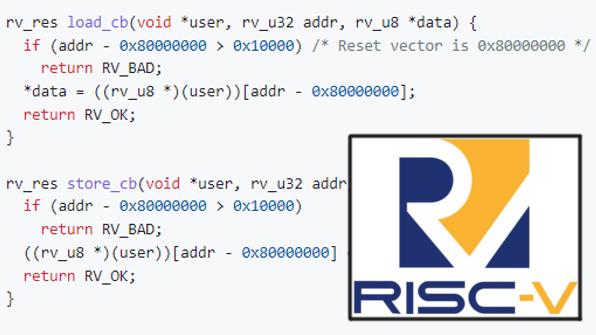
If you have ever wanted to implement a RISC-V CPU core in about 600 lines of C, you’re in luck! [mnurzia]’s rv project does exactly that, providing a simple two-function API.

Technically, it’s a user-level RV32IMC implementation in ANSI C. There are many different possible flavors of RISC-V, and in this case is a 32-bit base integer instruction set (RV32I), with multiplication and division extension (M), and compressed instruction set extension (C).

There’s a full instruction list and examples of use on the GitHub repository. As for readers wondering what something like RISC-V emulation might be good for, it happens to be the not-so-secret sauce to running Linux on an RP2040.

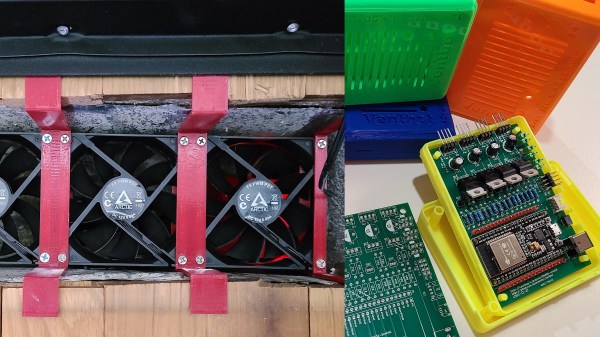
Ventbot fans with 3D printed brackets and control circuit board with ESP32 breakout and multicolored 3D printed cases

Ventbots Are Fans Of HVAC And Home Automation

[WJCarpenter] had a common HVAC problem; not all the rooms got to a comfortable temperature when the heater was working to warm up their home. As often happens with HVAC systems, the rooms farthest from the heat source and/or with less insulation needed a boost of heat in the winter and cooling in the summer too. While [WJCarpenter] is a self-reported software person, not a hardware person, you will enjoy going along on the journey to build some very capable vent boosters that require a mix of each.

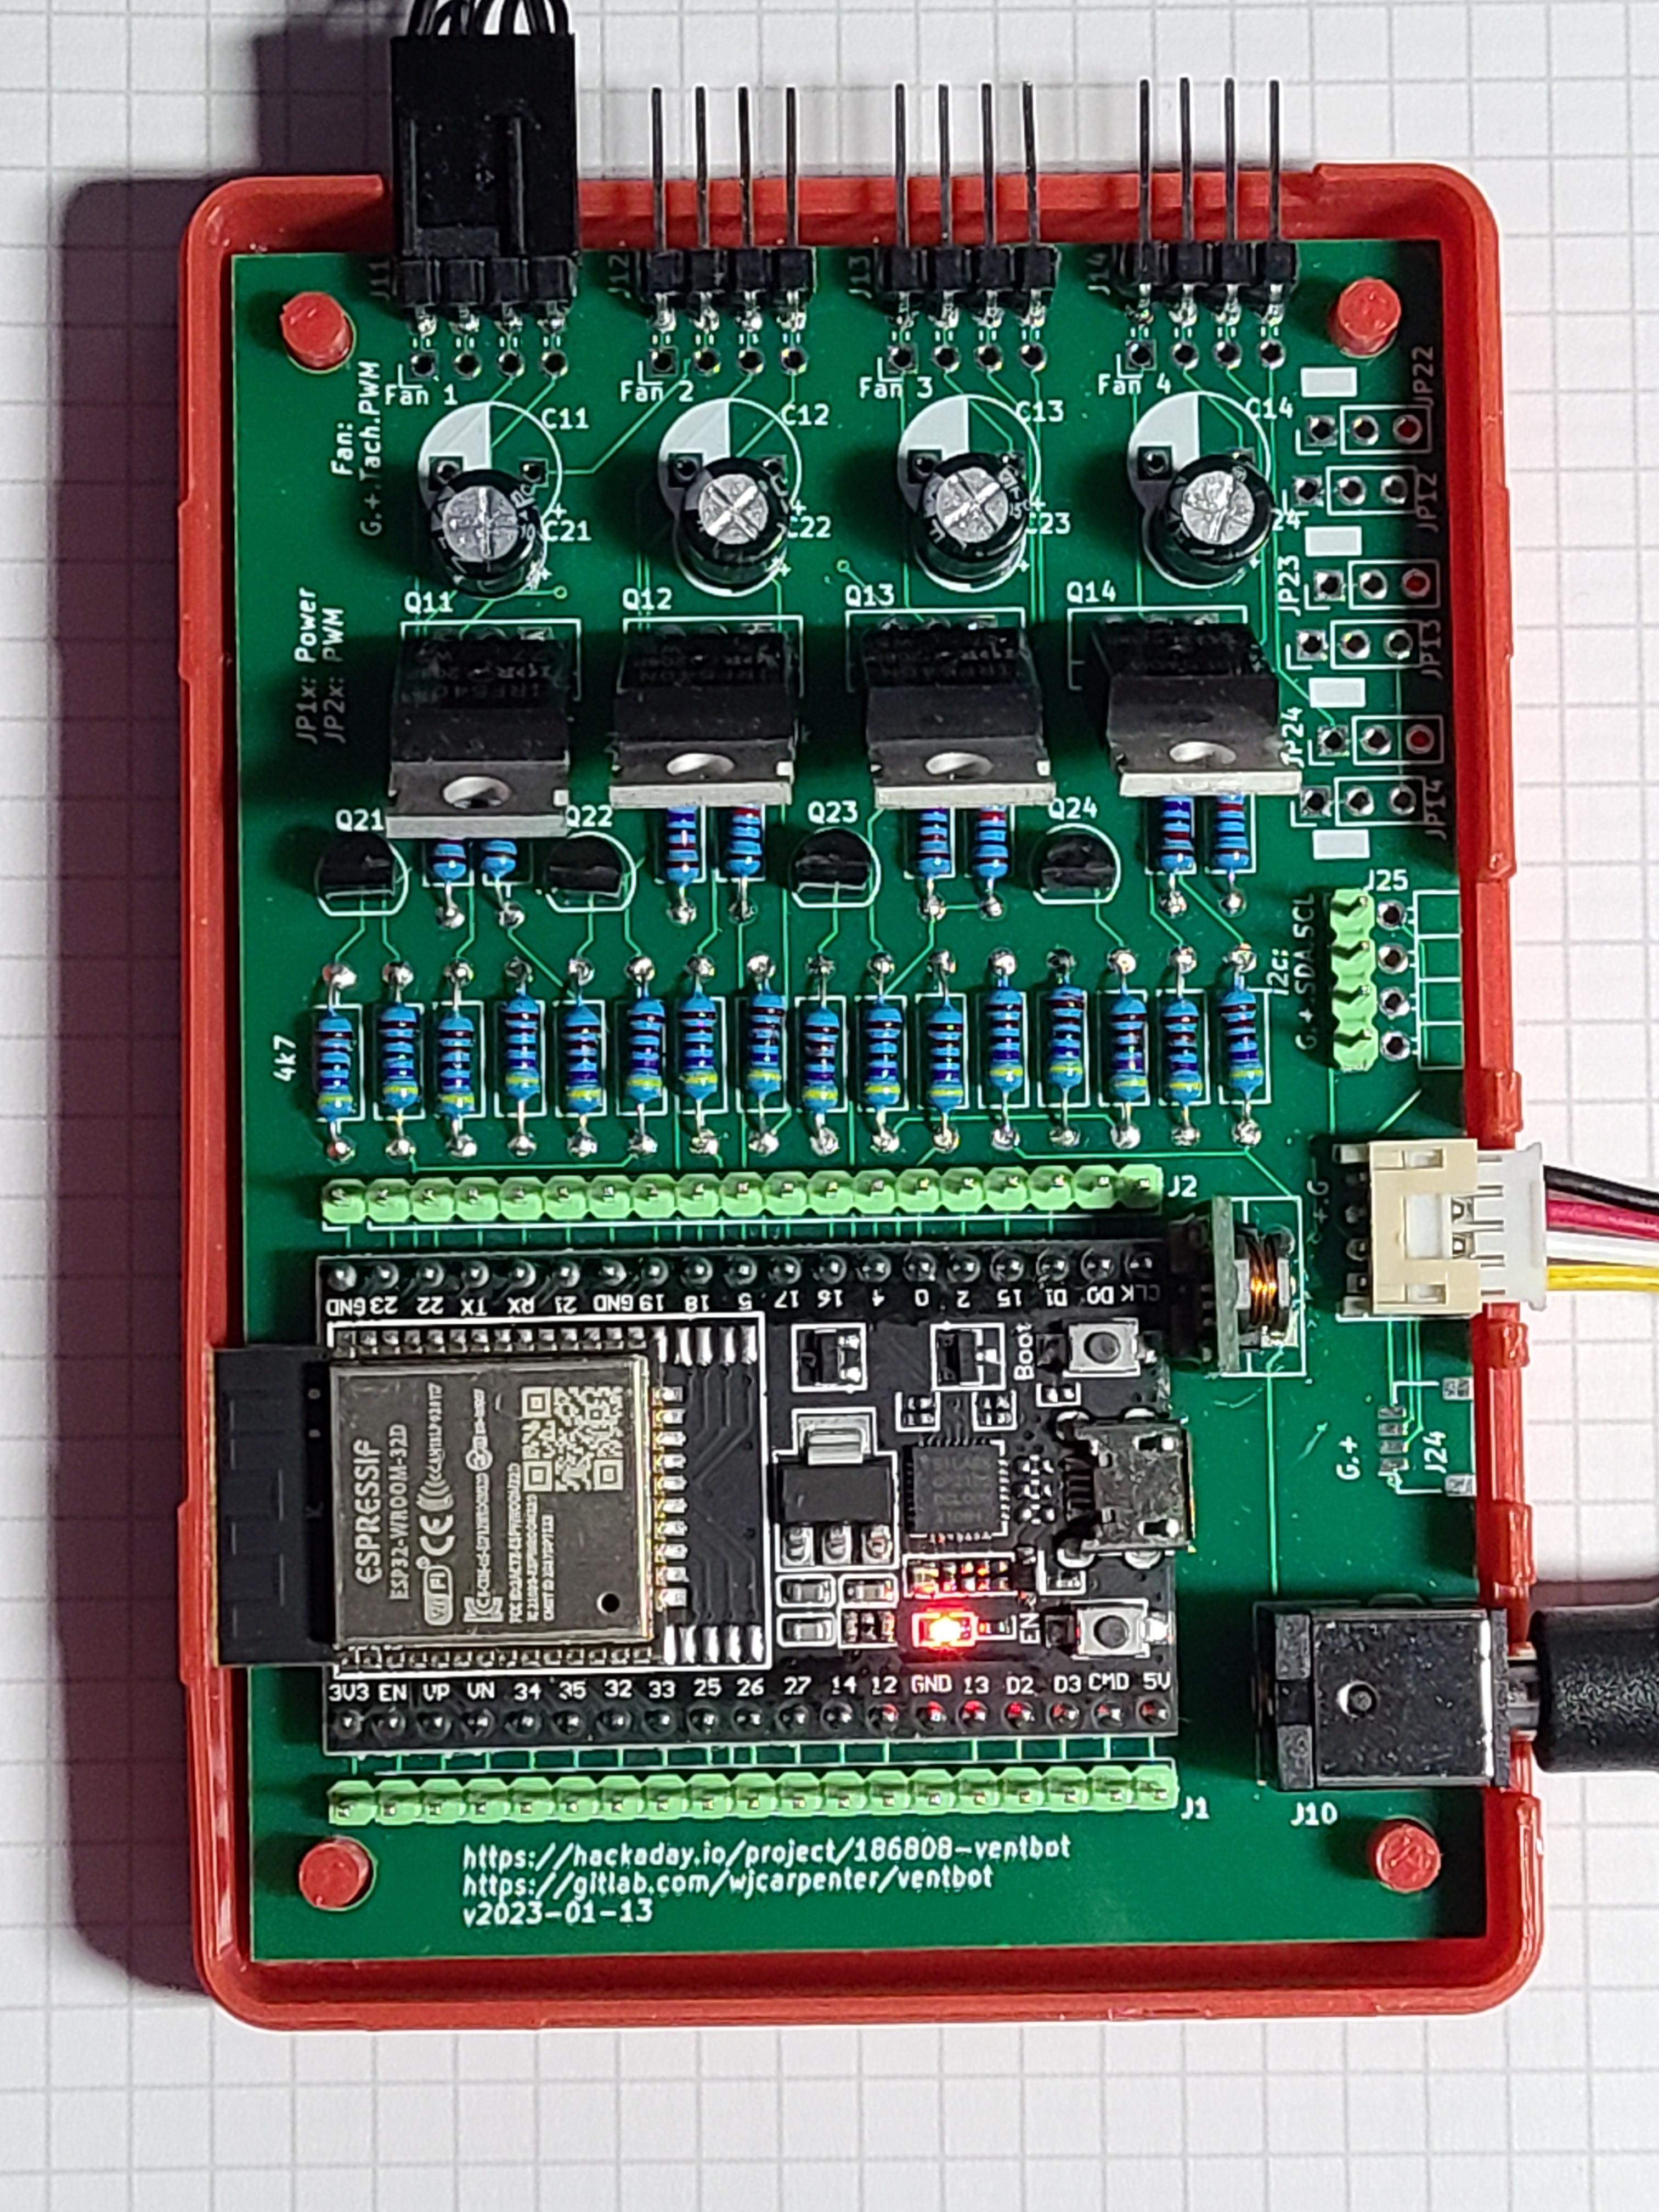
Ventbot control circuit board with ESP32 breakout in a red 3D printed case

There’s a great build log on hackaday.io here, but for those who need more of a proper set of instructions, there’s a step-by-step guide that should allow even a beginner hardware hacker to complete the project over on Instructables. There you’ll find everything you need to build ESPHome controlled, 3D printed, PC fan powered vent boosters. While they can be integrated into Home Assistant, we were interested to learn that ESPHome allows these to run stand-alone too, each using its own temperature and pressure sensor.

The many iterations of hardware and software show, resulting in thoughtful touches like a startup sequence that checks for several compatible temperature sensors and a board layout that accommodates different capacitor lead spacings. Along the way, [WJCarpenter] also graphed the noise level of different fans running at multiple speeds and the pressure sensor readings against the temperatures to see if they could be used as more reliable triggers for the fans. (spoiler, they weren’t) There are a bunch of other tips to find along the way, so we highly recommend going through all that [WJCarpenter] has shared if you want to build your own or just want some tips on how to convert a one-off project to something that a wider audience can adapt to their own needs.

Ventbot graphing of temperature, pressure, and fan noise

See a video after the break that doesn’t show the whole project but includes footage of the start-up sequence that tests each fan’s tachometer and the customizable ramp-up and ramp-down settings. Continue reading “Ventbots Are Fans Of HVAC And Home Automation”

Electronic Earrings Are PCB Art You Can Wear

If there’s one area of the human anatomy we rarely try to draw the eye, it’s the ears. Nonetheless, [DIY GUY Chris] has developed some LED earrings that should do exactly that.

The earrings are made using PCBs as the very body of the jewelry itself. The PCBs for each ear play host to eight WS2812 LEDs in a tiny 2020 form factor. The LEDs get their instructions from an ATtiny13-A AVR microcontroller, with some further supporting hardware to get everything playing happily together. Each earring runs off a single CR1220 coin cell, which sits on the obverse side of the earring to stay out of sight. The earrings are programmed with pogo pins to avoid the need for any bulky connectors.

By virtue of the tiny addressable LEDs, the earrings are capable of displaying full RGB colors. [DIY GUY Chris] has programmed the earrings with simple color fades, as well  as some fancier chase animations as well.

We’ve seen some great PCB jewelry before, too. Video after the break.

Continue reading “Electronic Earrings Are PCB Art You Can Wear”

Robodog Goes Free Thanks To Unofficial SDK

What’s better than a pretty nice legged robot? One with an alternate SDK version that opens up expensive features, of course. The author didn’t like that the original SDK only came as pre-compiled binaries restricted to the most expensive models, so rolled up their sleeves and started writing a new one.

The manufacturer’s SDK limits access to programmatic functions, but that needn’t stop you.

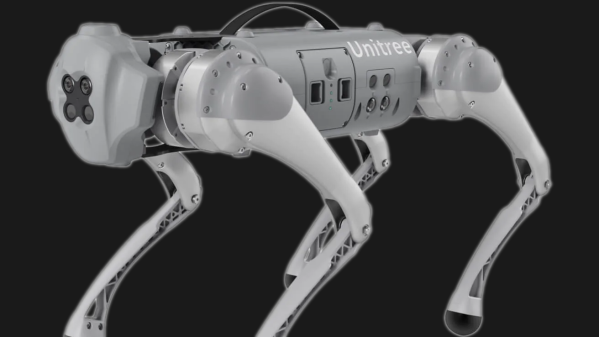
There are a number of commercially-available robotic quadrupeds that can trace their heritage back to the MIT Mini Cheetah design, and one of them is the Unitree Go1 series which sports a distinctive X-shaped sensor cluster on its “face”. The basic models are affordable (as far as robots go, anyway) but Unitree claims only the high-priced EDU model can be controlled via the SDK. Happily, the Free Dog SDK provides a way to do exactly that.

The SDK is a work in progress, but fully usable and allows the user to send various high level and low level commands to the Go1 robots. High level examples include things like telling the robot to perform pushups, turn 90 degrees, or walk. Low level commands are things like specifying exact positions or torque levels for individual limbs. With the new SDK, doing those things programmatically is only a Python script away.

Know any other robots that might be based on the same system? This SDK might work on them, too.

Open Source And Giving Back

3D printing YouTuber [Thomas Sanladerer] made a fairly contentious claim in a video about the state of open source hardware and software: namely that it’s not viable “anymore”. You can watch his video for more nuance, but the basic claim is that there are so many firms who are reaping the benefits of open designs and code that the people who are actually doing the work can’t afford to make a living anymore.

[Thomas] then goes on to mention a few companies that are patenting their 3DP innovations, and presumably doing well by it, and he then claims that patenting is probably the right way forward from a business standpoint.

The irony that he says this with a Voron 3D printer sitting behind him was not lost on us. The Voron is, after all, a very successful open-source 3D printer design. It’s just rock solid, has lots of innovative touches, and an extensive bill of materials. They don’t sell anything, but instead rely on donations from their large community to keep afloat and keep designing.

At the same time, a whole bunch of companies are offering Voron kits – all of the parts that you’d have to source yourself otherwise. While not mass-market, these kit sales presumably also help keep some of the 3D printer enthusiast stores that sell them afloat. Which is all to say: the Voron community is thriving, and a number of folks are earning their livings off of it. And it’s completely open.

When [Thomas] complains that some players in the 3DP business landscape aren’t giving back to the open-source community effort, he’s actually calling out a few large-scale Chinese manufacturers making mass-market machines. These companies aren’t interested in pushing the state of the art forward anyway, rather just selling what they’ve got. And sure, there are a million Creality Enders for every Voron 2 out there. And yes, they reap the benefits of open designs and code. But they’re competing in an entirely different market from the real innovators, and I’m not sure that’s a bad thing.

Let us know what you think. (And if you’re reading this in the newsletter format, head on over to Hackaday on Saturday morning to leave us your comments.)

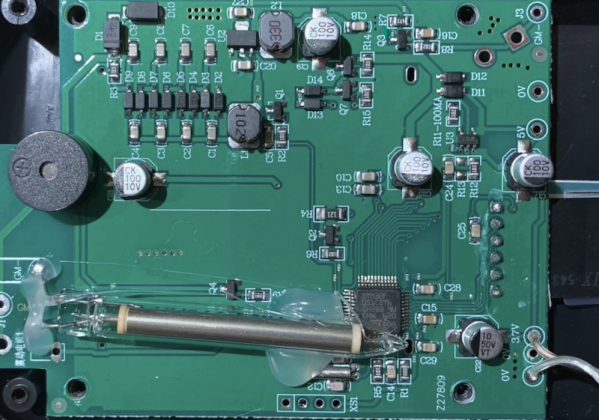
An Open Source Firmware For Cheap Geiger Counters

It is a time-honored tradition: buy some cheap piece of gear and rewrite the firmware to make it work better. [Gissio] managed to do just that for a cheap FS2011 Geiger counter. Apparently, the firmware will also work with some similar Chinese models, too.

The new firmware boasts an improved UI and multiple measurement units, including Sievert, Rem, and counts per minute or second. You can hold the measurement or compute a dose or average rate. The new firmware also has a host of customizations and can accommodate different tubes.

There are, however, two really key features. First, the new firmware offers about 40% more battery life than the stock version. Second, there is now an onboard nuclear chess game! That way, you can enjoy yourself while you are getting irradiated. There are also a few suggested hardware mods that are optional to improve measurements and increase the buzzer volume, among other things.

If you get a Geiger counter, you might be surprised at what things are slightly radioactive. If you don’t need the microcontroller, you can make a workable counter on the cheap.

Continue reading “An Open Source Firmware For Cheap Geiger Counters”