A finished 3D print, especially plastic deposition types, often have imperfections in them from the process of laying down each layer of material and from the printer itself. For small batches or one-off parts, we might reach for a few pieces of sandpaper to smooth out these rough edges. While that might work for a small number of parts, it’s not always the best or lowest-effort option for refining these prints. There are a few alternative methods to try out if your fingers are getting sore, though.
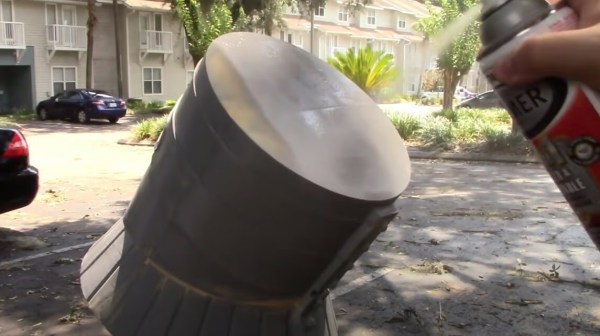
Rather than removing material as sandpaper does, most of these methods involve adding material to the print in order to fill in the rough edges of the print. There is a 3D-print-specific product listed called 3D Gloop! which is generally used as a glue to hold plastic parts together, but can also act as a fill in a pinch. Two other similar methods, one using spray paint and polyurethane and the other using epoxy, are more general-purpose ways of finishing the prints with a more natural texture than the printer will produce on its own. They’re not all additive, though; the final (and perhaps, most toxic) method here to achieve a smooth surface on a print uses solvent to remove some of the material instead.
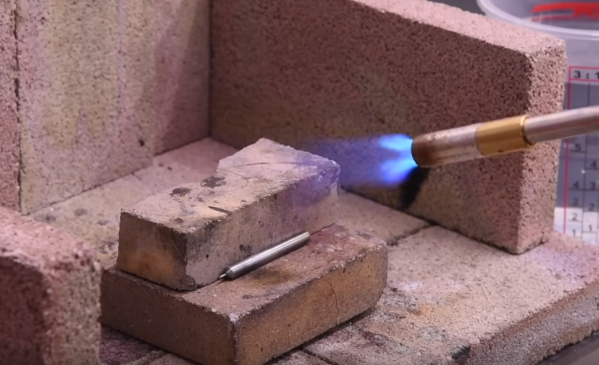
While sandpaper does have its time and place, certain prints may lend themselves more to being finished by one of these other methods especially if they are overly complex, fragile, or an unusual size. Take note of the safety gear you’ll want to have on hand for most of these methods, though, as gloves and a respirator are highly encouraged and possibly helpful even if using only sandpaper. These aren’t the only ways of finishing 3D prints, either. Some of our other favorites are using glazing putty or silver for the finish.