Plastic waste is everywhere you look, and there’s seemingly no end in sight for both the demand and production of plastic goods. So isn’t it time to try putting all that waste from the plastic industry to good use? [Nzambi Matee], a materials engineer in Kenya, thinks so. She was tired of seeing plastic littering the streets of Nairobi, and saw an opportunity to solve two problems at once — cleaning up the streets and paving them with plastic.
 Three years ago, [Nzambi] quit her job as an oil industry data analyst and used all her savings to pursue a solution for the pesky plastic problem. She built a lab in her mother’s backyard and begin experimenting with plastics and sand, melding them together to make blocks.
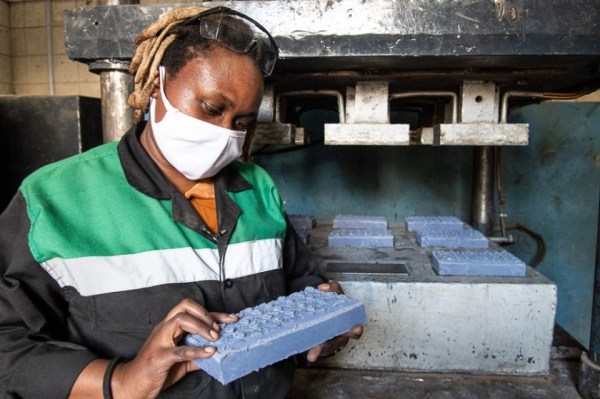
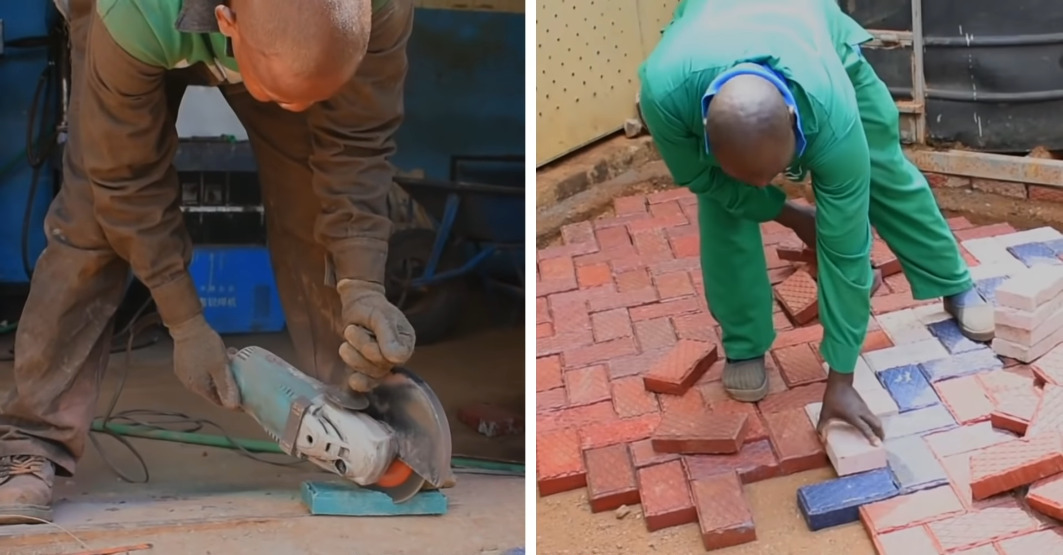
After about a year of trial and error, she had discovered which plastics worked and which didn’t. Then she developed machinery to churn out the sand-plastic paste and stamp it into sturdy paving bricks. Her company Gjenge Makers gets most of their plastic free from factories that would otherwise have to pay to dispose of it. The bricks are strong, lightweight, and nearly indestructible compared to concrete pavers. In the video after the break, there’s a shot of [Nzambi] spiking one on the ground to demonstrate its toughness.
Now, her company produces about 1,500 of these pavers each day. [Nzambi] and her team are planning to start making building blocks as well. With a melting point somewhere above 350° C, the material seems pretty well-suited for that purpose.
Want to do more than just recycle your plastic, but don’t know how? You could start by turning plastic bottles into rope, and then use the rope to make things like brooms and brushes.