The Pixel Pump is an open source manual pick & place assist tool by [Robin Reiter], and after a long road to completion, it’s ready to ship. We first saw the Pixel Pump project as an entry to the 2021 Hackaday Prize and liked the clean design and the concept of a completely open architecture for a tool that is so valuable to desktop assembly. It’s not easy getting hardware off the ground, but it’s now over the finish line and nearly everything — from assembly to packaging — has been done in-house.
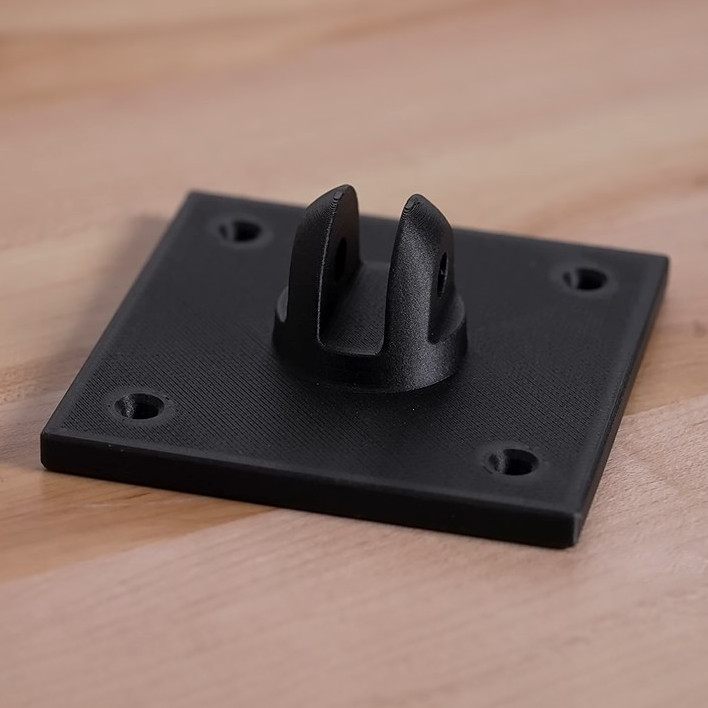
Because having parts organized and available is every bit as important as the tool itself, a useful-looking companion item for the Pixel Pump is the SMD-Magazine. This is a container for parts that come on SMD tape rolls. These hold components at an optimal angle for use with the pickup tool, and can be fixed together on a rail to create project-specific part groups.
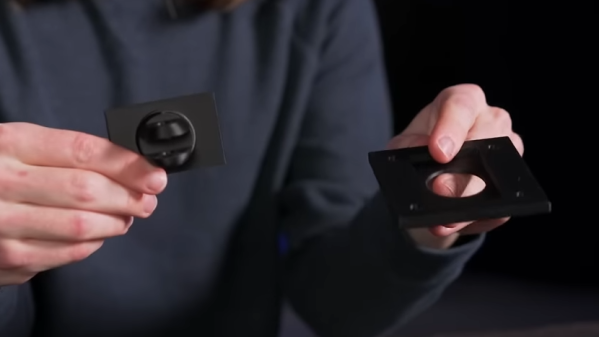
A tool being open source means giving folks a way to modify or add features for better workflows, and an example of this is [Robin]’s suggestion of using a foot pedal for hands-free control of the interactive BoM plugin. With it, one can simply use a foot pedal to step through a highlighted list of every part for a design, an invaluable visual aid when doing hand assembly.
The Pixel Pump looks great, but if you’d prefer to go the DIY route for vacuum pickup tools you would certainly be in good company. We’ve seen economical systems built for under $100, and systems built around leveraging bead-handling tools intended for hobbyists. On the extreme end there’s the minimalist approach of building a tool directly around a small electric vacuum pump.