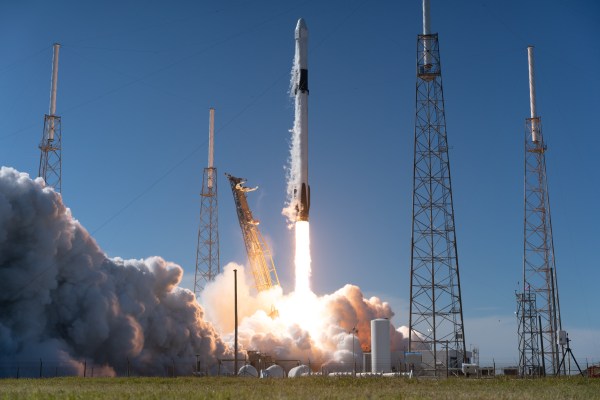
A crewed mission to the International Space Station that was set to depart from Kennedy Space Center on Halloween has been pushed back at least several weeks as NASA and SpaceX investigate an issue with the company’s Merlin rocket engine. But the problem in question wasn’t actually discovered on the booster that’s slated to carry the four new crew members up to the orbiting outpost. This story starts back on October 2nd, when the computer aboard a Falcon 9 set to carry a next-generation GPS III satellite into orbit for the US Space Force shut down the engines with just two seconds to go before liftoff.
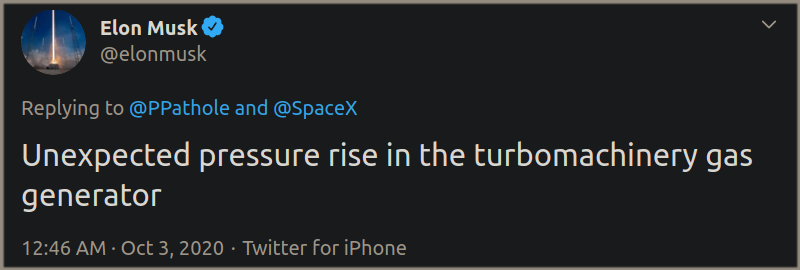
The fact that SpaceX and NASA have decided to push back the launch of a different Falcon 9 is a clear indication that the issue isn’t limited to just one specific booster, and must be a problem with the design or construction of the Merlin engine itself. While both entities have been relatively tight lipped about the current situation, a Tweet from CEO Elon Musk made just hours after the GPS III abort hinted the problem was with the engine’s gas generator:
As we’ve discussed previously, the Merlin is what’s known as an “open cycle” rocket engine. In this classical design, which dates back to the German V-2 of WWII, the exhaust from what’s essentially a smaller and less efficient rocket engine is used to spin a turbine and generate the power required to pump the propellants into the main combustion chamber. Higher than expected pressure in the gas generator could lead to a catastrophic failure of the turbine it drives, so it’s no surprise that the Falcon 9’s onboard systems determined an abort was in order.
Grounding an entire fleet of rockets because a potentially serious fault has been discovered in one of them is a rational precaution, and has been done many times before. Engineers need time to investigate the issue and determine if changes must be made on the rest of the vehicles before they can safely return to flight. But that’s where things get interesting in this case.
SpaceX hasn’t grounded their entire fleet of Falcon 9 rockets. In fact, the company has flown several of them since the October 2nd launch abort. So why are only some of these boosters stuck in their hangers, while others are continuing to fly their scheduled missions?
Continue reading “Engine Trouble Delays SpaceX’s Return To The ISS”