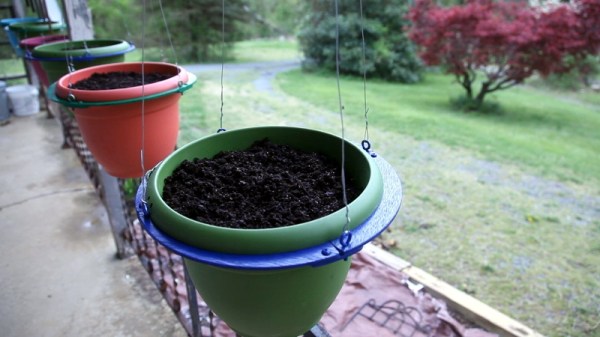
With the weather getting a little nicer, [Michael] thought that running some plant hangers off on his CNC router would be a simple stay-at-home project. After all, you just need to cut a couple circles out of a sheet of plywood…right?
Sure, but [Michael] realized that simply cutting out a ring wasn’t a very efficient approach. Unless you happen to need progressively smaller plant hangers, or maybe a new set of drink coasters, the center disc ends up being wasted material. That might not have been a big deal a few months ago, but when a trip to the Home Depot for more plywood could literally be hazardous to your health, that kind of inefficiency just won’t do.
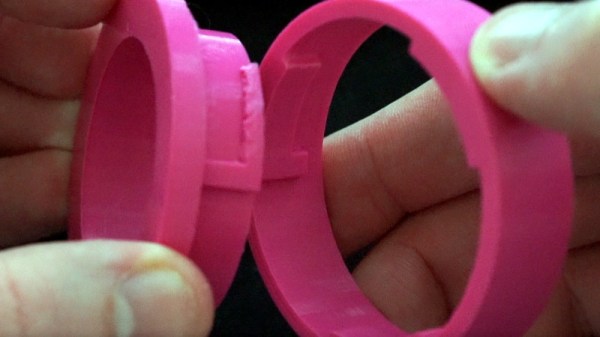
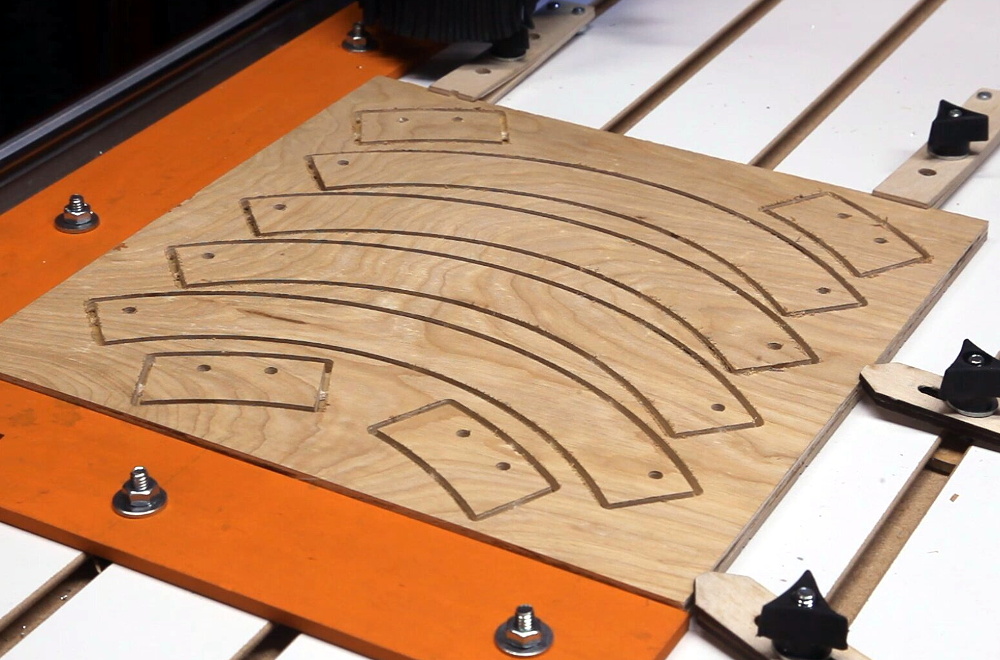 He reasoned it would be better to break the ring down into sections, which could easily be nested so they fit neatly on a square plywood panel. Of course, now those sections need to be connected to each other in a way that’s strong enough for the ring to hold up the weight of the plant.
So that means extra pieces need to be cut out to serve as braces, and you’ll need to screw it all together, so better add some nuts and bolts to the BOM. You’ll probably want some eye bolts as well, but in a pinch you could just weld washers to the heads of screws like [Michael] did once he ran out of the good stuff.
Some would argue that the time [Michael] spent coming up with this revised design is more valuable than the wood he avoided wasting, which might be true if he was on the job and getting paid hourly. But when it’s a personal project, and quarantine has made sourcing materials difficult, we think it’s a fantastic example of working with what you’ve got on hand.