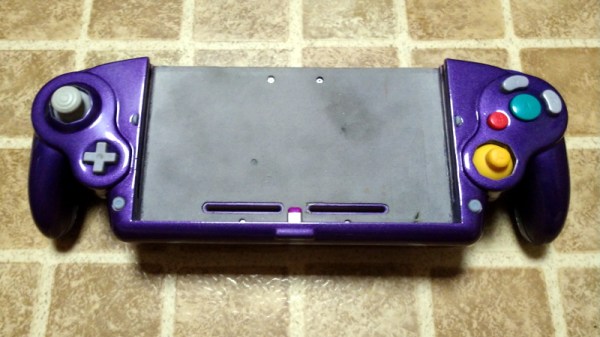
The Gamecube was certainly a divisive design when it was released back in 2001, but the fact that people are still happily hacking away at its controller nearly 20 years later proves that Nintendo must have gotten something right. The latest project from Nintendo wizard [Bill Paxton] turns the unique Gamecube controller into an even more unique mobile dock for the Switch.
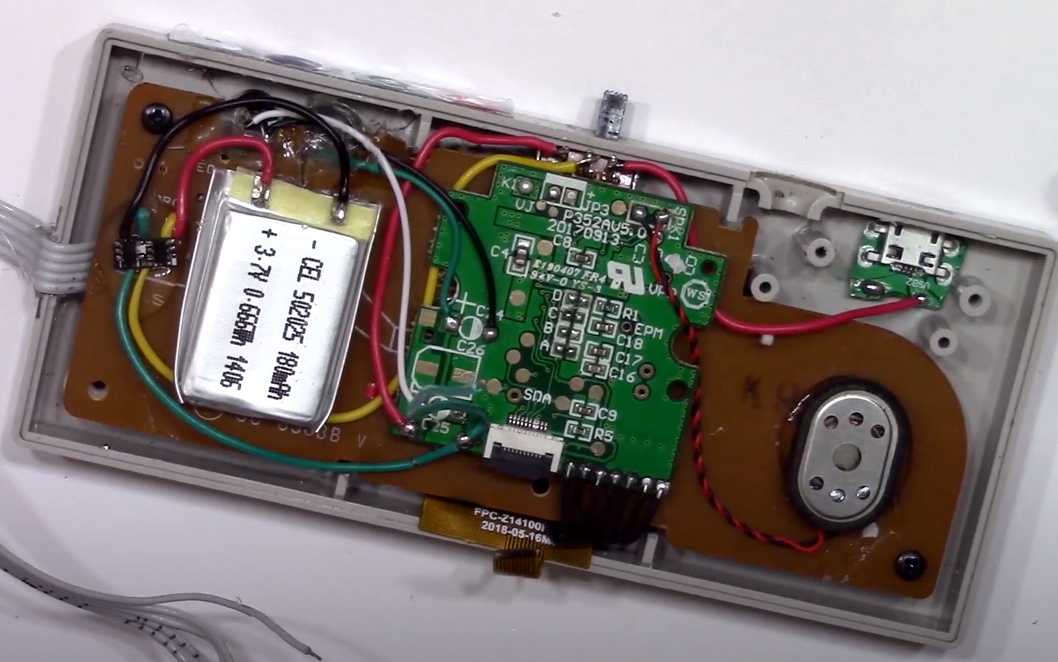
To build this “Gamecube Grip”, [Bill] literally cut an original controller and its PCB in half so they could be relocated on either end of the 3D printed central frame. Internally, the controller PCB is wired up to a GC+ board, which is an open hardware project that uses a PIC18F25K22 microcontroller to bring enhanced features to the classic peripheral such as adjustable stick dead zones and rumble intensity. From there, it’s connected to the switch with a GBros adapter from 8bitdo.
The grip also includes an Anker PowerCore 20,100 mAh battery that should keep the system going for hours, and some components liberated from a third party Switch dock. Everything has been finished off with the attention to detail that we’ve come to expect from [Bill] and his projects, including the seemingly flawless glossy paint job that’s something of hallmark for his custom gaming creations.
Continue reading “Slide Your Switch Into A Gamecube Controller”