NASA’s Hubble Space Telescope is arguably the best known and most successful observatory in history, delivering unprecedented images that have tantalized the public and astronomers alike for more than 30 years. But even so, there’s nothing particularly special about Hubble. Ultimately it’s just a large optical telescope which has the benefit of being in space rather than on Earth’s surface. In fact, it’s long been believed that Hubble is not dissimilar from contemporary spy satellites operated by the National Reconnaissance Office — it’s just pointed in a different direction.
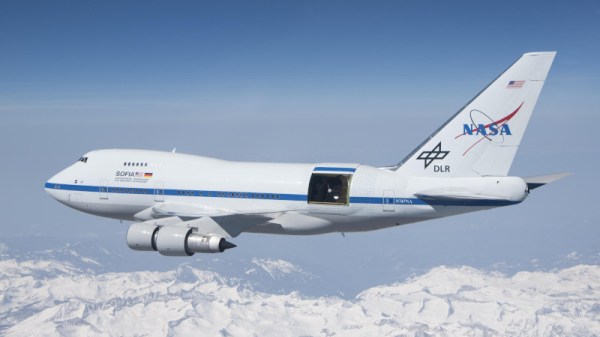
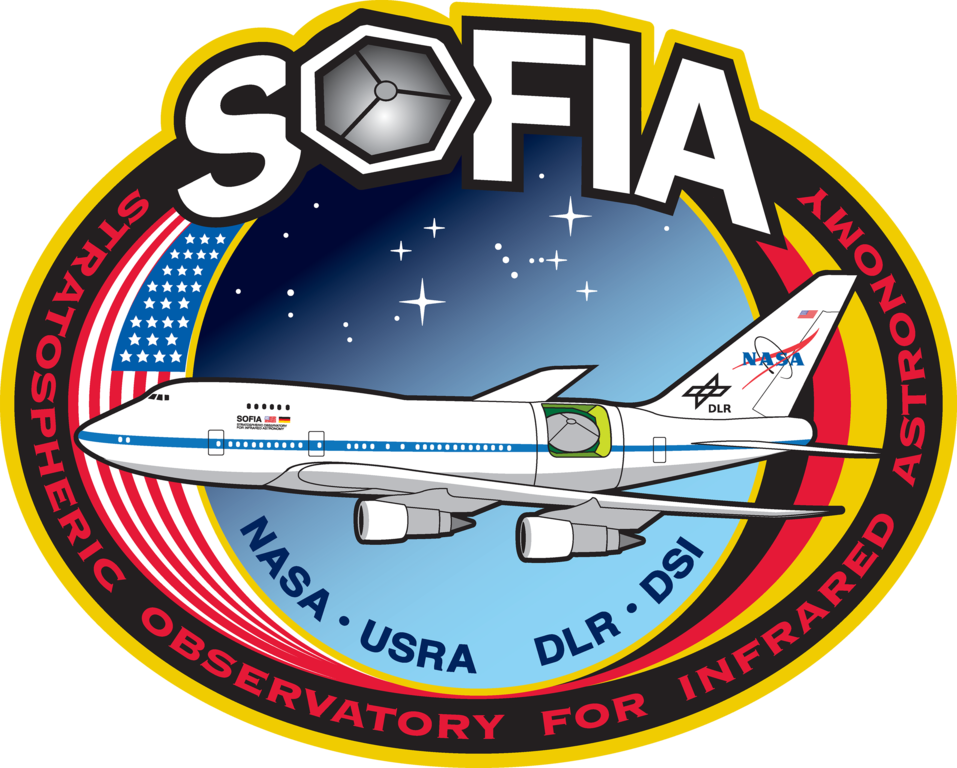 There are however some truly unique instruments in NASA’s observational arsenal, and though they might not have the name recognition of the Hubble or James Webb Space Telescopes, they still represent incredible feats of engineering. This is perhaps best exemplified by the Stratospheric Observatory for Infrared Astronomy (SOFIA), an airborne infrared telescope built into a retired airliner that is truly one-of-a-kind.
Unfortunately this unique aerial telescope also happens to be exceptionally expensive to operate; with an annual operating cost of approximately $85 million, it’s one of the agency’s most expensive ongoing astrophysics missions. After twelve years of observations, NASA and their partners at the German Aerospace Center have decided to end the SOFIA program after its current mission concludes in September.
With the telescope so close to making its final observations, it seems a good time to look back at this incredible program and why the US and German space centers decided it was time to put SOFIA back in the hangar.
Continue reading “NASA’s Flying Telescope Is Winding Down Operations”