The Mandelbrot set is — when visualized with some colors — an interesting shape with infinite detail. While the patterns are immediately obvious to the human eye, anyone who’s run one can tell you that they’re pretty computationally expensive to produce. Fortunately, as with many things in graphics, rendering the Mandelbrot set can be easily parallelized.
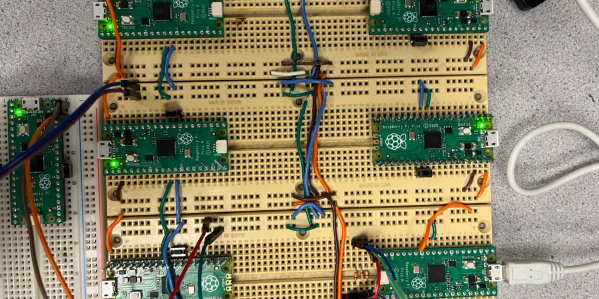
That’s what [rak277] and [ir93] demonstrate in their RP2040-based finals project. Computron, as they call it, is a network of Raspberry Pi Picos that work together to compute a visualization of the Mandelbrot set and show it on a VGA display. The Computron is made of two or more “math units” and one “projection unit”. The math units communicate over a shared I²C bus with the projection unit to first divide the workload and then compute their share of the work.
This project shows both the strengths and limitations of parallel computation. It makes use of multiple math units on a highly parallelizable workload, but as more math units are added there are diminishing performance gains due to the increased communications load on the network, which [rak277] and [ir93] suspect to be the current bottleneck in the Computron.
If you’re fresh out of Pi Picos, and don’t mind waiting awhile, you could always crank out a Mandelbrot set on your trusty Atari 800 in BASIC.