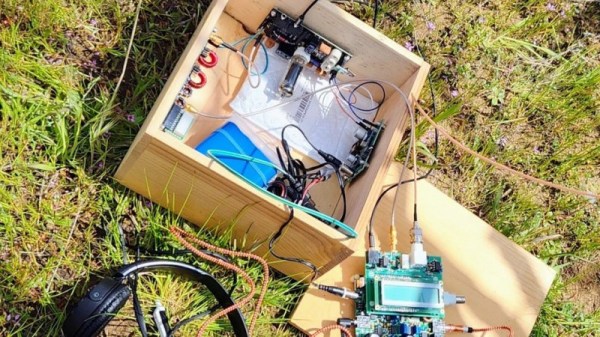
Usually when we think of Bitcoin miners, we imagine huge facilities of server racks doing nothing but essentially wasting energy, all for the chance that one of those computers amongst the rows will stumble upon the correct set of numbers to get rewarded with imaginary money. The idea being that the more computers, the more chances to win. But just buying one lottery ticket is the only thing technically required to win, at least in theory. And [Data Slayer] is putting this theory to the test with this Bitcoin miner built around a single Raspberry Pi.
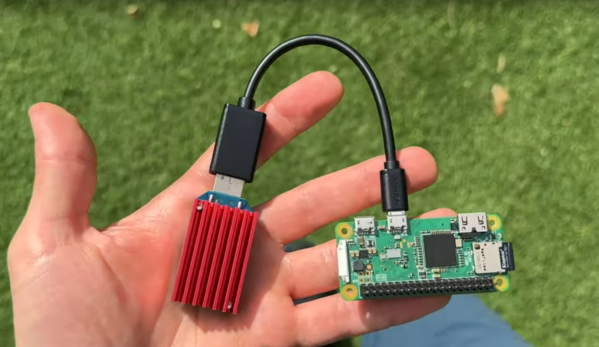
This tiny Raspberry Pi Zero does get a little bit of support from an Ant Miner, a USB peripheral which is optimized to run the SHA256 hashing algorithm and solve the complex mathematical operations needed to “win” the round of Bitcoin mining. Typically a large number of these would be arrayed together to provide more chances at winning (or “earning”, to use the term generously) Bitcoin but there’s no reason other than extreme statistical improbability that a single one can’t work on its own. The only other thing needed to get this setup working is to give the Pi all of the configuration information it needs such as wallet information and pool information.
This type of miner isn’t novel by any means, and in fact it’s a style of mining cryptocurrency called “lottery mining” where contributing to a pool is omitted in favor of attempting to solve the entire block by pure random chance alone in the hopes that if it’s solved, the entire reward will be claimed by that device alone. In the case of this device, the current hash rate calculated when it was contributing to a pool means that when lottery mining, it has about a one-in-two-billion chance of winning. That’s essentially zero, which is basically the same chance of winning a lottery that pays out actual usable currency.