The last two Novembers, Hackaday’s annual gathering was held in remote mode: Remoticon instead of Supercon. While still recovering from jetlag, I’m reflecting on the pros and cons of live versus virtual events. And wondering how we can combine the virtues of both for next year. Come brainstorm with me!
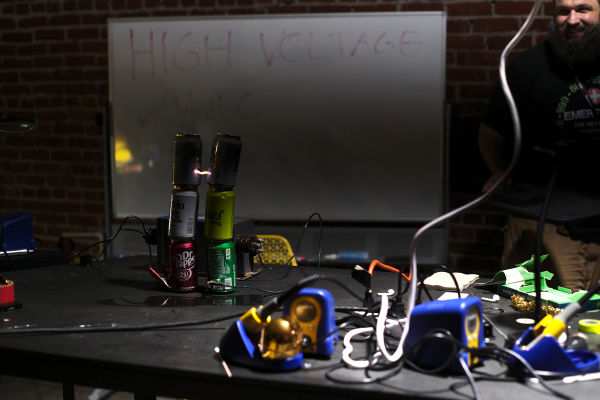
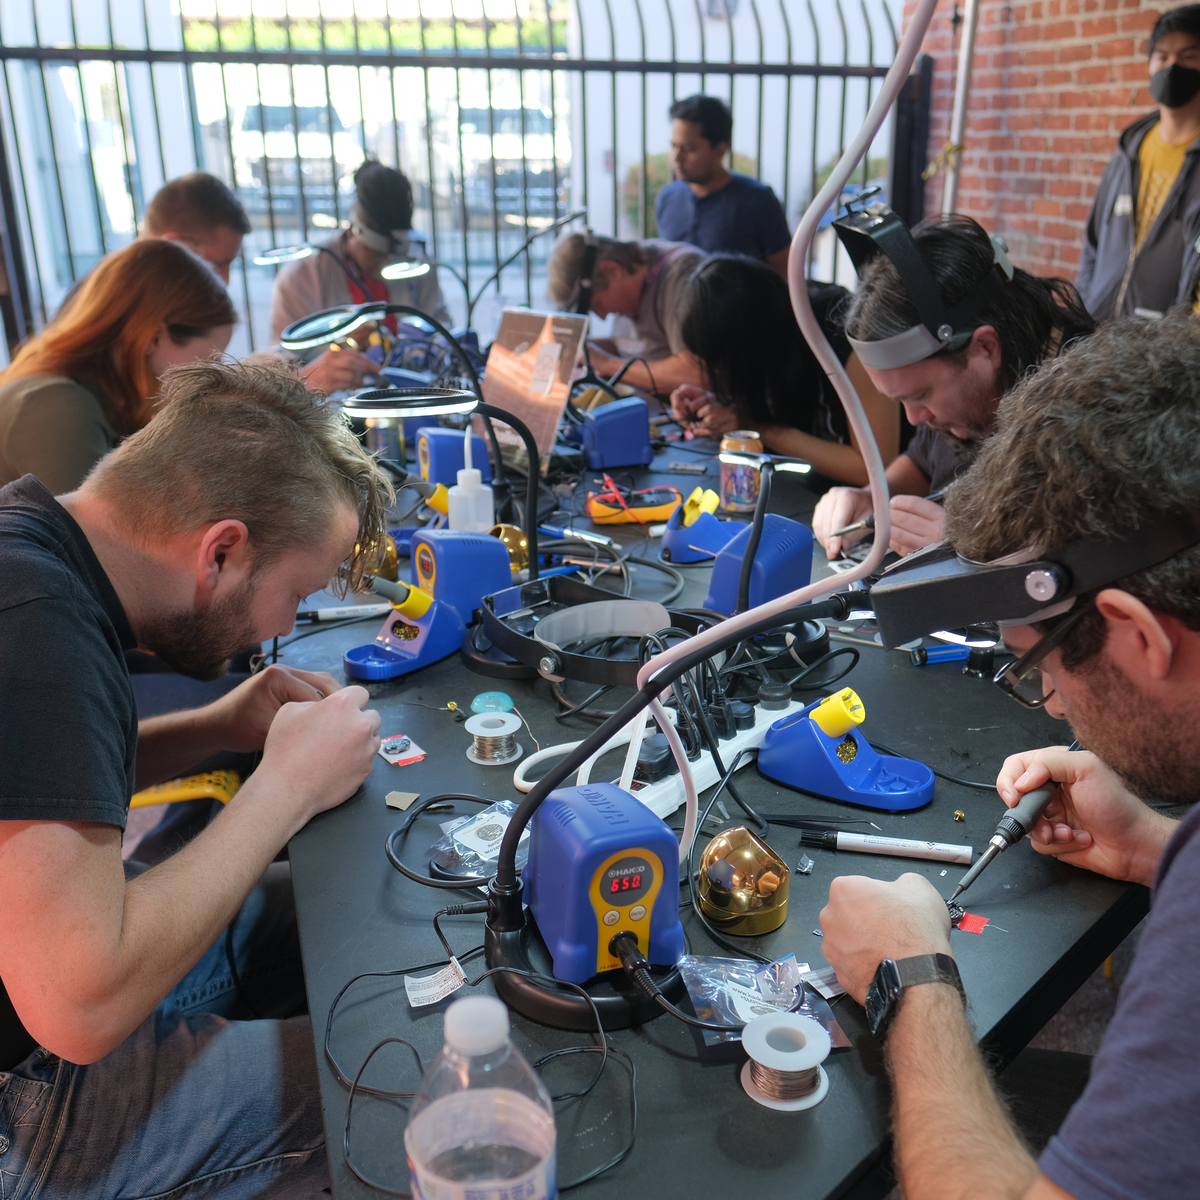 The blatantly obvious pros of having a live Supercon is the ease of talking to everyone who is there, trading code tips, life experience, and must-see projects. In person, you can physically trade badge add-ons in real time, without waiting for customs to clear the packages. Simply hanging out has a real charm to it, and doing so over shared tacos is even better. Spontaneous collaborations were easy and natural. And finally, while you can watch someone electrocute a twinkie with a neon sign transformer on YouTube, you can’t smell the ozone.
Against this, all of the expensive travel, the aforementioned jetlag for some, and the real-world limitations that only so many people can fit in a given physical space at once.
The best part of Remoticon was hearing from people who wouldn’t have been able to make it to an in-person con, whether it’s because it’s of geography or money. Since everything is online, there’s no missing out, and anyone can freely dip in to one talk or another. The online chat channels were better attended during Remoticon as well – perhaps because they were the only game in town – but that was a more global community.
There’s probably nothing that can be done about the tacos, but what could we do about incorporating the benefits of Remoticon? We did stream one stage live, and we had two chat channels open for commentary the whole time. If you took part remotely in Supercon, let us know how it went, and if you have any suggestions to improve our remote experience for next time. Because in the end, we want Hackaday to be as inclusive and as global as the hacker community itself.
Banner Photo by Poyu Chen.