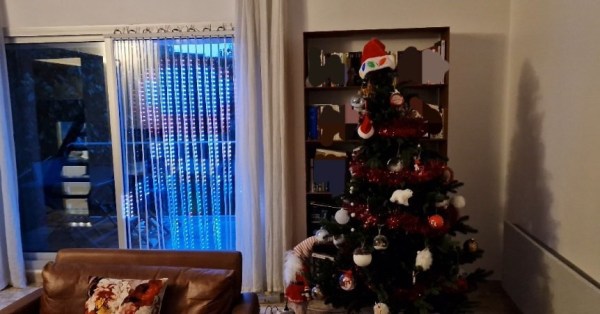
Anybody who has ever seen a video wall (and who hasn’t?) will be familiar with the idea of making large-scale illuminated images from individual coloured lights. But how many of us have gone the extra mile and fitted such a display in our own homes? [vcch] has done just that with his Deluxe Smart Curtain that can be controlled with a phone or laptop.
The display itself is made up of a series of Neopixel strips, hung in vertical lines in front of the window. There is a wide gap between each strip, lending a ghostly translucent look to the images and allowing the primary purpose of the window to remain intact.
The brains of the system are hosted on a low-cost M5stack atom ESP32 device. The data lines for the LEDs are wired in a zig-zag up and down pattern from left to right, which the driver software maps to the rectangular images. However, the 5V power is applied to the strips in parallel to avoid voltage drops along the chain.
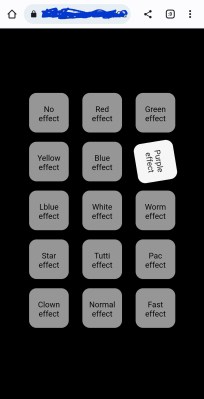
If you’d like to build your own smart curtain, Arduino sketch files and PHP for the mobile interface are included on the project page. Be sure to check out the brief video of what the neighbors will enjoy at night after the break.
If video walls are your kind of thing, then how about this one that uses Ping Pong Balls as diffusers? Continue reading “Smart LED Curtain Brings Sprites To Your Windows”