Before deciding whether the headline of this article is clickbait, please take a moment to watch the excellent video by [BigClive] below the break. And then, go to your local search engine and search the phrase “fractal burning death”. We’ll wait.
With that out of the way, we have to admit that when we saw the subject “The most deadly project on the Internet” on [bigclivedotcom]’s YouTube channel, we were a bit skeptical. It’s a big claim. But then we watched the video and did some googling. Sadly, there are over 30 documented cases of this project killing people, and more cases of permanent grievous injury.
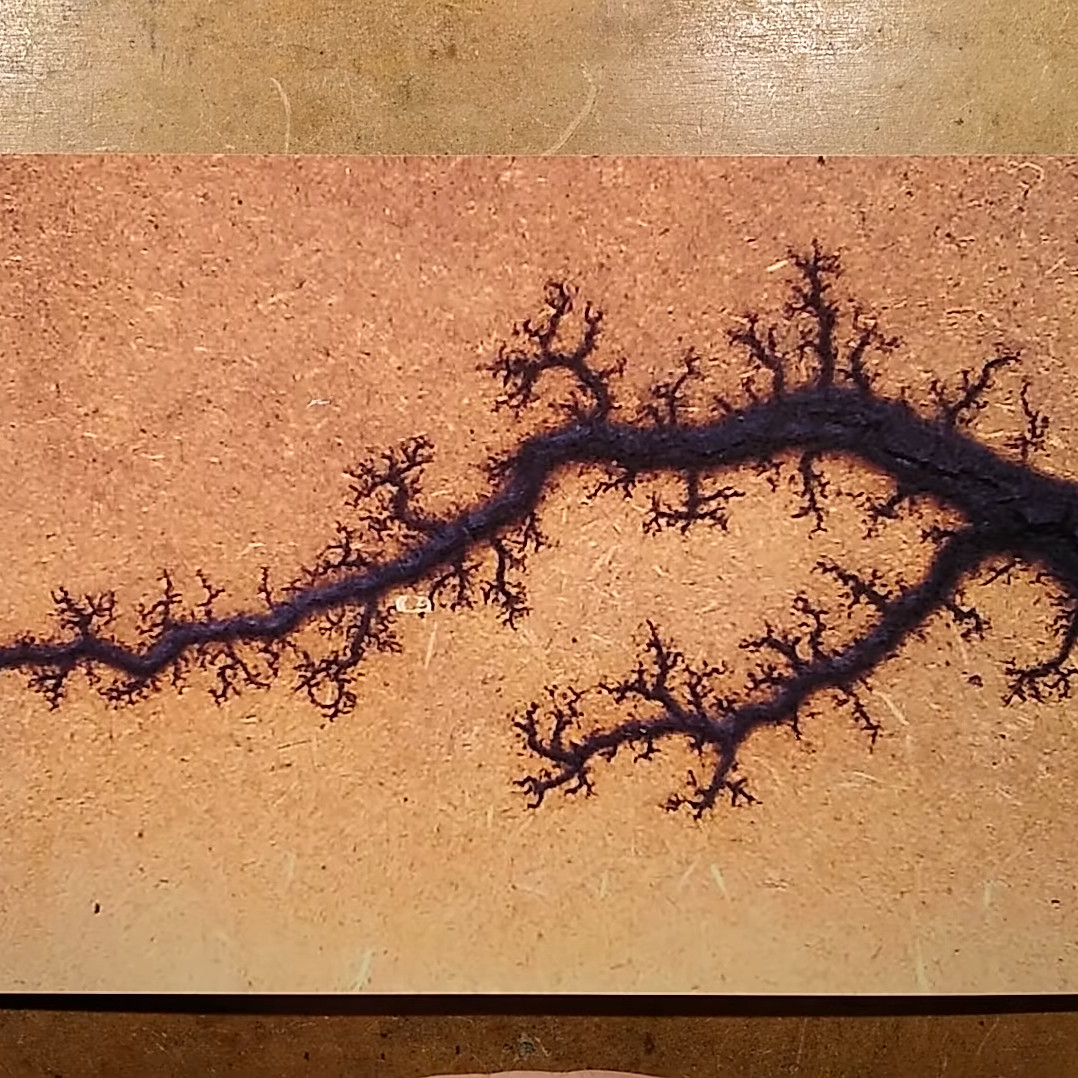
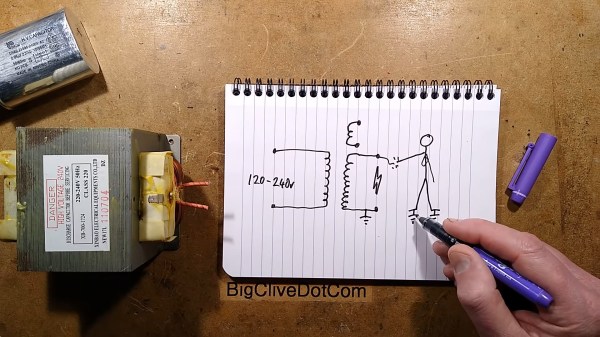
Fractal Burning is a hobby where wood is burned by slathering wood in a conductive slurry and then applying high voltage to either side of the wood, usually using something not rated for high voltage, such as jumper cables. The High Voltage is supplied by an unmodified Microwave Oven Transformer. Other projects using MOT’s typically rip out the high voltage secondary windings and re-wind them as low voltage, high amperage transformers, and are using in Spot Welders and even arc welders.
As laid out by [BigClive], the voltages coming from an unmodified MOT, ranging from 2-3 KV (That’s between two and three thousand Volts) at a very low impedance are right up there in the “Don’t go near it!” territory.