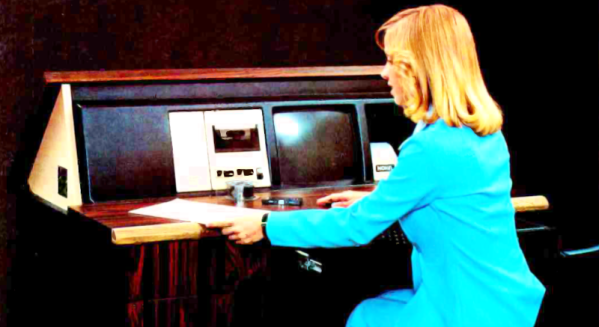
People argue about the first use of the computer desktop metaphor. Apple claims it. Xerox probably started it. Yet, when I think of computer desktops, I think of the NOVAL 760. Not a household name, to be sure, but a big ad spread in a June 1977 Byte magazine was proud to introduce it. At $2995, we doubt many were sold, but the selling point was… well… it was built into a “handsome wood desk, designed to compliment any decor.” The desk folded down when you were not using the computer, and the keyboard recessed into a drawer.
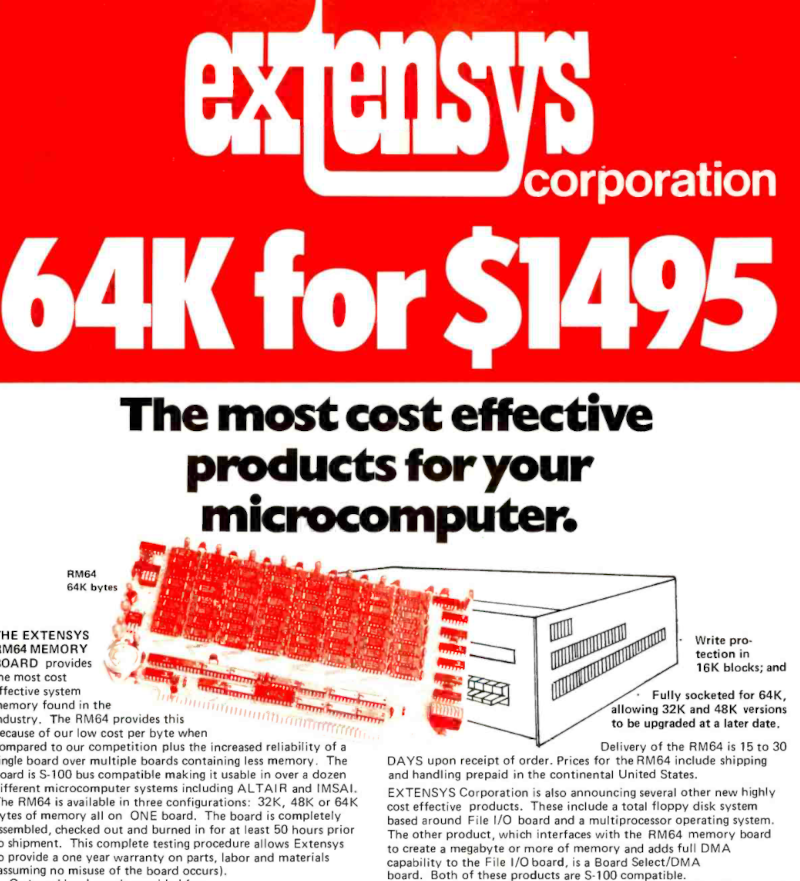 The computer itself was no slouch for 1977, but nothing you couldn’t find elsewhere. An 8080, speed unspecified, had 16 kB of RAM and 3 kB of PROM. There was also a display with a few kB of memory hanging around, too. And just in case you were worried, the bottom of the page entitled “The Ultimate in Home Computers” reads, “The NOVAL 760 COMPUTER. A fully-assembled, fully-tested personal computer … not a kit!” Of course, for us, that’s not really a selling point. If you wonder why the computer was memory limited, this is the time that Extensys bragged in an ad: 64 kB for $1495! If you ordered one, you could have it in 15 to 30 days, too!
There were options for more memory, and it wasn’t clear how many of the I/O devices in the ad were actually included in the advertised price. Some of the devices seemed very specialized, so we are guessing the basic system didn’t include some of them.