Using Ikea Guts To Add Sonos Compatibility To A Vintage Speaker

We’re in a fortunate position when it comes to audio gear, because advances in amplifier and signal processing technology have delivered us budget devices that produce a sound that’s excellent in comparison to those of a few years ago. That said, a decent quality device is good whichever decade it was manufactured in, and a speaker from the 1960s can be coaxed into life and sound excellent with a modern amplifier. It’s something [Sebastius] has explored, as he picked up an attractive-looking set of Swedish speakers from the 1960s. Wanting to bring them into the 21st century, he’s upgraded them for Sonos compatibility by hacking in the guts of an IKEA Symfonisk bookshelf speaker.

The speakers themselves looked good enough, but on closer examination they proved to bear the scars of many decades. After testing new wiring and drivers they still had a good sound to them. Their passive crossover meant that hooking them up to a single amplifier is as straightforward as it was decades ago, but a Symfonisk has an active crossover and two amplifiers. Fortunately there’s a neat hack by which those two amplifiers can be combined as one, and this is what he’s done with the resulting Symfonisk electronic package mounted on the reverse of the speaker.

The fate of the original speaker’s broken mid-range and tweeter drivers was a common enough one back in the day as speakers were ill-matched to amplifiers. Too small an amp would need turning up in volume to get a good sound resulting in distortion that would burn out the top end drivers, while too much power would result in the bass drivers being overloaded and failing. It’s unclear whether the drivers in a vintage speaker would be well-matched to an amplifier such as the Symfonisk, but we’re guessing they are safe while run at sensible volumes. Perhaps of more interest is whatever on-board DSP a Symfonisk contains, because while vintage speakers were designed for as flat a response as possible, modern compact speakers use DSP to equalise the frequency and phase responses of otherwise not-very-good-sounding enclosures. If the Symfonisk does this then those adjustments will appear as distortion in the sound of a different cabinet, but the question remains whether that distortion will be significant enough to be detectable by ear.

If the Symfonisk catches your attention, we’ve covered a teardown of it in the past.

Spacewar! On PDP-11 Restoration

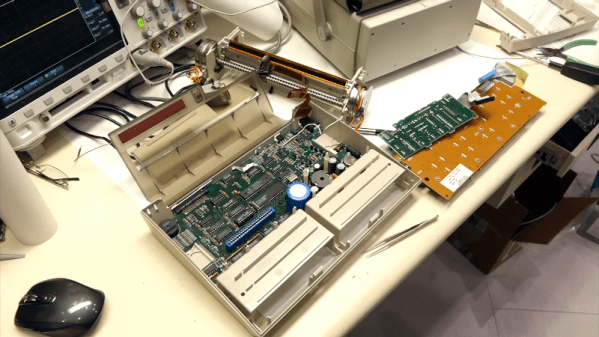
If you want to play the original Spacewar! but you don’t have a PDP-1 nearby, then you’re in luck — assuming you have a PDP-11, that is. [Mattis Lind] has successfully restored a PDP-11 port of the game from PDF scans of the source code, which was thought to have been lost to the trash bins of DECUS (Digital Equipment Computer Users’ Society). Fortunately, [Mattis] learned that [Bill Seiler], one of the original authors, had saved a printout of the assembly language. Using a combination of OCR and manual transcription to retrieve the code, [Mattis] took a deep dive into cleaning up the errors and solving a whole lot of system library and linking issues. Adding to the difficulty is that his PDP-11 is slightly different from the one used in 1974 when this port was written.

The project was not all software — [Mattis] also needed to make a pair of joysticks, which he made from a handful of items found on AliExpress. As you can see in the video below, he indeed got it all working. [Mattis] is no stranger to the PDP-11 world. We wrote about his PDP-11 restoration project back in 2015, a quest that took over 18 months.

Continue reading “Spacewar! On PDP-11 Restoration”

Random Robot Makes Random Art

For the price of a toothbrush and a small motor with an offset weight, a bristlebot is essentially the cheapest robot that can be built. The motor shakes the toothbrush and the bristle pattern allows the robot to move, albeit in a completely random pattern. While this might not seem like a true robot that can interact with its environment in any meaningful way, [scanlime] shows just how versatile this robot – which appears to only move randomly – can actually be used to make art in non-random ways.

Instead of using a single bristlebot for the project, three of them are built into one 3D printed flexible case where each are offset by 120°, and which can hold a pen in the opening in the center. This allows them to have some control on the robot’s direction of movement. From there, custom software attempts to wrangle the randomness of the bristlebot to produce a given image. Of course, as a bristlebot it is easily subjected to the whims of its external environment such as the leveling of the table and even the small force exerted by the power/communications tether.

With some iterations of the design such as modifying the arms and control systems, she has an interesting art-producing robot that is fairly reliable for its inherently random movements. For those who want to give something like this a try, the code for running the robot and CAD files for 3D printing the parts are all available on the project’s GitHub page. If you’re looking for other bristlebot-style robots that do more than wander around a desktop, be sure to take a look at this line-following bristlebot too.

Thanks to [johnowhitaker] for the tip!

Continue reading “Random Robot Makes Random Art”

Automated Watering Machine Has What Plants Crave: Fertilizer

We’ve seen countless automated plant care systems over the years, but for some reason they almost never involve the secret sauce of gardening — fertilizer. But [xythobuz] knows what’s up. When they moved into their new flat by themselves, it was time to spread out and start growing some plants on the balcony. Before long, the garden was big enough to warrant an automated system for watering and fertilizing.

This clever DIY system is based around a 5L gravity-fed water tank with solenoid control and three [jugs] of liquid fertilizer that is added to the water via peristaltic pump. Don’t worry, the water tank has float switches, and [xythobuz] is there to switch it off manually every time so it doesn’t flood the flat.

On the UI side, an Arduino Nano clone is running the show, providing the LCD output and handling the keypad input. The machine itself is controlled with an ESP32 and a pair of four-channel relay boards that control the inlet valve, the four outlet valves, and the three peristaltic pumps that squirt out the fertilizer. The ESP also serves up a web interface that mimics the control panel and adds in the debug logs. These two boards communicate using I²C over DB-9, because that’s probably what [xythobuz] had lying around. Check out the demo video after the break, and then go check on your own plants. They miss you!

Don’t want to buy just any old peristaltic pumps? Maybe you could print your own.

Continue reading “Automated Watering Machine Has What Plants Crave: Fertilizer”

Wood Enclosure Lends Warmth To This DIY Ribbon Microphone

We love it when someone takes an idea they’ve seen on Hackaday and runs with it, taking it in a new and different direction. That’s pretty much what we’re here for, after all, and it’s pretty gratifying to see projects like this wooden ribbon microphone come to life.

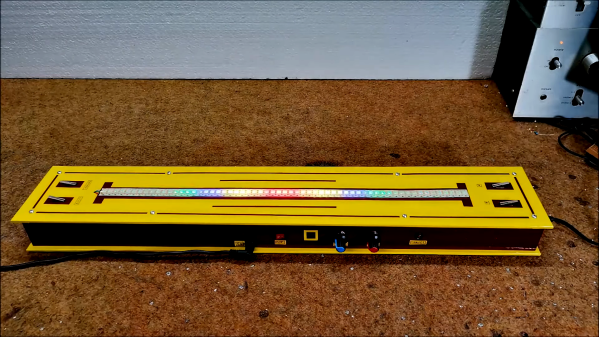
Now, we’re not completely sure that [Maya Román] was inspired by our coverage of [Frank Olson]’s homage to the RCA Model 44 studio mic rendered in walnut veneer, but we’re going to pat ourselves on the back here anyway. The interesting thing with [Maya]’s build is that she chose completely different materials and design styles for her project. Where [Frank] built as much of his mic from wood as possible, [Maya] was fine with a mixed media approach — CNC-milled plywood for the case and stand, laser-cut acrylic for the ribbon motor frame, and 3D-printed pieces here and there as needed. The woven brass cloth used as a windscreen is a nice detail; while the whole thing looks — and sounds — great, we think it would be even better with a coat of dark stain to contrast against the brass, as well as a nice glossy coat of polyurethane.

The video below shows the whole design and build process, which was a final project for [Maya]’s audio production class this semester at college. Here’s hoping that it got as good a grade as we would give it.

Continue reading “Wood Enclosure Lends Warmth To This DIY Ribbon Microphone”

A Stackable Planetary Gearbox You Can Print At Home

In one little corner of YouTube is a small but vibrant community sharing videos about gearboxes of their own design, particularly those with very high ratios or other quirky features. Adherents of the subculture are known as gearheads, and [Let’s Print] is among them. His latest creation is a 3D printed planetary gearbox design with a focus on easy assembly and versatile ratio choice. (Video, embedded below.)

The gearbox came about as [Let’s Print] grew weary of designing bespoke geartrains for each of their individual projects.  The planetary design they landed on has the benefit of being stackable, with each reduction block fitted adding a 1:3 stepdown to the train.

For testing purposes, four stages were ganged up for a total reduction ratio of 1:81. The resulting gearbox was able to lift 40 kg before its output coupler failed, no mean feat for some plastic squirted out of a hot nozzle. It’s a common problem with huge ratio gearboxes made out of plastic – often, the very components of the gearbox can’t hold up to the huge loads generated.

Regardless of the limitations of the material, we’re sure the gearbox will prove useful in future projects from [Let’s Print]. We’ve seen other tough 3D printed gearbox builds before too, such as this anvil-lifter from the aptly-named [Gear Down For What]. Dive into the online gearbox subculture yourself.

Continue reading “A Stackable Planetary Gearbox You Can Print At Home”

Increased Neutron Levels At Chernobyl-4: How Dangerous Is Corium?

When the Chernobyl nuclear plant suffered the power output surge that would destroy its #4 reactor, a substance called ‘corium‘ was formed. This originally lava-like substance formed out of the destroyed fuel rods along with surrounding materials, like concrete, that made up the reactor. The corium ultimately cooled down and left large amounts of solid corium in the rooms where it had pooled.

Over the past few days there have been numerous reports in the media regarding a ‘sudden surge’ in neutron flux levels from this corium, with some predicting a ‘second Chernobyl disaster’. Obviously, this has quite a few people alarmed, but how dire are these neutron output changes exactly, and what do they tell us about the condition of the corium inside the ruins of the #4 reactor building? Continue reading “Increased Neutron Levels At Chernobyl-4: How Dangerous Is Corium?”