Sometimes bad software is all that is holding good hardware back. [Michael Melchior] wanted to scavenge some motors and propellers for another project, so he bought an inexpensive quadcopter intending to use it for parts. [Michael] was so surprised at the quality of the hardware contained in his $100 drone that he decided to reverse engineer his quadcopter and give the autopilot firmware a serious upgrade.
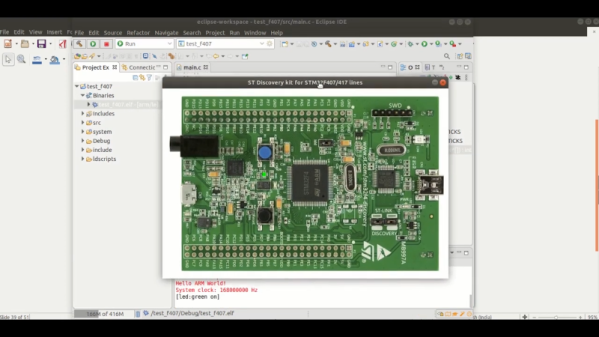
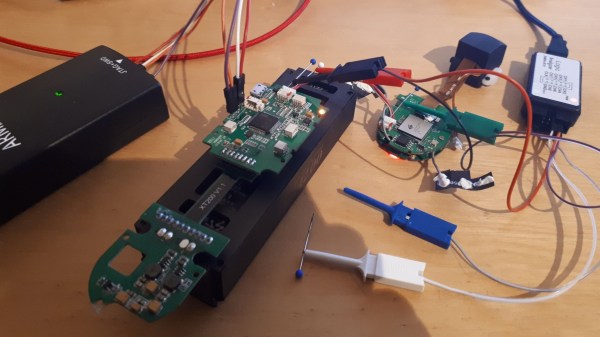
 Upon stripping the drone down, [Michael] found that it came with a flight management unit based on the STM32F405RG, an Inertial Measurement Unit, magnetic compass, barometric pressure sensor, GPS, WiFi radio, camera with tilt, optical flow sensor, and ultrasonic distance sensor, plus batteries and charger! The flight management unit also had unpopulated headers for SWD, and—although the manufacturer’s firmware was protected from reading—write protection hadn’t been enabled, so [Michael] was free to flash his own firmware.
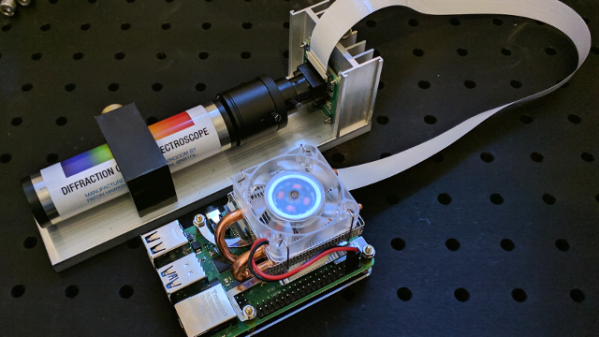
We highly recommend you take a look at [Michael]’s 10 part tour de force of reverse engineering which includes a man-in-the-middle attack with a Raspberry Pi to work out its WiFi communication, porting the open-source autopilot PX4 to the new airframe, and deciphering unknown serial protocols. There are even amusing shenanigans like putting batteries in the oven and freezer to help figure out which registers are used as temperature sensors. He achieves liftoff at the end, and we can’t wait to see what else he’s able to make it do in the future.
Of course, [Michael] is no stranger to hacking imported quadcopters, and if you’re interested in PX4 but want something quieter than a quadcopter, take a look at this autopilot-equipped glider.