The fall lineup of HackadayU courses was just announced, get your tickets now!
Each course is led by expert instructors who have refined their topics into a set of four live, interactive classes plus one Q&A session we like to call Office Hours. Topics range from leveling up your Linux skills and learning about serial buses to building interactive art and getting into first-person view (FPV) drone flight.
Checkout the course titles, instructors, and details listed below. If you’d like to hear about each class from the instructors themselves, their teaser videos are embedded after the break.
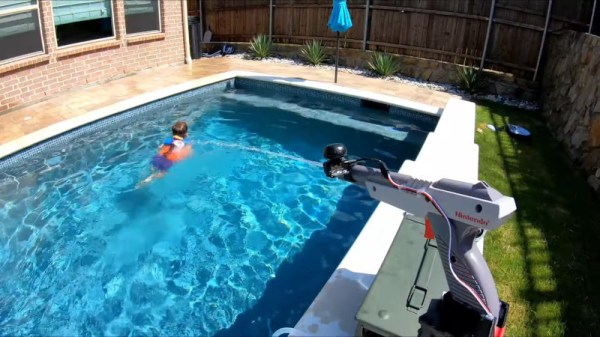
- Interactive Media Art with Light and Sensors
- Instructor: Mirabelle Jones
- Course overview: This course will cover how to develop interactive artworks, installations, and experiences based on sensor input.
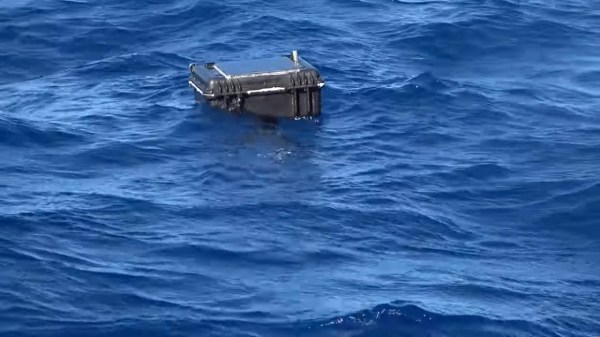
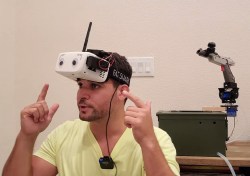
- Introduction to FPV Drones
- Instructor: Ayan Pahwa
- Course overview: We’ll get familiar with the multi-rotor category of Unmanned Aerial Vehicles (UAVs) including physics, aerodynamics, electronics, digital signal processing (DSP), and writing software that is involved.
- Intro to LEDs Using Arduino and FastLED
- Instructors: Cathy Laughlin & Mirabelle Jones
- Course overview: Students will learn all about how LEDs work as well as how to program LED patterns using the Arduino IDE.
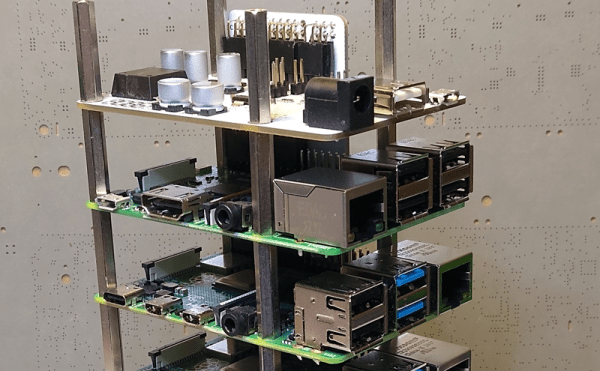
- Linux + Electronics: A Raspberry Pi Course
- Instructor: Pablo Oyarzo
- Course overview: This course is for those who had wanted to go from Arduino to a Linux computer small enough to fit the project but greatly more powerful to full fill the project’s needs and don’t know where to start.
- Embedded Serial Buses (Part 1)
- Instructor: Alexander Rowsell
- Course overview: This course will cover the I2C and 1-Wire serial buses. We will look at the hardware layer, the protocol layer, and the software/application layer for both bus types.
- Art + Code
- Instructor: Casey Hunt
- Course overview: Students will grow their technical skills through mastery of the P5.js JavaScript library, and will also learn about aesthetics and art history in the digital space.
HackadayU courses are “pay-as-you-wish”. To help ensure the live seats don’t go to waste, the minimum donation for each class is $1. Proceeds go to charity and we’re happy to report a donation of $4,200 going to Steam Coders from the summer session of HackadayU. A new charity will be chosen for the fall classes, details to follow.
Each class will be recorded and made available once they’ve been edited. You can take a look at the excellent Reverse Engineering with Ghidra series right now. Videos of the Quantum Computing and KiCad + FreeCAD courses are coming soon.
Continue reading “Six New HackadayU Courses Announced For Fall 2020”
 There is


