This year, [Thomas]’ neighborhood has gone from a quiet burg to a bustling lane full of families and children who go out walking for exercise and a change of scenery. Early on, a game emerged to distract children from the pandemic by turning these walks into bear hunts — that is, looking for stuffed bears sitting in the windows of houses and keeping count of them.
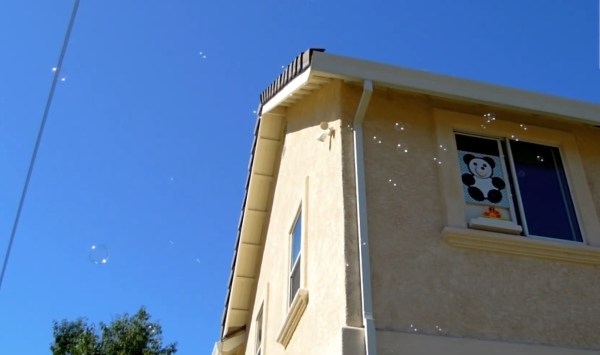
 With no stuffed bears in the house, he decided to join in the fun by pasting up a 2D panda bear in the window that’s cute enough to calm anyone’s nerves. That was fun for a while, but then he turned it up to eleven by making an interactive 3D version named Bubbles the Bear that blows bubbles and speaks in a friendly voice.
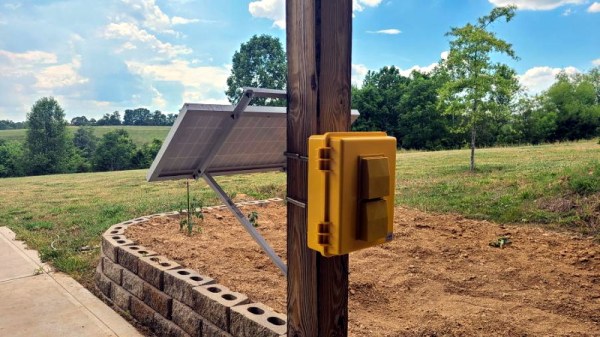
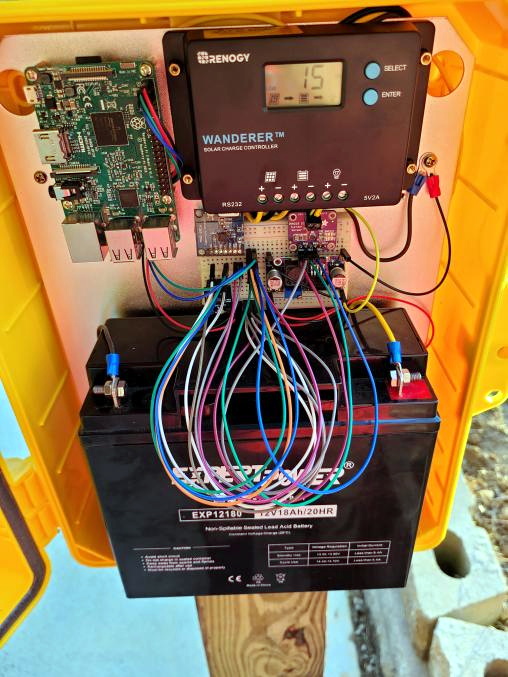
Bubbles sits in a second-story window and waits for passers-by to press one of the buttons mounted on the utility pole below. Both buttons are wired to a 433MHz remote that sends a signal to an ESP32 in Bubbles’ habitat that says it’s time to perform.
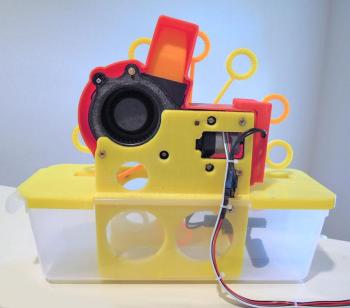
We particularly like the bubble maker that [Thomas] designed, which aims a blower fan with an air concentrator at a carousel of 3D printed bubble wands. Both the fan and the carousel can be controlled with a custom web app, and he gets an email every time Bubbles has a visitor that tells him how much bubble liquid is left. Check out the fun-size demo after the break.
Bubbles are fun, especially if you can make them in extremely large quantities. Bubbles can also do work — remember this next time you need a random number generator.
Continue reading “Bubbles, The People-Pleasing Pandemic Panda”