What do you do if you have to solder thousands of through-hole parts? The expensive, professional way of doing this is running the boards through a wave soldering machine, or a machine with a fancy CNC solder fountain. The amateur way of soldering thousands of through-hole joints is putting some boards on the workbench and sitting down with a soldering iron. There is nothing in between; you’re either going to go with full automation for a large soldering job, or you’re doing it completely manually. That’s the problem this soldering robot solves. It’s a small, cheap, but still relatively capable soldering robot built out of a 3D printer.
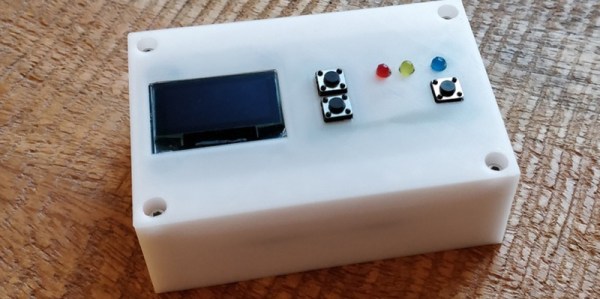
This project is a solution to the development hell of the OpenScan project. This project is built around a small, simple printed circuit board that uses several 0.1″ female headers to connect an Arduino and motor drivers. Soldering them by hand is simply boring, and 3D printers are cheap, so the great mind behind this project decided to use a printer to pump out solder.
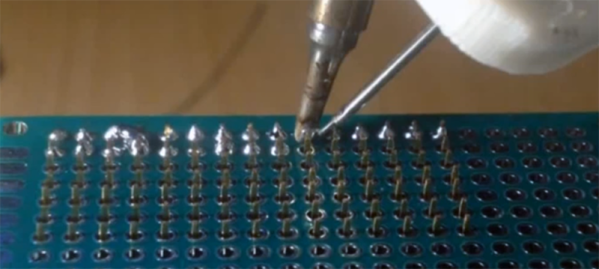
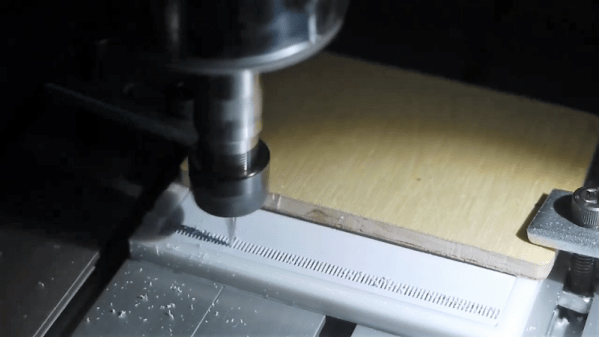
The modifications to the printer include a mount for a TS100 soldering iron and a modified filament extruder that pushes a spool of solder through a PTFE tube. The GCode for this soldering job was created manually, but you could also use a slicer instead. After 20 hours of development, the ‘success rate’ – however that is defined – is between 60-80%. That needs to get up to four or five nines before this DIY soldering robot is practical but this is a decidedly not-bad result for a few hours of tinkering.
This printer mod works great for the use case of stuffing a few 0.1″ headers into a board and letting a robot automatically solder the joints, but this printer will run into a problem with the general case of soldering a lot of randomly-shaped through hole parts. You need to actually hold the parts up against the board while soldering. There’s an easy solution to this problem: just flip the 3D printer upside down. This hack of a cheap 3D printer is so, so close to being a great solution to soldering thousands of through-hole parts quickly and easily, and we’re looking forward to seeing where the community takes this idea. You can check out the video demo below.
Continue reading “3D Printer Becomes Soldering Robot” →