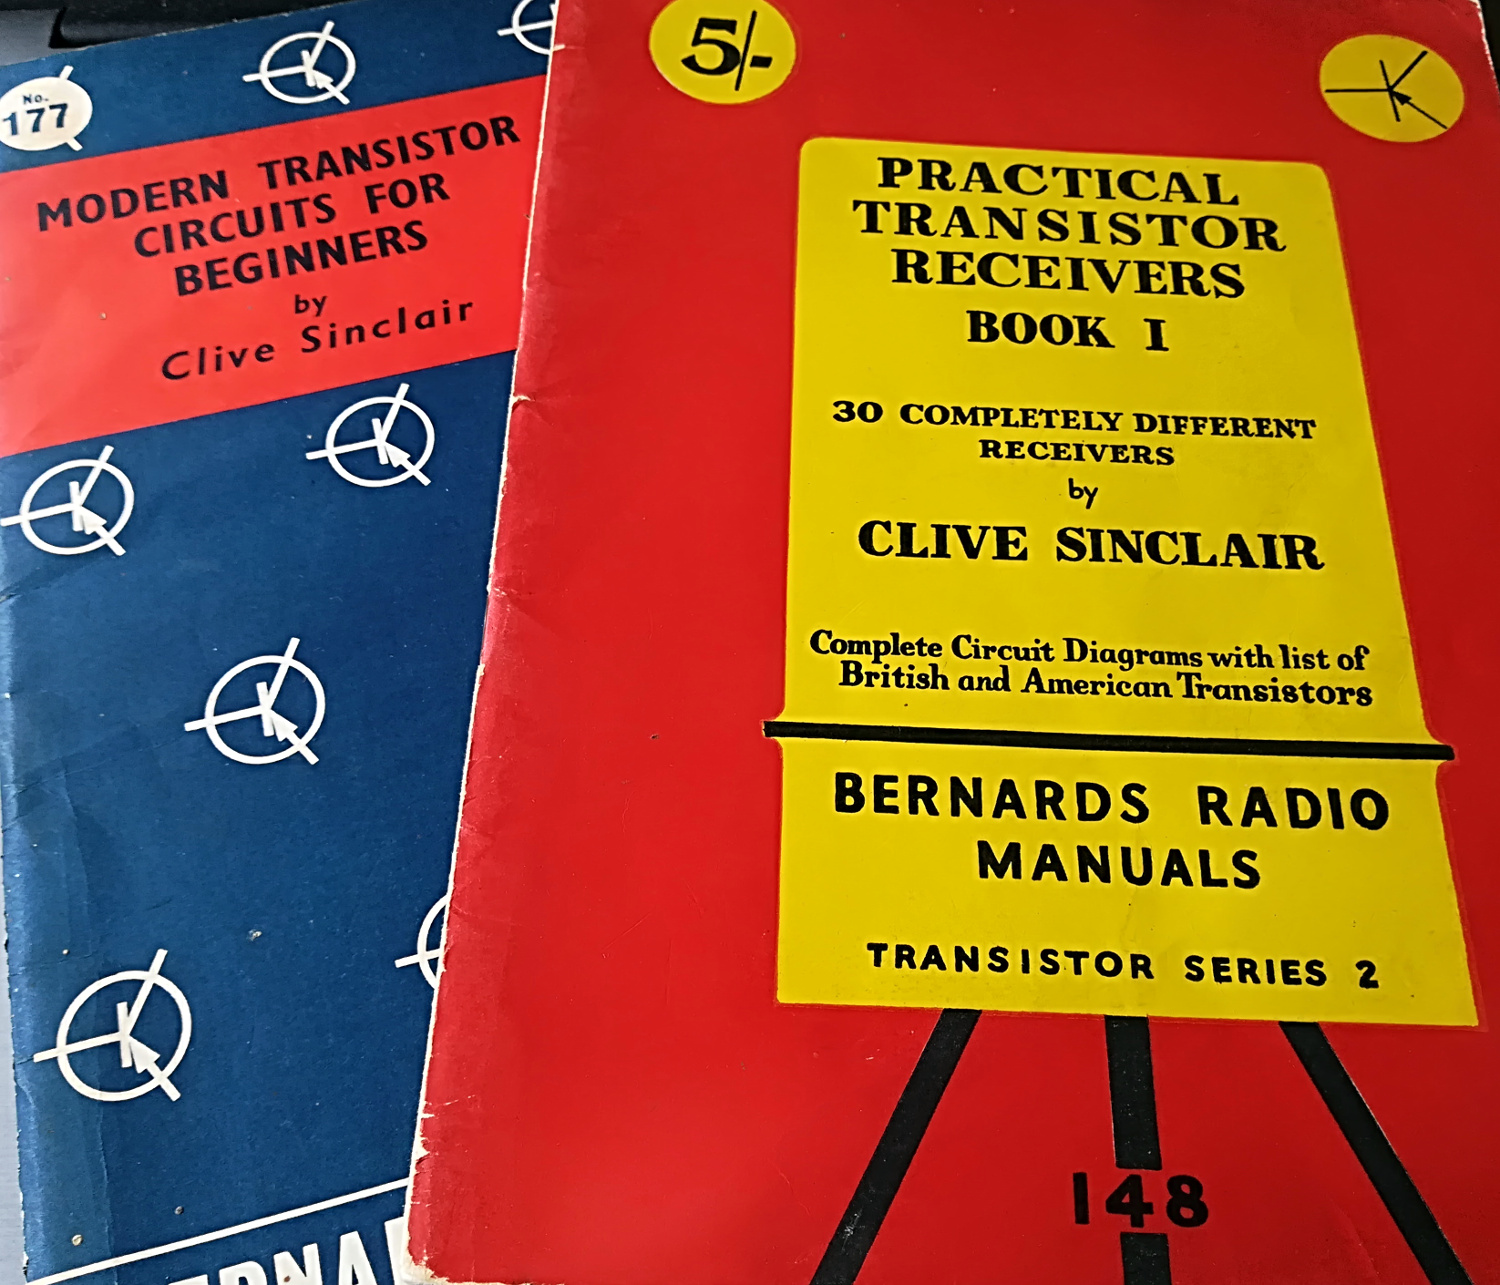
If you are under a certain age, you probably associate Radio Shack with cellphones. While Radio Shack never gave us access to the variety and economy of parts we have today, they did have one thing that I wish we could get again: P-Box kits. The obvious questions are: What’s a P-Box and why do I want one? But the kit wasn’t to make a P-Box. P-Box was the kind of box the kit came in. It was like a piece of perfboard, but made of plastic, built into a plastic box. So you bought the kit — which might be a radio or a metal detector — opened the box and then built the kit using the box as the chassis.
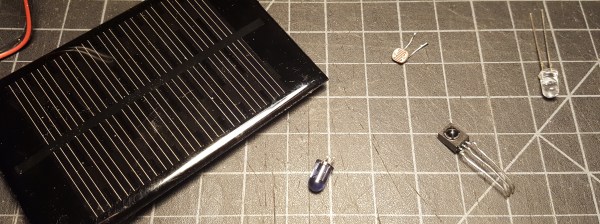
The perfboard was pretty coarse, too, because the components were all big discrete components. There was at least one that had an IC, but that came premounted on a PC board that you treated like a big component. One of my favorites was a three-transistor regenerative shortwave receiver. In those days, you could pick up a lot of stations on shortwave and it was one of the best ways at the time to learn more about the world.
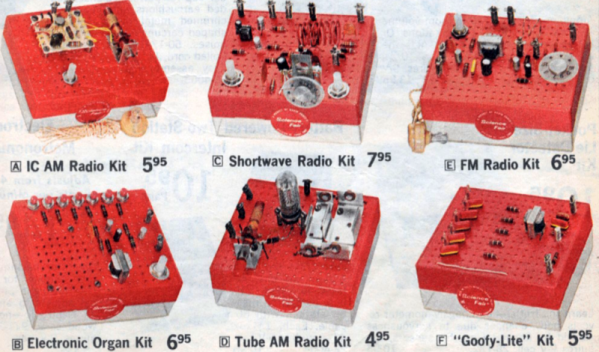
On the left, you can see a picture of the radio from the 1975 catalog. You might think $7.95 is crazy cheap, but that was at least a tank full of gas or four movie tickets in those days, and most of us didn’t have a lot of money as kids, so you probably saved your allowance for a few weeks, did chores, or delivered papers to make $8.
Continue reading “Retrotechtacular: Remembering Radio Shack P-Box Kits”