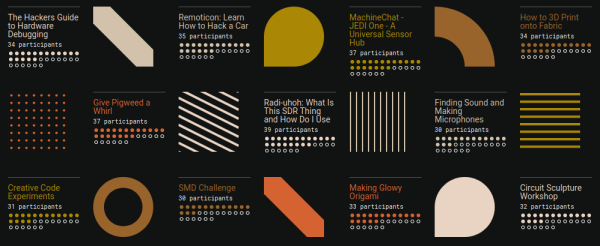
There’s just one week left until Hackaday Remoticon, our online gathering in place of our traditional in-person conference during this time of social distancing. Joining the more than 20 hands-on workshops that make up the bulk of Remoticon, we’re excited to announce the two keynote speakers who will be taking the virtual stage: Alfred Jones and Kipp Bradford.
Tickets to see these keynote talks, to watch the SMD Challenge, to see hardware demos, and to take part in the show and tell are free, so get yours today!

Alfred Jones
Head of Mechanical Engineering at Lyft’s Self-Driving Division
Alfred Jones is the Head of Mechanical Engineering at Lyft’s level 5 self-driving division. Level 5 means there are no humans involved in operating the vehicle and it is still capable of driving anywhere a human could have. What goes into modifying a vehicle for this level of self-driving? What processes does his team use to deliver safe automation? And will cars in the near future completely get rid of the driver’s seat? Alfred knows and we’ll be hanging on his every word!
 Kipp Bradford
CTO fo Treau
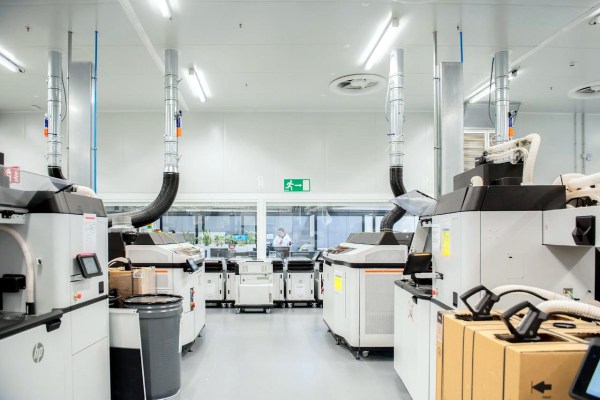
Kipp Bradford is the CTO of Treau, a company bringing heating, ventilation, and air conditioning (HVAC) into the information age. These systems contribute as much as 20% of global emissions each year, so even small efficiency gains stand to have a huge impact. The industry has remained nearly unchanged for decades, and Kipp is at the forefront of evolving the hidden systems found in nearly every building. Will the air conditioner of tomorrow make the one we have today look like a rotary telephone? We look forward to hearing what Kipp has to say about it.
We’re so excited to have these two phenomenal speakers who have also both been involved as expert judges in the Hackaday Prize (Alfred in 2020, Kipp in 2017 and 2018). Help us show our appreciation by packing the virtual lecture halls for their talks on Saturday, November 7th! Get your free ticket now.