Cloudflare announced recently that they are seeing an increase in amplification attacks using memcached servers, and that this exploit has the potential to be a big problem because memcached is capable of amplifying an attack significantly. This takes DDoS attacks to a new level, but the good news is that the problem is confined to a few thousand misconfigured servers, and the solution is to put the servers behind a tighter firewall and to disable UDP. What’s interesting is how the fundamental workings of the Internet are exploited to create and direct a massive amount of traffic.
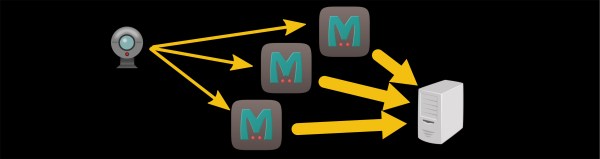
We start with a botnet. This is when a bunch of Internet-connected devices are compromised and controlled by a malicious user. This could be a set of specific brand of web camera or printer or computer with unsecured firmware. Once the device is compromised, the malicious user can control the botnet and have it execute code. This code could mine cryptocurrency, upload sensitive data, or create a lot of web traffic directed at a particular server, flooding it with requests and creating a distributed denial of service (DDoS) attack that takes down the server. Since the server can’t distinguish regular traffic from malicious traffic, it can’t filter it out and becomes unresponsive.
This DDoS attack is limited to the size of the botnet’s bandwidth, though. If all the web cameras in the botnet are pounding a server as fast as they can, the botnet has reached its max. The next trick is called an amplification attack, and it exploits UDP. UDP (as opposed to TCP) is like the early post office; you send mail and hope it gets there, and if it doesn’t then oh well. There’s no handshaking between communicating computers. When a device sends a UDP packet to a server, it includes the return address so that the server can send the response back. If the device sends a carefully crafted fake request with a different return address, then the server will send the response to that spoofed return address.
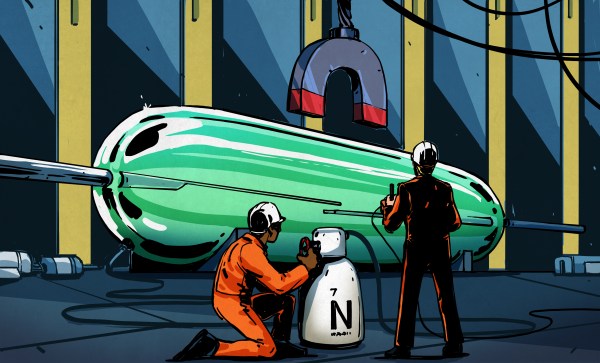
So if the web camera sends a request to Server A and the response is sent to Server B, then Server A is unintentionally attacking Server B. If the request is the same size as the response, then there’s no benefit to this attack. If the request is smaller than the response, and Server A sends Server B a bunch of unrequested data for every request from the camera, then you have a successful amplification attack. In the case of memcached, traffic can be amplified by more than 50,000 times, meaning that a small botnet can have a huge effect.
Memcached is a memory caching system whose primary use is to help large websites by caching data that would otherwise be stored in a database or API, so it really shouldn’t be publicly accessible anyway. And the solution is to turn off public-facing memcached over UDP, but the larger solution is to think about what things you are making available to the Internet, and how they can be used maliciously.
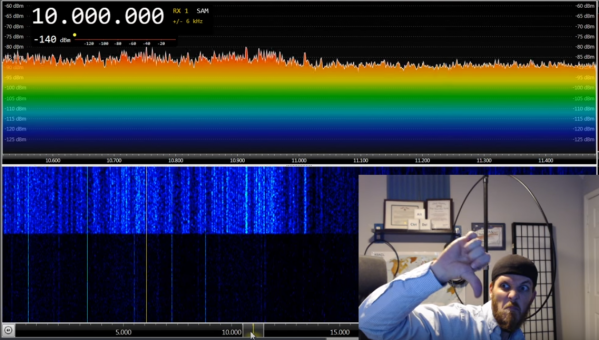
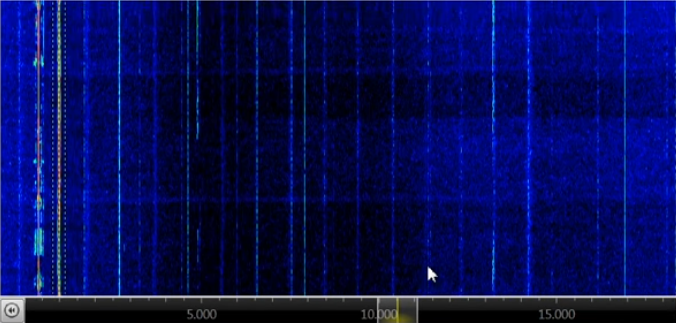 The main culprit in [K5ACL]’s house is the ceiling light that’s right there in the shack. You can see the noise striping the waterfall as he turns it on and off. But the noise from the light is small potatoes compared to some other common household items, like those power line adapters that turn house wiring into networking cable. Those produce so much noise that even an active loop is really no match. Stay tuned after the break to watch [K5ACL] work the bands through the noise.