You might not be aware unless you’re up on the latest gaming hardware, but Microsoft is trying to kill the Kinect. While the Xbox One famously included it as a mandatory pack-in accessory at launch (this was later abandoned to get the cost down), the latest versions of the system don’t even have the proprietary port to plug it in. For a while Microsoft was offering an adapter that would let you plug it into one of the console’s USB ports, but now even that has been discontinued. Owners of the latest Xbox One consoles who still want to use the Kinect are left to find an adapter on eBay, where the prices have naturally skyrocketed.
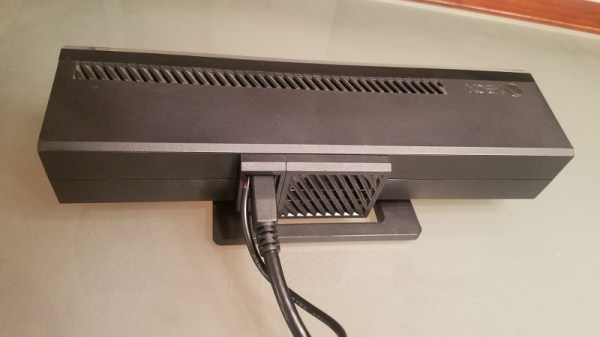
 Recently [Eagle115] decided to open up his Kinect and see if he couldn’t figure out a way to hook it up to his new Xbox One. The port on the Kinect is a USB 3.0 B female, but it requires 12V to operate. The official Kinect adapter took the form of a separate AC adapter and a “tap” that provided the Kinect with 12V over USB, so he reasoned he could pop open the device and provide power directly to the pads on the PCB.
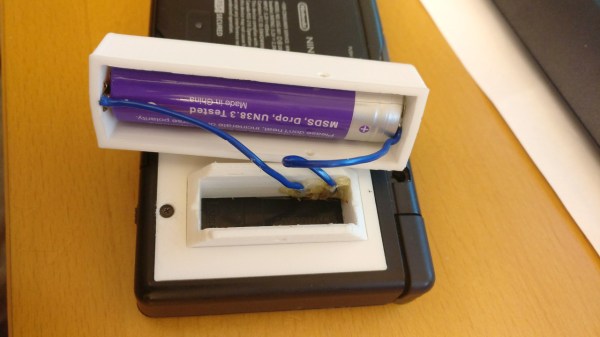
[Eagle115] bought a 12V wall adapter and a USB 3.0 B cable and got to work. Once the Kinect was popped open, he found that he needed to supply power on pin 10 (which is helpfully labeled on the PCB). There’s just enough room to snake the cable from the AC adapter through the same hole in the case where the the USB cable connects.
With the Kinect getting 12V from the AC adapter, the Xbox has no problem detecting it as if you were using the official adapter. At least for now, they haven’t removed support for the Kinect in the Xbox’s operating system.
The Kinect has always been extremely popular with hackers (it even has its own category here on Hackaday), so it’s definitely sad to see that Microsoft is walking away from the product. The community will no doubt continue pulling off awesome hacks with it; but it’s looking increasingly likely we won’t be getting a next generation Kinect.
[via /r/DIY]