Last week we reported on some work that Sparkfun had done in reverse engineering a type of hardware card skimmer found installed in gasoline pumps incorporating card payment hardware. The device in question was a man-in-the-middle attack, a PIC microcontroller programmed to listen to the serial communications between card reader and pump computer, and then store the result in an EEPROM.
The devices featured a Bluetooth module through which the crooks could harvest the card details remotely, and this in turn provides a handy way to identify them in the wild. If you find a Bluetooth connection at the pump bearing the right identification and with the right password, it can then be fingered as a skimmer by a simple response test. And to make that extra-easy they had written an app, which when we reported on it was available from a GitHub repository.
In a public-spirited move, they are now calling upon the hardware hacker and maker community to come together today, Monday, September 25th, and draw as much attention as possible to these devices in the wild, and with luck to get a few shut down. To that end, they have put a compiled version of the app in the Google Play Store to make it extra-easy to install on your phone, and they are asking for your help. They are asking for people to first read their tutorial linked above, then install the app and take it on the road. Then should any of you find a skimmer, please Tweet about it including your zip code and the #skimmerscanner hashtag. Perhaps someone with a bit of time on their hands might like to take such a feed of skimmer location data and map it.
It would be nice to think that this work might draw attention to the shocking lack of security in gas pumps that facilitates the skimmers, disrupt the finances of a few villains, and even result in some of them getting a free ride in a police car. We can hope, anyway.
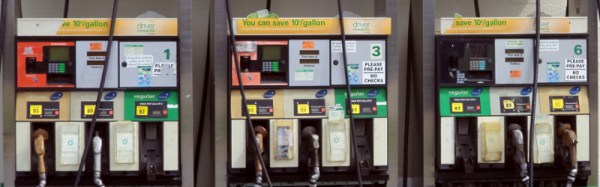
Gasoline pump image: Michael Rivera [CC BY-SA 3.0].