WiFi is all around us, but if you want to work with this ubiquitous networking protocol, you’ll need to pull out a laptop or smartphone like a caveman. [Daniel] has a better idea. It’ s a simple, compact tool for cracking WiFi passwords or sending deauth packets to everyone at the local Starbucks. It’s an ESP Swiss Army Knife, and a great entry for the Hackaday Prize.
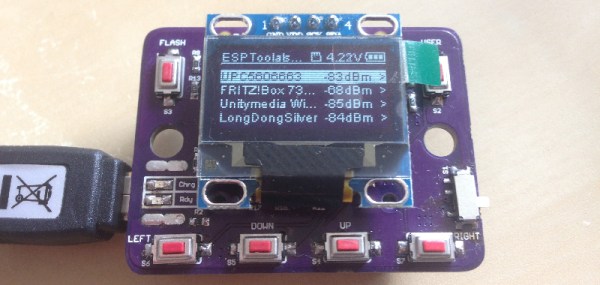
As you would expect, this WiFI Swiss Army Knife is powered by the ESP8266 and features a tiny OLED display and a bunch of buttons for the UI. With this, [Daniel] is able to perform a deauth attack on a network, kicking anyone off the network, provided this device already has the MAC address of the victim.
This tiny wireless tool also has an SD card, making it possible to collect authentication frames for later decryption on a device that actually has the power to crack a network. With a LiPo charge controller and a sufficiently large battery, this tiny device could be left in the corner of an office collecting authentication packets for days until it’s later retrieved, opening up the network to anyone with a sufficiently fast computer. It’s a great build and very useful, making this a great entry for The Hackaday Prize.