I received an email Wednesday morning from a company launching new features for a bot called Trim which will negotiate a lower cable bill for you. Give it your Comcast login info and it will launch a support-chat window and go to work negotiating rates on your behalf. This could be a lower monthly rate, or one-time credits for slow or intermittent service.
This chatbot is a glimpse into our cat-and-mouse future. If rate-reducing automation is widely adopted by customers, Comcast will have an incentive to spot these chatbots and act accordingly, and they’ll probably want to automate that. This leads quickly to a war of bots.
How many times has Hackaday predicted the future? The coming bot wars were hinted at in an article I wrote back in 2009 on the re-emergence of Tradewars 2002. This is a turn-based BBS game that I loved as a child. The second version added an automation layer — the game had become a challenge to write a better script than your opponent to play the game with maximum efficiency. Of course, it’s only a prediction if you realize it at the time. But this gamification of automation from seven years ago is about to jump into the mainstream.
You win if your automation outperforms your competitors; this is the founding idea of the automation age. There’s no event horizon to mark our slide into the new realm. But we know the financial markets have been playing this game for a long time now (think flash crash and algorithmic trading). Continuing the customer service call example, call centers have been using scripts for years. Automation stems from this, just cutting out the human; you may already be talking to a chatbot and not knowing it — a human takes over when the bot has already verified your account info and gets stumped. The real question is will you take up arms by building your own bots or using those available from startups like Trim? Maybe you already have? We’d love to hear about it in the comments below.
[Image Source: the main and thumbnail images are of course from the United Artists film War Games.]
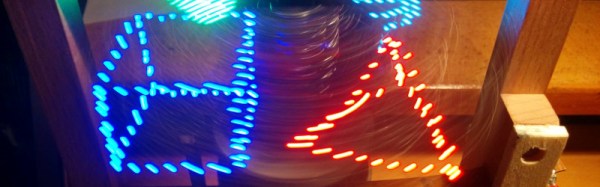
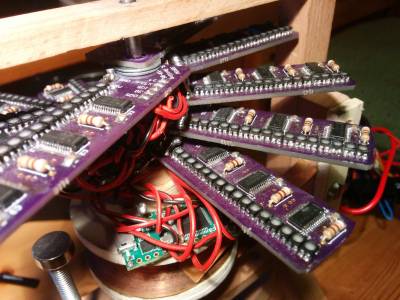 There are 480 LEDs in his display, and he addresses them through TLC5927 shift registers. Synchronisation is provided by a Hall-effect sensor and magnet to detect the start of each rotation, and the Teensy adjusts its pixel rate based on that timing. He’s provided extremely comprehensive documentation with code and construction details in the GitHub repository, including
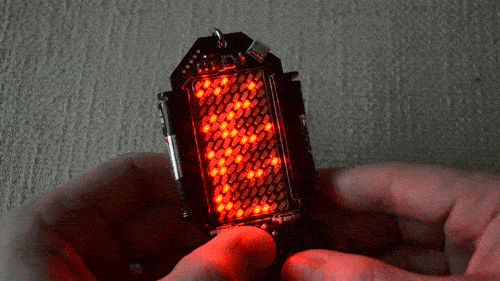
![A GPIB/IEEE488 plug. Alkamid [CC BY-SA 3.], via Wikimedia Commons](https://hackaday.com/wp-content/uploads/2016/10/a_gpib_plug.jpg)


