What do you get if you strap a microscope onto a CNC and throw in a gaming controller? The answer, according to Reddit user [AskewedBox] is something kind of awesome: you get a microscope that can be controlled with the game controller for easier tracking of tiny creepy-crawlies.
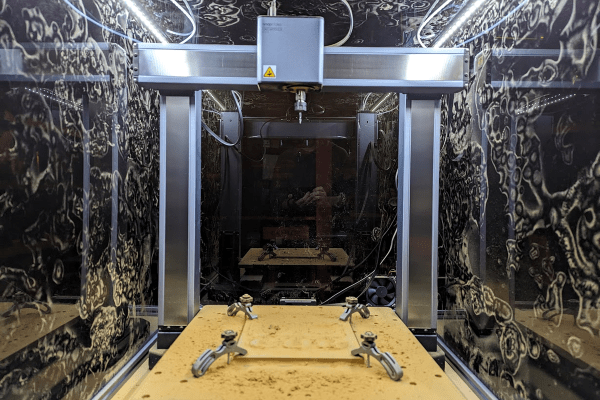
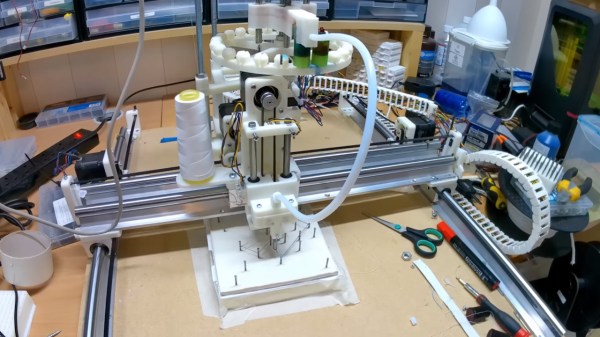
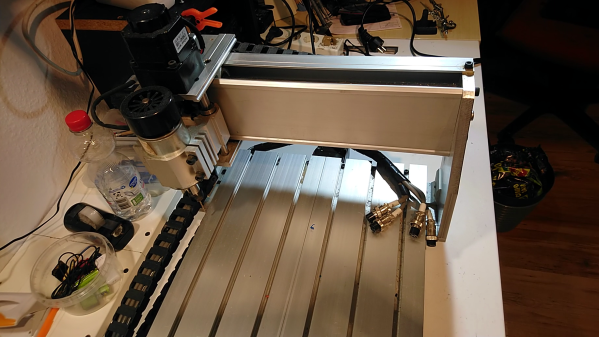
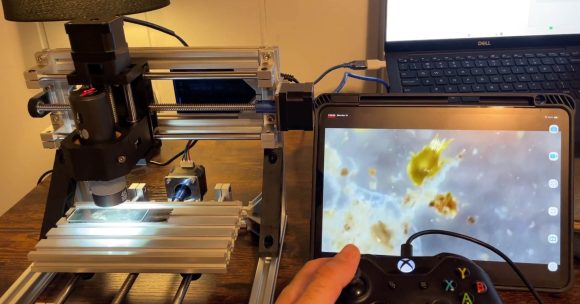
[ASkewedBox] set up this interesting combination of devices, attaching their Adonostar AD246S microscope to the stage of a no-brand 1610 CNC bought off Amazon, then connected the CNC to a computer running Universal G-Code Sender. This great open source program takes the input from an Xbox game controller and uses it to jog the CNC.
With a bit of tweaking, the game controller can now move the microscope, so it can be used to track microbes and other small creatures as they wander around on the slide mounted below the microscope eating each other. The movement of this is surprisingly smooth: the small CNC and a well-mounted microscope means that there seems to be very little wobble or backlash as the microscope moves.
[Askewedbox] hasn’t finished yet, though: in the latest update, he adds a polarizing lens to the setup and mentions that he wants to add focus control to the system, which is controlled by a remote that comes with the microscope.
There are plenty of other things that could be added beyond that, though, such as auto pan and stitch for larger photos, auto focus stacking and perhaps even auto tracking using OpenCV to track the hideous tiny creatures that live in the microscopic realm. What would you do to make this even cooler?