Do remember your first soldering iron? We do. It plugged into the wall, and had no way to adjust the temperature. Most people call these kind of irons “fire starters.” Not only are they potentially unsafe (mainly because of the inadequate stand they come with) they can be hard to use, slow to heat up, and you never know what temperature you are soldering at.
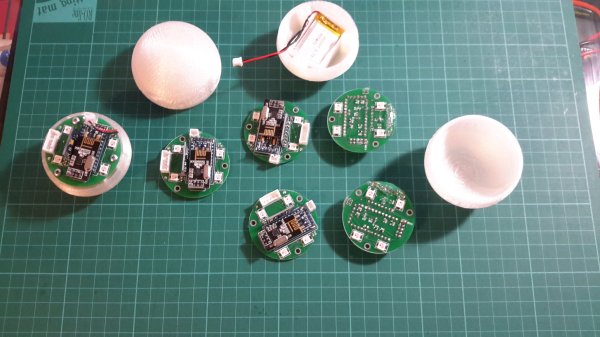
[Mike Doughty] wondered if you could hack a cheap iron to be temperature controlled. He began by taking apart an iron, and adding a K-type thermocouple to the mica heating element with the help of a fiberglass sleeve. After a few tries at fitting and finding the right placement for the thermocouple, he then reassembled the iron, and attached everything to an off-the-shelf industrial PID controller.
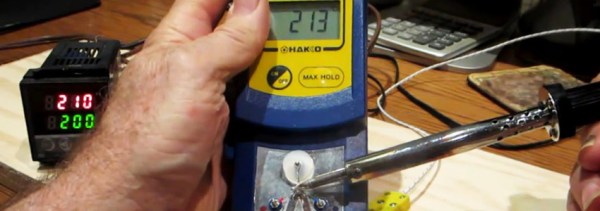
Not one to trust that everything was working, [Mike] began to test the iron. He used a Hakko FG-100 soldering iron tip thermometer to measure the “real” temperature of tip, and compared it to the value the K-type thermocouple was reporting it to be. The results were fairly impressive (as seen in the video after the break). Only about 10 degrees out. Not too shabby.
He concluded that although it did work, it wasn’t a replacement for a high quality soldering station. We suspect the real problem with this idea is that the mica heating element is way to slow to respond to any thermal load that the tip is given (but then neither did the unmodified iron.) If you’re interested in hacking together your own soldering station, you might be interested in the open source soldering iron driver.
[via Dangerousprototypes]
Continue reading “Adding PID Control To A Non-Adjustable Iron”
 The Hackaday Retro Edition is our celebration of old computers doing something modern, in most cases loading
 The board uses the