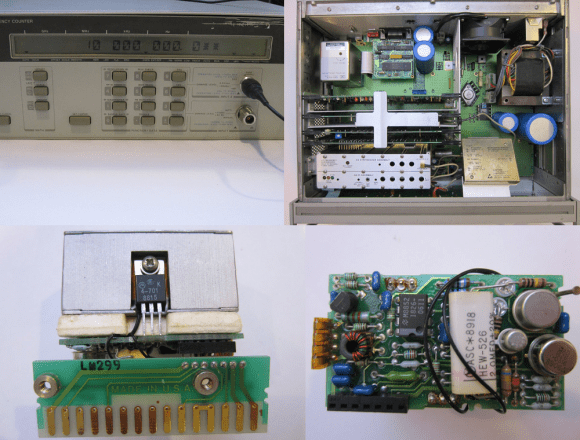
[Kerry Wong] recently got himself a frequency counter. Not just any counter, a classic Hewlett-Packard 5350B Microwave Counter. This baby will go 10Hz all the way up to 20GHz with only one input shift. A true fan of Hackaday Prize judge [Dave Jones], [Kerry] didn’t turn it on, he took it apart. In the process, he gave us some great pictures of late 80’s vintage HP iron.
Everything seemed to be in relatively good working order, with the exception of the oven indicator, which never turned off. The 5350B had three time bases available: a Thermally Compensated Crystal Oscillator (TCXO), an Oven Controlled Crystal Oscillator (OCXO), and a high stability OCXO. [Kerry’s] 5350B had option 001, the OCXO. Considering it was only a $750 USD upgrade to the 5350B’s $5500 USD base price, it’s not surprising that many 5350B’s in the wild have this option.
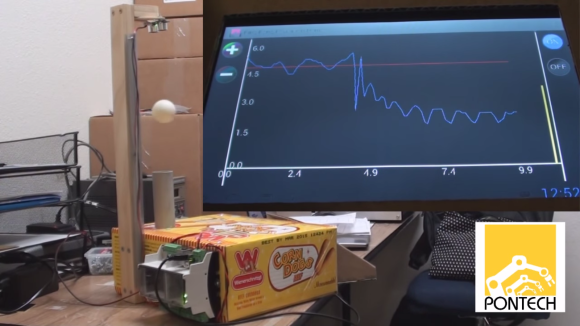
[Kerry] checked the wattage of his 5350B, and determined that it pulled about 27 watts at power up and stayed there. If the OCXO was working, wattage would have dropped after about 10 minutes when the oven came up to temperature. Time to tear open an oven!
Armed with a copy of the 5350B service manual from HP’s website, [Kerry] opened up his OCXO. The Darlington transistors used as heaters were fine. The control circuit was fine. The problem turned out to be a simple thermal fuse. The service manual recommended jumping out the fuse for testing. With the fuse jumped, the oven came to life. One more piece of classic (and still very useful) test equipment brought back to full operation.
[via Dangerous Prototypes]
 Kerbal Space Program is already a runaway indie video game hit, and if you ask some people, they’ll tell you it is the way to learn all about orbital dynamics, how spaceships actually fly, the challenges of getting to the mün. The controls in KSP are primarily keyboard and mouse, something that really breaks the immersion for a space flight simulator. We’ve seen a few before, but now custom controllers
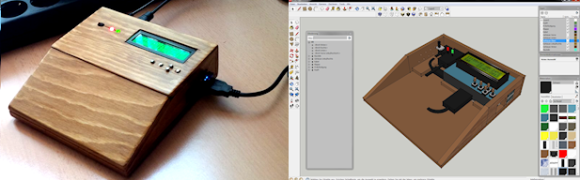
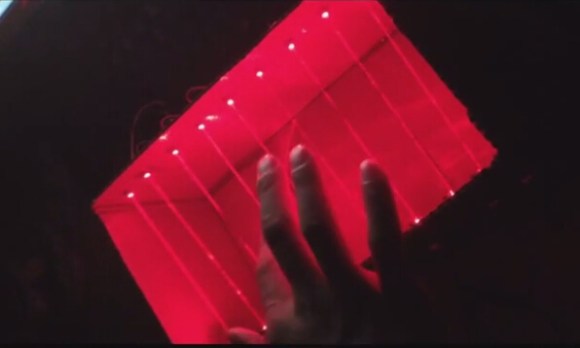
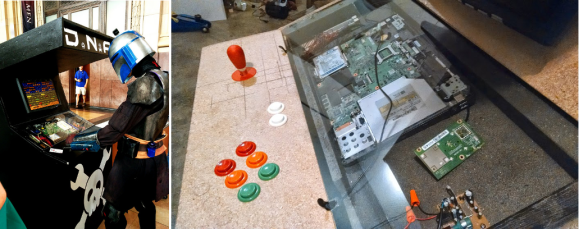 We’re pretty fond of home-built arcade cabinets, especially when those cabinets feature a giant HaD logo on the front. We teased you with a picture of two predators playing it at Maker Faire Kansas City, and we thought you might like to


