Morse code used to be widely used around the globe. Before voice transmissions were possible over radio, Morse code was all the rage. Nowadays, it’s been replaced with more sophisticated technologies that allow us to transmit voice, or data much faster and more efficiently. You don’t even need to know Morse code to get an amateur radio license any more. That doesn’t mean that Morse code is dead, though. There are still plenty of hobbyists out there practicing for the fun of it.
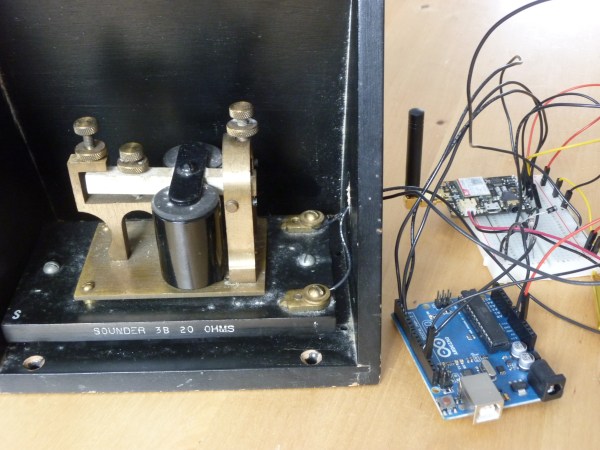
[Dan] decided to take a shortcut and use some modern technology to make it easier to translate Morse code back into readable text. His project log is a good example of the natural progression we all make when we are learning something new. He started out with an Arduino and a simple microphone. He wrote a basic sketch to read the input from the microphone and output the perceived volume over a Serial monitor as a series of asterisks. The more asterisks, the louder the signal. He calibrated the system so that a quiet room would read zero.
He found that while this worked, the Arduino was so fast that it detected very short pulses that the human ear could not detect. This would throw off his readings and needed to be smoothed out. If you are familiar with button debouncing then you get the idea. He ended up just averaging a few samples at a time, which worked out nicely.
The next iteration of the software added the ability to detect each legitimate beep from the Morse code signal. He cleared away anything too short. The result was a series of long and short chains of asterisks, representing long or short beeps. The third iteration translated these chains into dots and dashes. This version could also detect longer pauses between words to make things more readable.
Finally, [Dan] added a sort of lookup table to translate the dots and dashes back into ASCII characters. Now he can rest easy while the Arduino does all of the hard work. If you’re wondering why anyone would want to learn Morse code these days, it’s still a very simple way for humans to communicate long distances without the aid of a computer.