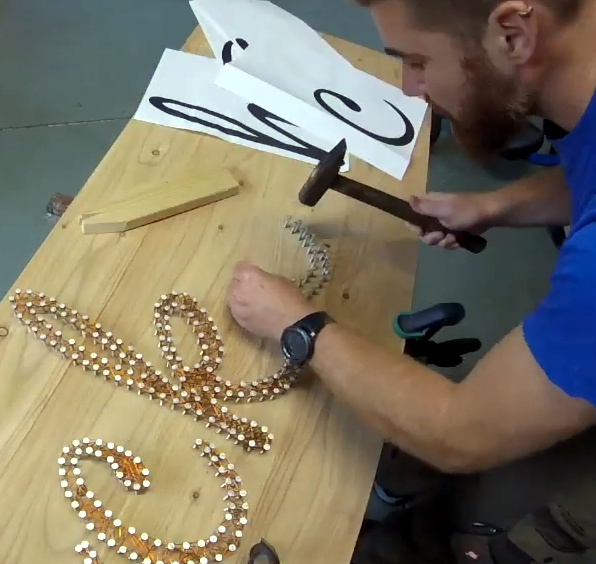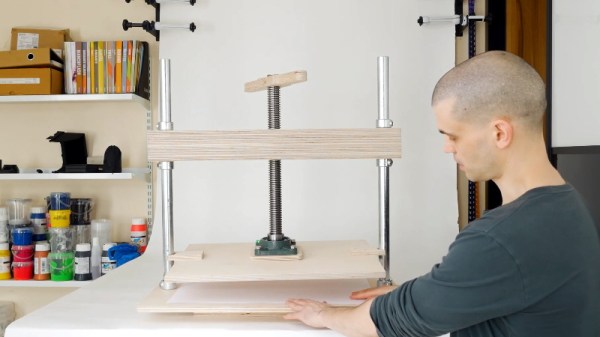
We know the classic Mac fans in the audience won’t be happy about this one, but the final results are simply too clean to ignore. With a laser-cut adapter and a little custom wiring, [Travis DeRose] has come up with a repeatable way to modernize a Compact Macintosh (Plus, SE, etc) by swapping out all of its internals for an iPad mini.
He goes over the whole process in the video after the break, while being kind enough to spare our sensitive eyes from having to see the Mac’s enclosure stripped of its original electronics. We’ll just pretend hope that the computer was so damaged that repair simply wasn’t an option.
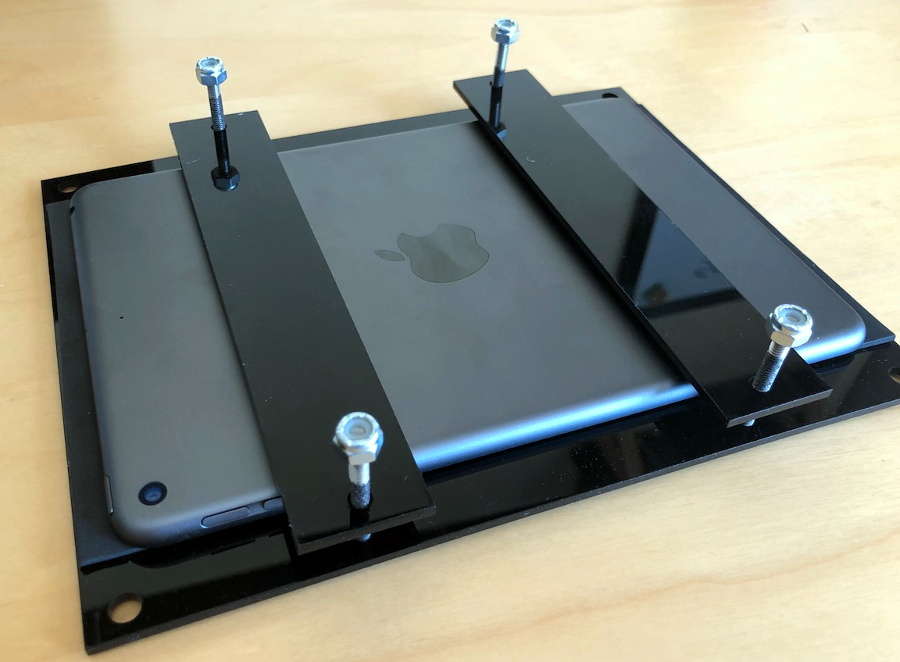 Anyway, with a hollow Mac in your possession, you can install the adapter that allows the iPad to get bolted in place of the original CRT monitor. You won’t be able to hit the Home button anymore, but otherwise it’s a very nice fit.
Those with some first hand iPad experience might be wondering how you wake the tablet up once the Mac is all buttoned back up. That’s an excellent question, and one that [Travis] wrestled with for awhile. In the end he came up with a very clever solution: he cuts into a charging cable and splices in a normally-closed momentary push button. Pushing the button essentially “unplugs” the iPad for a second, which just so happens to wake it up. It’s an elegant solution that keeps you from having to make any modifications to that expensive piece of Apple hardware.
If there’s one thing we’re not thrilled with, it’s the empty holes left behind where the ports, switches, and floppy drive were removed. As we’ve seen in the past, you can simply cut the ports off of a motherboard and glue them in place to make one of these conversions look a little more convincing. If you’re going to do it, might as well go all the way.