Printed Arduino Turntable Takes Objects For A Spin

Have you built a 3D scanner yet? There’s more than one way to model those curves and planes, but the easiest may be photogrammetry — that’s the one where you take a bunch of pictures and stitch them into a 3D model. If you build a scanner like [Brian Brocken]’s that does almost everything automatically, you might consider starting a scan-and-print side hustle.

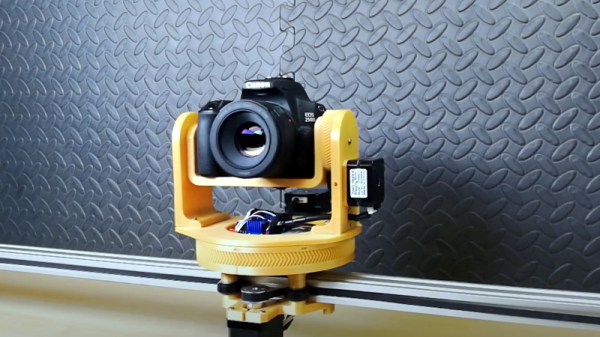
This little machine spins objects 360° and triggers a Bluetooth remote tethered to an iPhone. In automatic mode, it capture anywhere from 2-200 pictures. There’s a mode for cinematic shots that shoots video of the object slowly spinning around, which makes anything look at least 35% more awesome. A third mode offers manual control of the turntable’s position and speed.

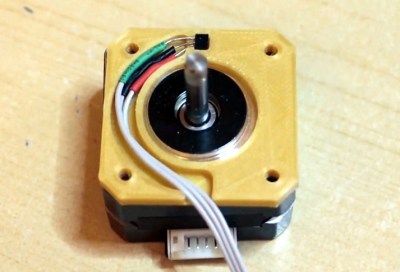
An Arduino UNO controls a stepper that moves the turntable via 3D printed-in-place bearing assembly. This project is a (vast) improvement over [Brian]’s hand-cranked version that we looked at over the summer, though both are works of art in their own right.

Our favorite part aside from the bearing is the picture-taking process itself. [Brian] couldn’t get the iPhone to play nice with HC-05 or -06 modules, so he’s got the horn of 9g servo tapping the shutter button on a Bluetooth remote. This beautiful beast is wide open, so fire up that printer. You can watch the design and build process of the turntable after the break.

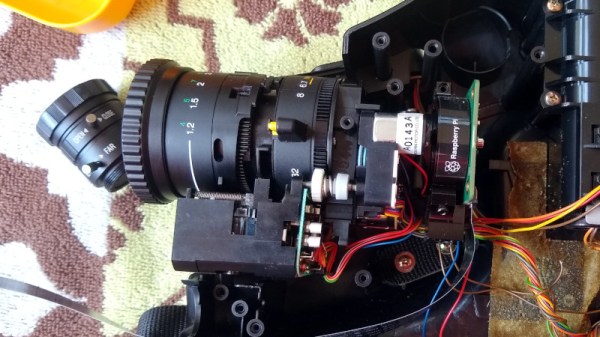
Want to scan some really tiny things? Make a motorized microscope from movie machines.

Continue reading “Printed Arduino Turntable Takes Objects For A Spin”

Review: Ear Wax Cleaning Cameras As Cheap Microscopes, We Take A Closer Look

Those of us who trawl the world of cheap imported goods will most often stay in our own comfortable zones as we search for new items to amaze and entertain us. We’ll have listings of electronic goods or tools, and so perhaps miss out on the scores of other wonders that can be ours for only a few dollars and a week or two’s wait for postage.

Who knew sticky ears were such big business!

Just occasionally though something will burst out of another of those zones and unexpectedly catch our eye, and we are sent down an entirely new avenue in the global online supermarket.

Thus it was that when a few weeks ago I was looking for an inspection camera I had a listing appear from the world of personal grooming products. It seems that aural hygiene is a big market, and among the many other products devoted to it is an entire category of ear wax removal tools equipped with cameras. These can get you up close and personal with your ear canal, presumably so you can have a satisfying scoop at any accumulated bodily goop. I have a ton of electronics-related uses for a cheap USB close-up camera so I bought one of these so I could — if you’ll excuse the expression — get a closer look.

Continue reading “Review: Ear Wax Cleaning Cameras As Cheap Microscopes, We Take A Closer Look”

A Visual Infrared Thermometer That Runs Off Your Laptop

A common measurement for circuits is heat dissipation inspection. While single point thermometers do the trick, they can be quite annoying to use. Meanwhile, a thermal imaging camera is often out of the budget for hobbyists. How about building your own visual thermometer for cheap? That’s what [Thomas Fischl] decided to do, using an infrared thermal sensor array (MLX90640) connected through a PIC16LF1455 to a host computer. The computer handles the temperature calculation and visualization of hot spots, gathered from data collected by the IR pixel.

The interface board, USB2FIR, has full access to MLX90640 memory and can handle bulk transfer for faster data transmission of the raw sensor data collected by the pixel. A USB driver is needed to access the board – once the data is fetched, the visualizations can be created from a Matplotlib and TKinter GUI showing frame data and a real time heat map with minimum, maximum, and central temperature.

The hardware isn’t complicated, since the board relies on several ICs for processing the sensor data and immediately sends over the data to be processed externally. With some modifications – a 3D-printed enclosure, for instance – this can easily be made into a discreet tool for heat detection.

Miss Nothing With A Hacked 360 Degree Camera Trap

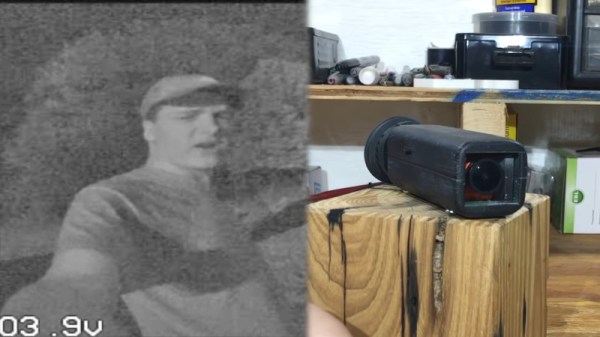
Camera traps are a very common tool in wildlife conservation and research, but placing and pointing them correctly can be a bit of a guessing game. Something very interesting could happen just out of frame and you’d be none the wiser. The [Andrew Quitmeyer] and [Danielle Hoogendijk] at DINALABS (Digital Naturalism Laboratories) in Panama are experimenting with hacked consumer 360° cameras to help solve problem.

The project is called Panatrap and looks very promising. They’ve done very detailed testing with a number of different 360° cameras, and have built functional prototypes with the Xiaomi Misphere and Ricoh Theta V. The Xiaomi had some handy contacts on the bottom of the camera for its selfie stick interface (simply a resistor and button), which allowed full control of the camera. An Arduino compatible board waits for the motion detected signal from a PIR sensor which then sends the required command to the camera to wake-up and take footage. The Ricoh was slightly more challenging, but they discovered that the camera will wake up if an emulated keyboard command is received over it’s USB port from a Teensy. Triggering is then done by a servo pushing against the camera’s button. Everything is housed in a laser cut acrylic case to help it survive the wet jungle. If anyone knows how to hack the Samsung Gear camera to work, the team is keen to hear from you!

All the work is open sourced, with build details and hardware designs available on the project page and software up on Github. Check out some cool 360° test footage after the break with some local wildlife. We are looking forward to more footage! Continue reading “Miss Nothing With A Hacked 360 Degree Camera Trap”

[Ben Krasnow] Looks Inside Film Camera Date Stamping

Honestly, we never wondered how those old film cameras used to put the date stamp in the lower right-hand corner of the frame. Luckily, [Ben Krasnow] does not suffer from this deplorable lack of curiosity, and his video teardown of a date-stamping film camera back (embedded below) not only answers the question, but provides a useful lesson in value engineering.

For the likely fair fraction of the audience who has never taken a photo on film before, cheap 35-mm cameras were once a big thing. They were really all one had for family snapshots and the like unless you wanted to invest in single-lens reflex cameras and all the lenses and accessories. They were miles better than earlier cartridge cameras like the 110 or – shudder – Disc film, and the cameras started getting some neat electronic features too. One was the little red-orange date stamp, which from the color we – and [Ben] assumed was some sort of LED pressed up against the film, but it ends up being much cooler than that.

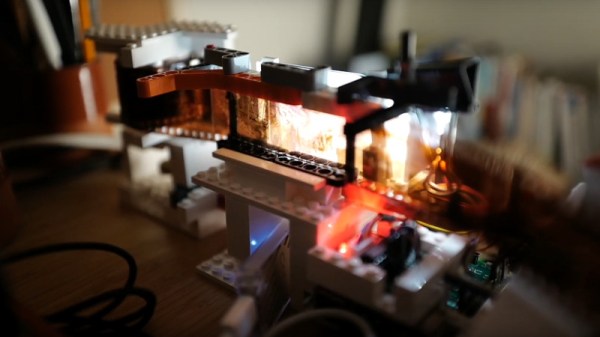
Digging into the back of an old camera, [Ben] found that there’s actually a tiny projector that uses a mirror to fold the optical path between the film and a grain-of-wheat incandescent bulb. An LCD filter sits in the optical path, but because it’s not exactly on the plane of the film, it actually has to project the image onto the film. The incandescent bulb acts as a point source and the mirror makes the optical path long enough that the date stamp image appears sharp on the film. It’s cheap, readily adapted to other cameras, and reliable.

Teardowns like this aren’t fodder for [Ben]’s usual video fare, which tends more toward homemade CT scanners and Apollo-grade electroluminescent displays, but this was informative and interesting, too.

Continue reading “[Ben Krasnow] Looks Inside Film Camera Date Stamping”

Modular Camera Remote Is Highly Capable

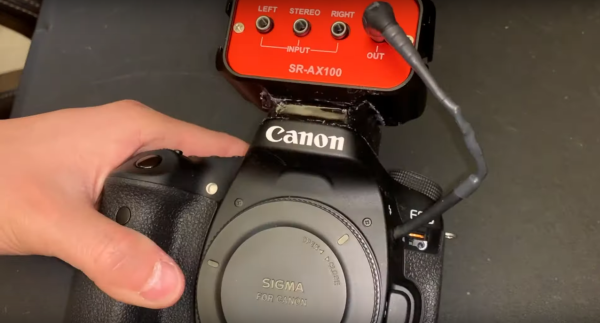
Many cameras these days have optional remotes that allow the shutter release to be triggered wirelessly. Despite this, [Foaly] desired more range, and more options for dealing with several cameras at once. As you’d expect, hacking ensued.

[Foaly] uses Silver modules to photograph rocket launches safely.
The system goes by the name of Silver, and is modular in nature. Each Silver module packs a transmitter and receiver, and can send and receive trigger orders to any other module in range. This allows a module to be used to trigger a camera, or be used as a remote to control other modules. There’s even a PC interface program that controls modules over USB.

Modules are also capable of sharing configuration changes with other modules in the field, making it easy to control a large battery of cameras without having to manually run around changing settings on each one. Oh, and it can run as a basic intervalometer too.

LoRa is used for wireless communications between modules, giving them excellent range. [Foaly] successfully used the remotes at ranges over 500 meters without any dropouts, capturing some great model rocket takeoffs in the process.

Silver is a highly robust project that should do everything the average photographer could ever possibly need, and probably a good deal more. Firmware and board files are available for those eager to make their own.

We’ve seen several very impressive camera augmentations entered into the 2019 Hackaday Prize, from ultra high-speed LED flash modules to highly flexible automatic trigger systems.

DIY Thermal Imager Uses DIY Gaussian Blur

Under the right circumstances, Gaussian blurring can make an image seem more clearly defined. [DZL] demonstrates exactly this with a lightweight and compact Gaussian interpolation routine to make the low-resolution thermal sensor data display much better on a small OLED.

[DZL] used an MLX90640 sensor to create a DIY thermal imager with a small OLED display, but since the sensor is relatively low-resolution at 32×24, displaying the data directly looks awfully blocky. Gaussian interpolation to improve the display looks really good, but it turns out that the full Gaussian interpolation isn’t a trivial calculation write on your own. Since [DZL] wanted to implement it on a microcontroller, the lightweight implementation was born. The project page walks through the details of Gaussian interpolation and how some effective shortcuts were made, so be sure to give it a look.

The MLX90640 sensor also makes an appearance in the Open Thermal Camera, one of the entries for the 2019 Hackaday Prize. If you’re interested in thermal imaging, don’t miss this teardown of a thermal imaging camera.