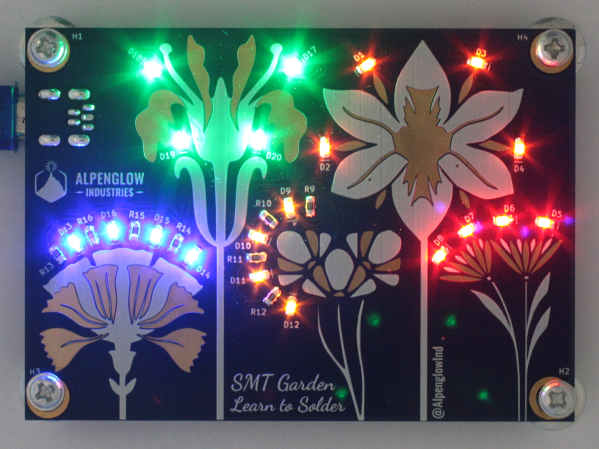
Electronics components are steadily moving away from through hole parts to using surface mount technology (SMT) exclusively. While the small size of the SMT components can be intimidating, with a little practice, soldering can come pretty naturally. To help folks get over their fear of soldering small parts, [Alpenglow Industries] have created a charming board to practice SMT soldering skills on.
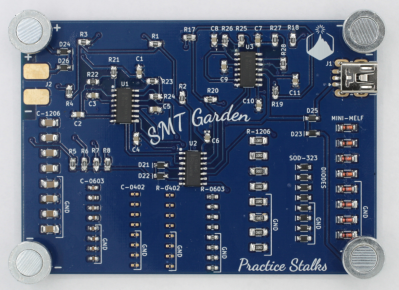
[Alpenglow Industries] board, called the “SMT Garden”, combines a variety of SMT sizes ranging from 0402 to 1206 with beautiful PCB artwork to highlight the variety of LEDs on board. [Alpenglow Industries] provides detailed instructions on the various aspects of SMT soldering including what the terminology is and providing various techniques to help in soldering. The boards have practice “stalks” of surface mount component pads, so that folks can practice on columns of similarly sized SMT components to perfect their technique. The training stalks themselves aren’t functional but are there to provide practice for when folks feel comfortable soldering the LEDs, 555 timer and inverter chips to make the board functional.
[Alpenglow Industries] have provided all the KiCAD project files, gerbers and schematics available online. SMT soldering is more accessible than ever and when you can even use your phone as a microscope, it’s a good excuse to try it out, if you haven’t already.
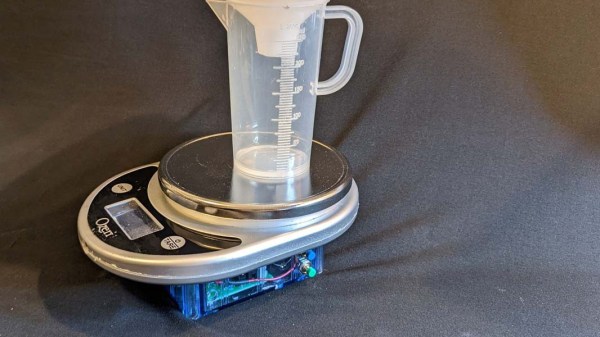
 For the hardware, [Jerry] took a small digital scale of a certain model and reused its load cell-based weighing mechanism using an HX711 amplifier, replacing the screen and adding an extra box for control electronics. With an Arduino MKR1010 as brains of the operation, the hardware’s there to log flow data, initially recorded onto the SD card, with WiFi connectivity to transfer the data to a computer for plotting; a DS3234 RTC breakout helps keep track of the time, and a custom PCB ties all of these together. All of these things are easy to put together, in no small part due to the extensive instructions provided.


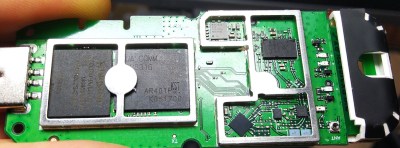 Now, there’s caveats. [extrowerk] points out that you should buy the modem with the appropriate LTE bands for your country – and that’s not the only thing to watch out for. A friend of ours recently obtained a visually identical modem; when we got news of this hack, she disassembled it for us – finding out that it was equipped with a far more limited CPU, the MDM9600. That is an LTE modem chip, and its functions are limited to performing USB 4G stick duty with some basic WiFi features. Judging by a popular mobile device reverse-engineering forum’s