Engraved acrylic lights up nicely with LED lighting. Simply engrave clear acrylic with a laser engraver, then edge-light the acrylic and watch the engraving light up. This badge made by [Solarbotics] shows how they used this principle when creating some pendants for an event that performed particularly well in the dark.
The pendants they created have two engraved acrylic panels each, and that’s about it. Two LEDs and a CR2032 battery nestle into pre-cut holes, and the engraved sides are placed face-to-face, so the outer surfaces of the pendant are smooth. By using some color-cycling RGB LEDs on one panel and blue LEDs on the other panel, the effect is that of an edge-lit outer design with a central element that slowly changes color separately from the rest of the pendant.
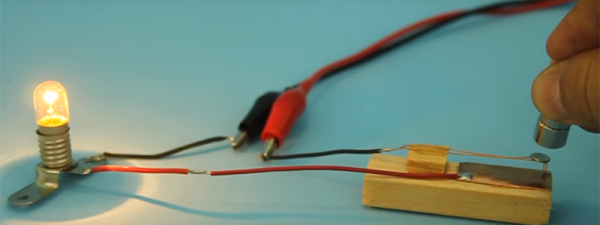
The design stacks the LED leads and coin cells in such a way that a simple wrap of tape not only secures things physically, but also takes care of making a good electrical connection. No soldering or connectors of any kind required. [Solarbotics] found that CR2032 cells would last anywhere between a couple of days to a week, depending on the supplier.
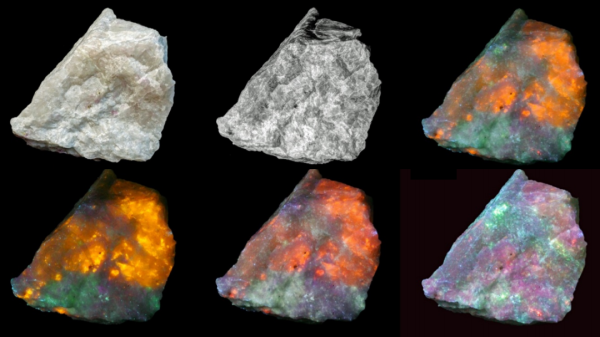
This design is great for using a minimum of materials, but if that’s not a priority it’s possible to go much further with the concept. Multiple layers of edge-lit acrylic were used to make numeric 0-9 display modules as well as a full-color image.

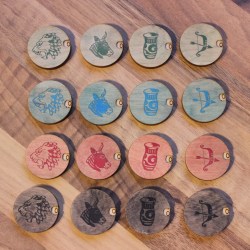 In the digital version of the game, the tokens conveniently display a number representing their total power value. [Martin] liked this feature, and set out to design a replacement token for the tabletop version that could display a number while still keeping the aesthetic of the originals. The tokens were designed as a dial with a small cutout window to show a number, but the surface of the token showing color and icon is still mostly unchanged.