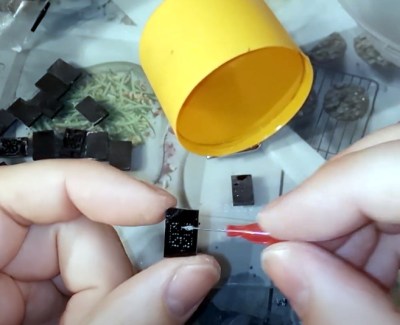
Digital Pregnancy Tests Use LEDs To Read Between The Lines

[Foone] saw a tweet a few weeks ago alleging that digital pregnancy tests are a rip-off. Regular, cheap tests have an absorbent strip running the length of the plastic, with one end exposed for collecting urine. A few excruciating minutes later, a little plastic window in the middle will show one line, two lines, or a plus or minus sign depending on the presence of human chorionic gonadotropin (HCG) in the urine.
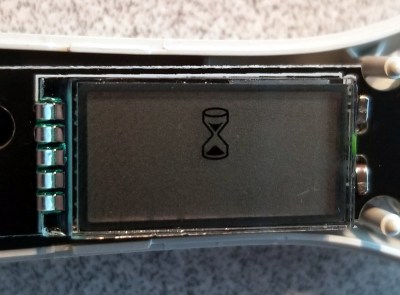
As it turns out, at least two digital tests out there are the exact same thing, but with more steps. Instead of a window, they include circuitry that interprets the lines and publishes the result to a little screen in plain English. It can even tell you if you’re doing it wrong by flashing a little RTFM icon.

[Foone]’s teardown reveals a CR1616 coin cell, an 8-bit microcontroller, and a little phototransistor setup that shines LEDs on the strip and reads the incoming light. Unfortunately, the micro is the mask ROM version, so [Foone] can’t reprogram it to run Doom.

The original tweet’s author is probably not alone in assuming that digital tests are supposed to be more accurate somehow. We think the accuracy claim is more about removing the frazzled and/or incompetent human variable from the equation. If the test interprets the results for you, then there’s no mistaking the results, which is technically a higher degree of accuracy. But if you’re in doubt, you get a test from a doctor.

There’s been some discussion about the e-waste aspect of these all these tests — that it’s a shame to produce a microcontroller just to pee on it and throw it away. Sure, you could look at it that way, but unlike a lot of e-waste, these are tools. It’s unfortunate that this is the industry’s idea of higher accuracy, but what should we expect? It’s just testing for the presence of a hormone in urine. Interpreting the results is up to the viewer. We should probably be astounded that they got the cost down to two for $7.

Many people choose to wait a while to start spreading the news. With a Bluetooth-enabled pregnancy test, everyone can find out together.

Thanks for the tip, [Jay]!

Bright White Night Light Fights E-Waste

E-waste is a gigantic problem, and it can seem impossible as a lone individual to make any kind of dent in it. But [akshar1101] is trying to do their part by looking past the defective aspects of broken, discarded electronics to draw out the possibilities of what’s left.

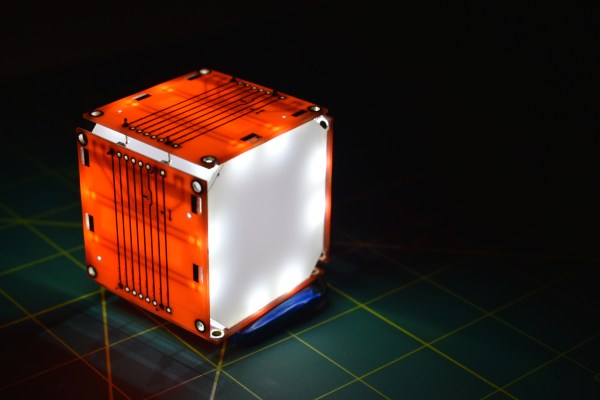
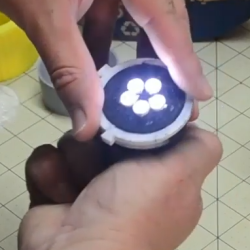
This friendly night light is made from the PCBs of four broken Nokia 5110 LCD modules. The screens were all toast, but the nice white LEDs that used to light them from the sides work just fine. [akshar1101] cleverly tied all the LED and GND lines together with single right-angle header pins. To power the LEDs, they wired up a JST receptacle to one of the PCBs and connected a 3.7 V lithium battery pack that sits underneath. [akshar1101] diffused the piercing white lights into a soft glow with two pieces of acrylic.

We love to see electronic components get saved from landfills, especially when they can be turned into something useful and beautiful. Something about the traces on these boards makes them visually interesting to us — it’s that little hiccup that interrupts otherwise parallel lines.

If all of your 5110 LCDs are in working order, you could spice one of them up with an RGB backlight.

100% Printed Flashlight: Conductive Filament And Melted-in Leads

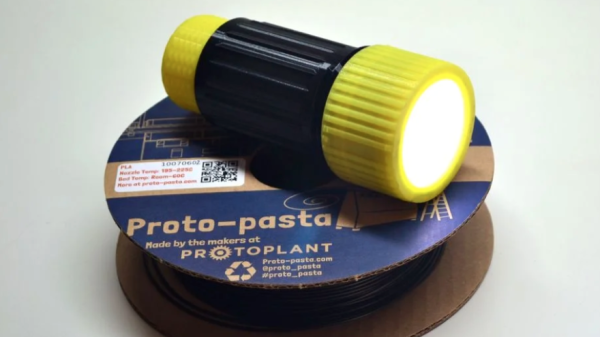
Conductive filament isn’t an ideal electrical conductor, but it’s a 3D-printable one and that’s what makes [Hercemer]’s 3D-printed flashlight using conductive filament work. Every part of the flashlight is printed except for the 9 volt battery and LEDs. Electrically speaking, the flashlight is a small number of LEDs connected in parallel to the terminals of the battery, and turning it on or off is done by twisting or loosening a cap to make or break the connection.

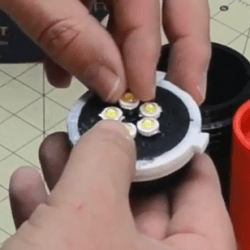
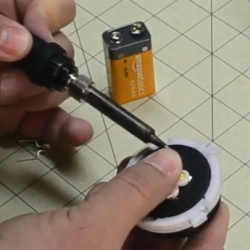
The main part of the build is a 3D-printed conductive cylinder surrounded by a printed conductive ring with an insulator between them. This disk- or pad-shaped assembly forms not only the electrical connection between the LEDs and battery terminals, but also physically holds the LEDs. To attach them, [Hercemer] simply melts them right in. He uses a soldering iron to heat up the leads, and presses them into the 3D-printed conductive block while hot. The 9 V battery’s terminals contact the bottom when the end cap is twisted, and when they touch the conductive assembly the flashlight turns on.

Anticipating everyone’s curiosity, [Hercemer] measured the resistance of his conductive block and measured roughly 350 ohms when printed at 90% infill; lower infills result in more resistance. You can see a video of the assembly and watch the flashlight in action in the video, embedded below.

Continue reading “100% Printed Flashlight: Conductive Filament And Melted-in Leads”

VR Technology Helps Bring A Galaxy Far, Far Away To Our TV

Virtual reality is usually an isolated individual experience very different from the shared group experience of a movie screen or even a living room TV. But those worlds of entertainment are more closely intertwined than most audiences are aware. Video game engines have been taking a growing role in film and television production behind the scenes, and now they’re stepping out in front of the camera in a big way for making The Mandalorian TV series.

Big in this case is a three-quarters cylindrical LED array 75 ft (23 m) in diameter and 20 ft (6 m) high. But the LEDs covering its walls and ceiling aren’t pointing outwards like some installation for Times Square. This setup, called the Volume, points inward to display background images for camera and crew working within. It’s an immersive LED backdrop and stage environment.

Incorporating projected imagery on stage is a technique going at least as far back as 1933’s King Kong, but it is very limited. Lighting and camera motion has to be very constrained in order to avoid breaking the fragile illusion. More recently, productions have favored green screens replaced with computer imagery in post production. It removed most camera motion and lighting constraints, but costs a lot of money and time. It is also more difficult for actors to perform their roles convincingly against big blank slabs of green. The Volume solves all of those problems by putting computer-generated imagery on set, rendered in real time via video game engine Unreal.

Continue reading “VR Technology Helps Bring A Galaxy Far, Far Away To Our TV”

Slack Off From Home With A Networked Jam Session

Those of you who were regular office dwellers before the pandemic: do you miss being with your coworkers at all? Maybe just a couple of them? There’s only so much fun you can have through a chat window or a videoconference. Even if you all happen to be musicians with instruments at the ready, your jam will likely be soured by latency issues.

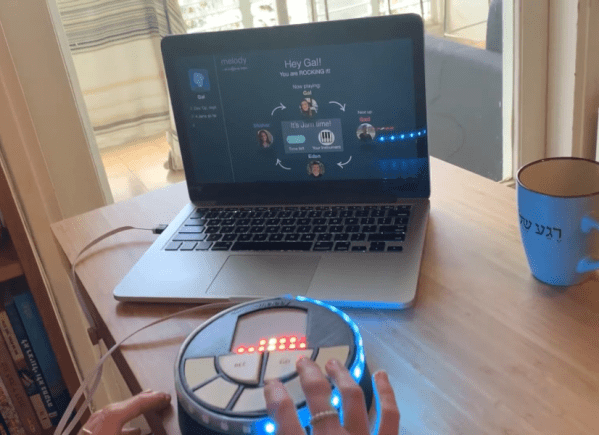
[Eden Bar-Tov] and some fellow students had a better idea for breaking up the work-from-home monotony — a collaborative sequencer built for 2020 and beyond. Instead of everyone mashing buttons at once and hoping for the best, the group takes turns building up a melody. Each person is assigned a random instrument at the beginning, and the first to go is responsible for laying down the beat.

Inside each music box is an ESP8266 that communicates with a NodeRed server over MQTT, sending each melody as a string of digits. Before each person’s turn begins, the LED matrix shows a three second countdown, and then scrolls the current state of the song. Your turn is over when the LED strip around the edge goes crazy.

Music can be frustrating if you don’t know what you’re doing, but this instrument is built with the non-musician in mind. There are only five possible notes to play, and they’re always from the same scale to avoid dissonance. Loops are always in 4/4, which makes things easy. Players don’t even have to worry about staying in time, because their contributions are automatically matched to the beat. Check it out after the break.

Tired of sitting indoors all day, but still want to make music? Build a modular synth into a bike and you’ve solved two problems.

Continue reading “Slack Off From Home With A Networked Jam Session”

Manual Larson Scanner Invites You To Crank It

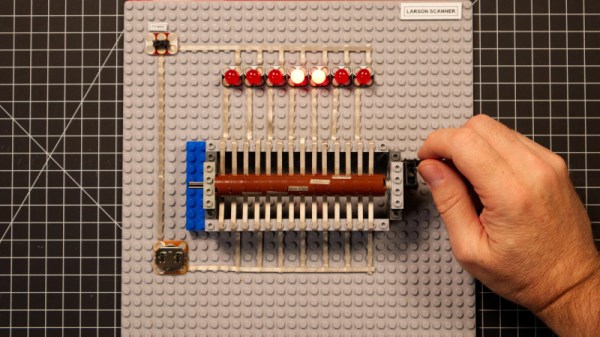
Hasselhoff make Larson Scanners famous. That’s the name for the scanning red lights on the front of KITT, the hero car from the popular 1980s TV series Knight Rider. Despite serving a solely aesthetic role, they remain a fun and popular LED project to this day. Putting a new twist on the old concept, [Pete Prodoehl] whipped up a Larson Scanner that you crank to operate.

Built out of LEGO, the project relies on a hand crank to work. The crank turns a drum, onto which is placed several strips of conductive Maker Tape – a steel/nylon material which we’ve looked at before. Strips of tape running side-by-side are bridge by segments of tape on the drum as it turns. The LEDs are switched on in the requisite pattern of a traditional Larson scanner.

The project has inspired further possibilities, such as using similar techniques to produce an electronic music box or player piano that will change tempo as the user changes the speed with the crank. [Pete] notes that turning the crank is an inherently enjoyable experience, and given the wonder inherent in hand-cranked musical projects like Marble Machine X, we can’t wait to see where this one goes next. Video after the break.

Continue reading “Manual Larson Scanner Invites You To Crank It”

Unique LED Display Inspired By Fighter Jet Dashboard

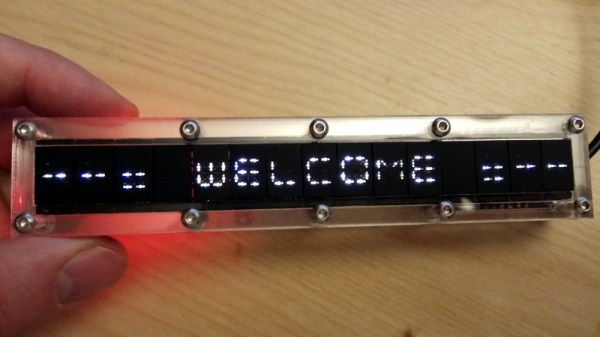
Last year, [Mangy_Dog] was asked by a few friends to consult on a project they were working on. The goal was to build an authentic replica of an F-18 cockpit, apparently for the purposes of creating a film. The project never materialized, but it did inspire him to take a hard look at the 1970s era alphanumeric displays utilized in the real aircraft. One thing lead to another, and he ended up using his own take on the idea to build his own “starburst” digit display.

As [Mangy_Dog] explains, while the faces of these original displays might have been quite small, there was a lot going on behind the scenes. Due to the technical limitations of the time, each alphanumeric character was made up of an array of incandescent light bulbs and fiber optic cables. This worked well enough, but was bulky and complex to manufacture.

Today, we can do better, even on the hobbyist level. As it turns out, 0402 LEDs are just about the right size to recreate the segments of the original starburst displays. So [Mangy_Dog] came up with a simple PCB design to not only align the LEDs properly, but drive them with a 74HC595 shift register and an array of MOSFETs. While assembly wasn’t without its challenges, he made good use of his custom built reflow oven to get all the diminutive components in place.

He went through a few different ideas for the diffuser, but eventually settled on black plastic with tiny holes drilled through courtesy of his laser cutter. Behind each set of three holes is a small pocket that got filled from both sides with transparent UV resin, which was then sanded down after curing. The end result isn’t perfect as you can still tell the center dot is brighter than its peers, but the overall effect is still very nice and definitely has a sort of faux-retro appeal.

The military naturally has access to some incredible technology, though they have a tendency to hold onto it for decades. That an individual with a meager budget and homemade tools can improve upon a piece of hardware installed in a $60+ million airplane is a testament to just how fast things are moving.

Continue reading “Unique LED Display Inspired By Fighter Jet Dashboard”