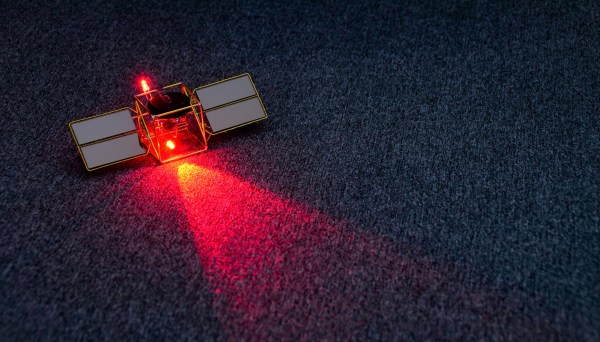
They say that imitation is the sincerest form of flattery. If we were going to imitate one of master circuit sculptor Mohite Bhoite’s creations, we’d probably pick the little blinky solar satellite as a jumping off point just like [richardsappia] did. It’s cute, it’s functional, and it involves solar power and supercapacitors. What more could you want?
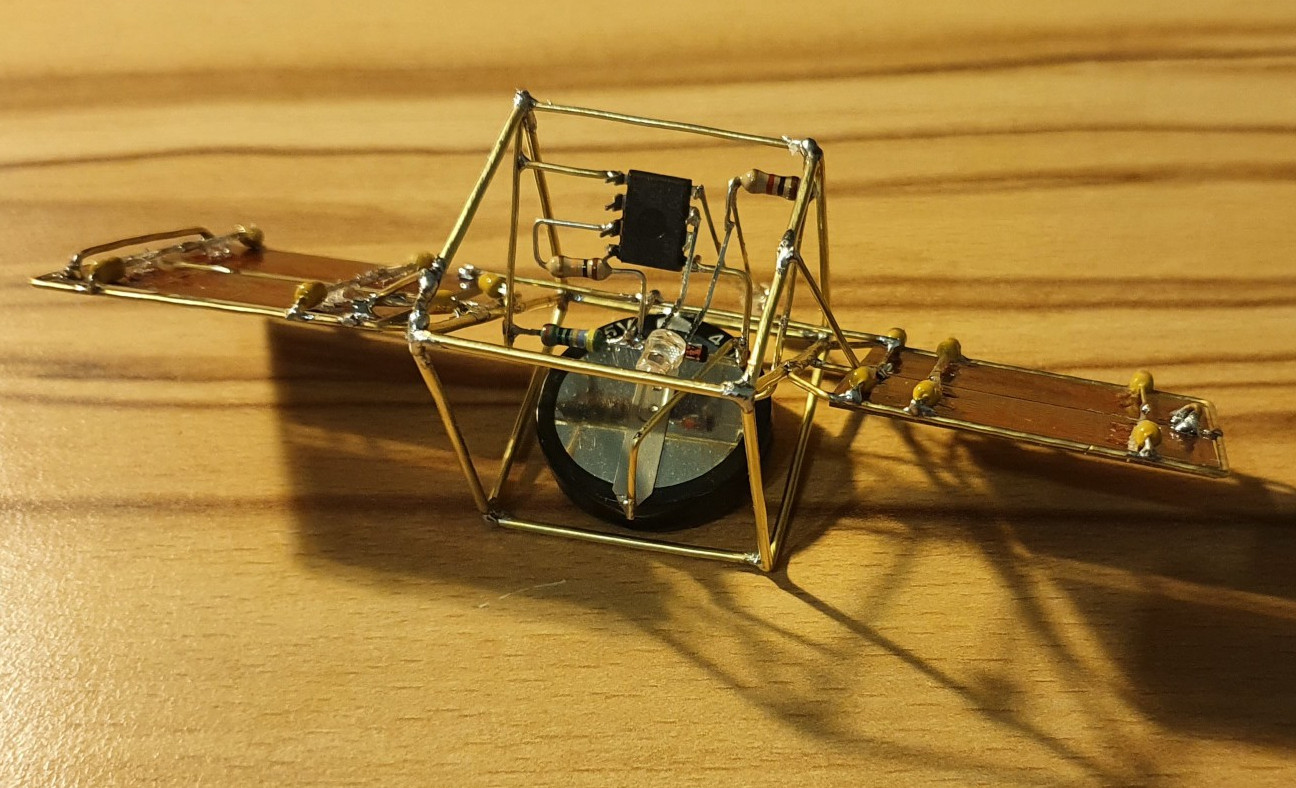 SATtiny is a pummer, which is BEAM robotics speak for a bot that soaks up the sun all day and blinks (or ‘pumms’, we suppose) for as long as it can throughout the night on the juice it collected. This one uses four mini solar panels to charge up a 4 F supercapacitor.
At the controls is an ATtiny25V, which checks every eight seconds to see if the supercapacitor is charging or not as long as there is enough light. Once night has fallen, the two red LEDs will pumm like a pair of chums until the power runs out. Check out the brief demo after the break.
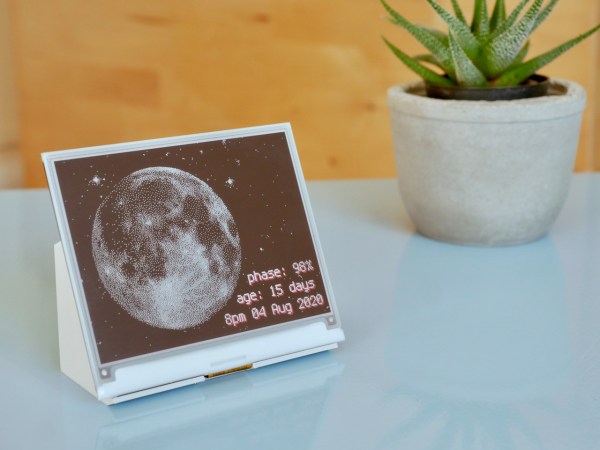
Would you rather have something more nightstand-friendly? Here’s a mini night light sculpture with a friendly glow. If you haven’t started your entry into our Circuit Sculpture Challenge, there’s still plenty of time — the contest runs until November 10th.


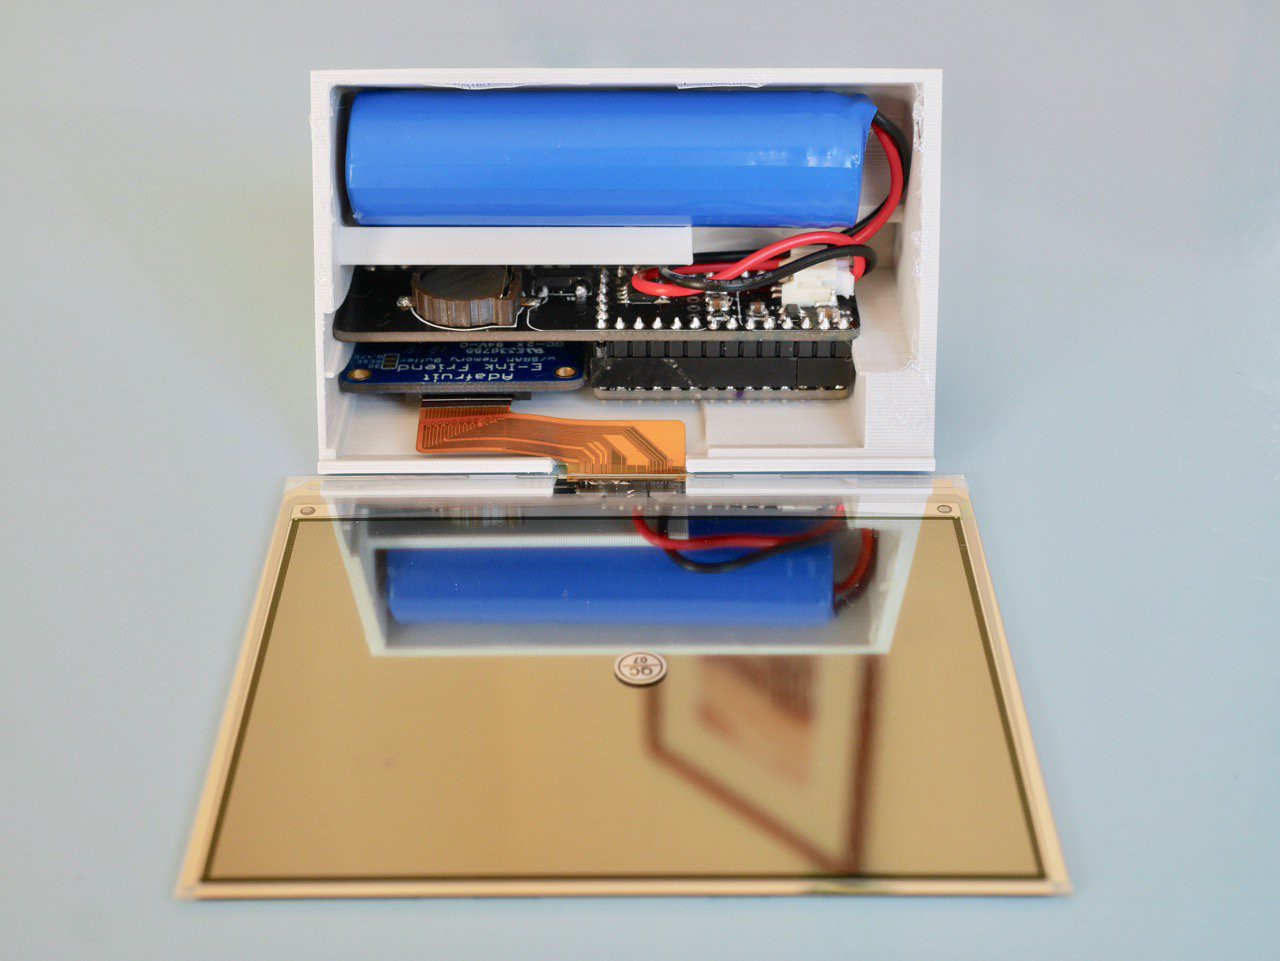
 Each module is composed a very boring PCBA base layer which should be inexpensive from the usual sources, even when ordering one