Whether you live in an apartment downtown or in a detached house in the suburbs, if your mailbox is not built into your home you’ll have to go outside to see if anything’s there. But how do you prevent that dreadful feeling of disappointment when you find your mailbox empty? Well, we’re living in 2022, so today your mailbox is just another Thing to connect to the Internet of Things. And that’s exactly what [fhuable] did when he made a solar powered IoT mailbox.
The basic idea was to equip a mailbox with a camera and have it send over pictures of its contents. An ESP32-Cam module could do just that: with a 1600 x 1200 camera sensor, a 160 MHz CPU and an integrated WiFi adapter, [fhuable] just needed to write an Arduino sketch to have it take a picture every few hours and upload it to an FTP server.
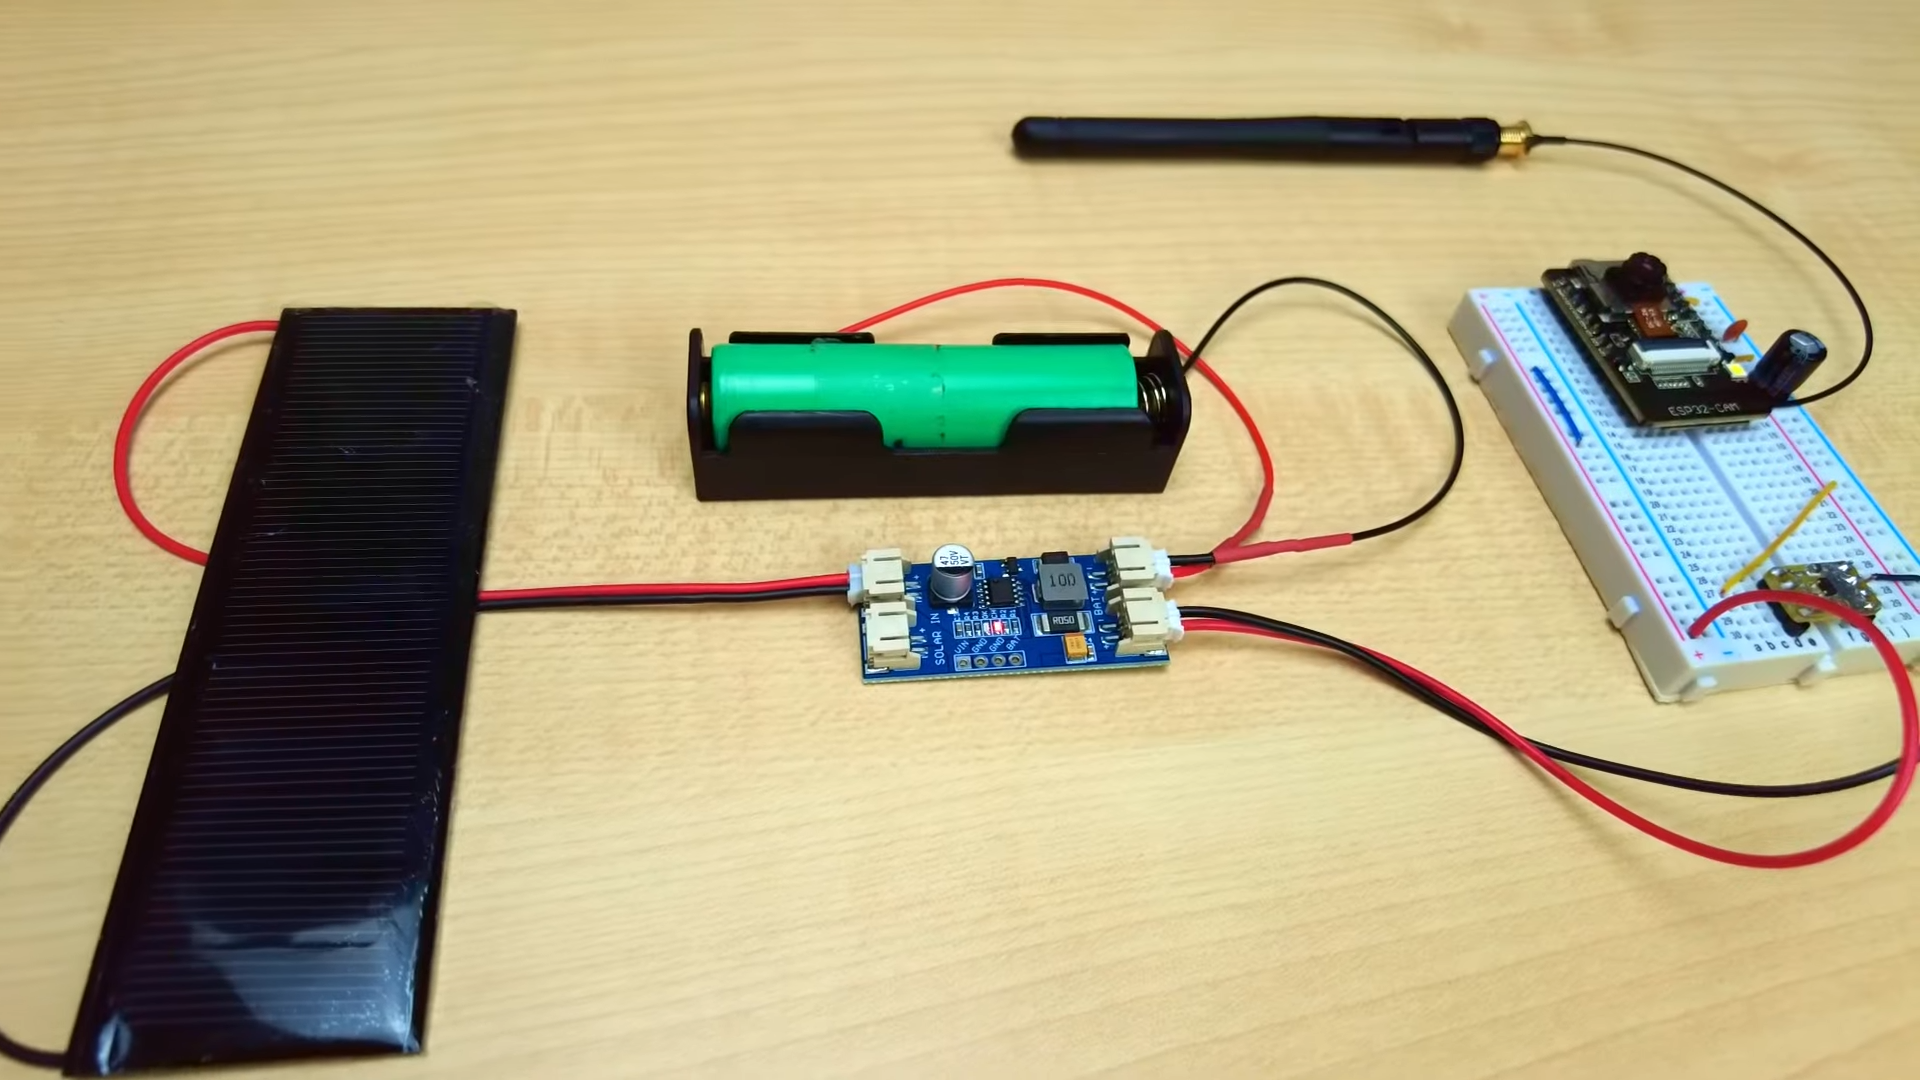
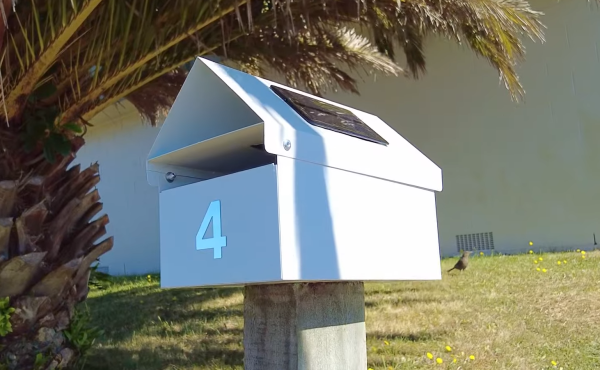
But since running a long cable all the way from the house was not an attractive option, the whole module had to be completely wireless. [fhuable] decided to power it using a single 18650 lithium ion cell, which gets topped up continuously thanks to a 1.5 W solar panel mounted on the roof of the mailbox. The other parts are housed in a 3D-printed enclosure that’s completely sealed to keep out moisture.
The enclosure had to be made from a material that does not degrade in direct sunlight, which is why [fhuable] decided to try ASA filament; this should be very resistant against UV rays, but proved tricky to process. It warped so much during cooling that the only way to get a solid piece out of the printer was to enclose the entire machine in a cardboard box to keep it warm inside.
The end result was worth it though: a neat little extension on the back of the mailbox that should keep sending photos of its insides for as long as the Sun keeps shining. The camera should also give a good indication as to the contents of the mailbox, allowing the user to ignore any junk mail; this is a useful improvement over previous IoT-enabled mailboxes that use proximity sensors, microswitches or optical sensors.
Continue reading “IoT-Enabled Mailbox Lets You Check Your Mail Without Leaving Your House”