Mindblowing Graphics From An ATtiny85

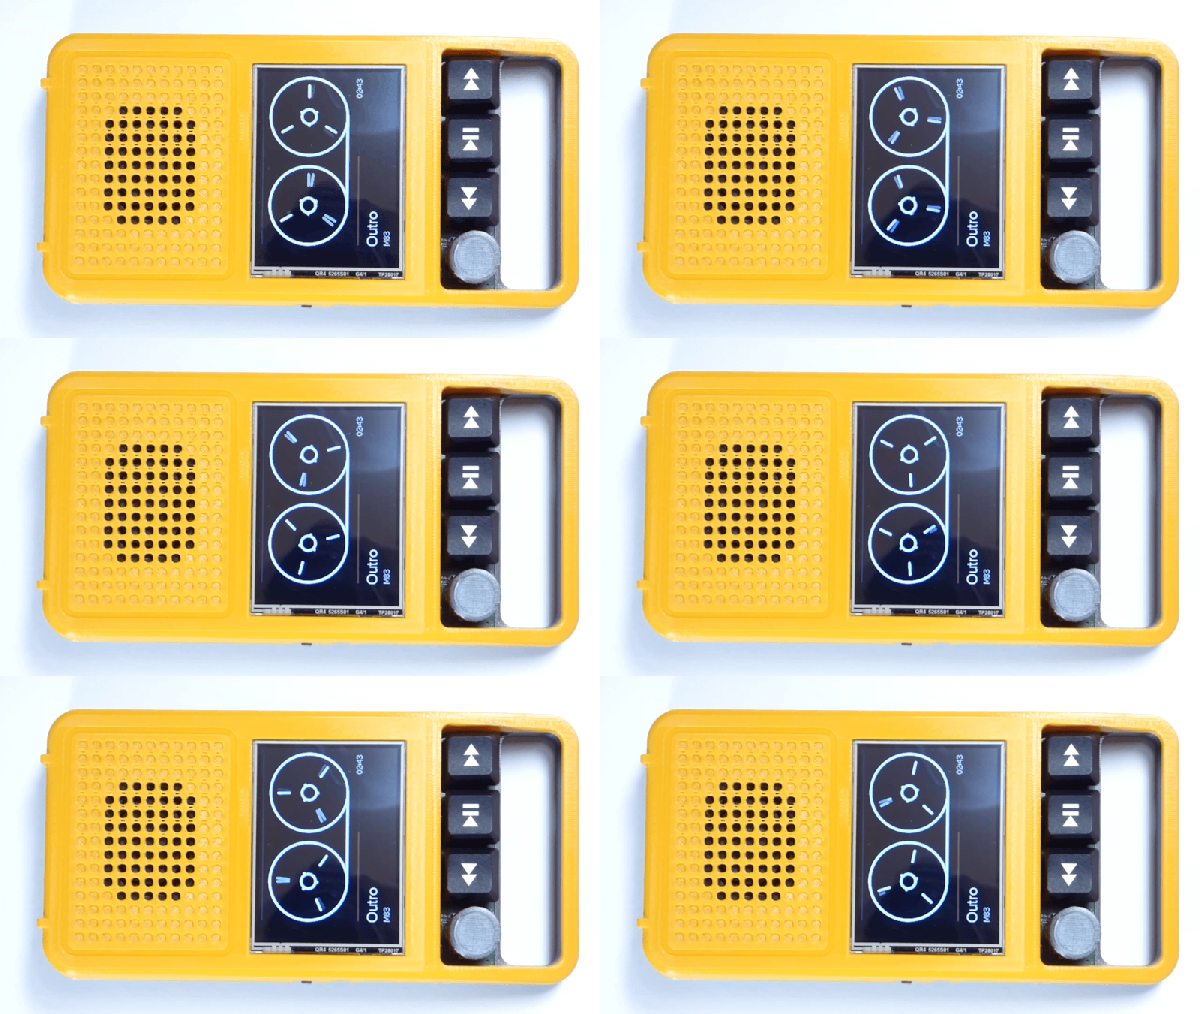
[Görg Pflug] wrote in with his really nice graphics library. It’s got multiple layers, two text consoles, greyscale, internal halftoning, and sprites. It can pull off a number of classic graphics tricks and demos. Oh yeah, and did we mention it runs on a freaking ATtiny85 and an I2C OLED screen?!

This is an amazing piece of work — if you’d asked us if this was possible, we would have probably said “no”. And now it’s yours to use in your own projects. The GitHub repo is full of demos showing off everything from switching between multiple layers, extremely rapid text scrolls, animations, boing balls, and even a Wolfenstein-style raycaster. On an ATtiny85.

There’s a demo video, embedded below, that shows it all off, but honestly you have to think about what’s going to to be suitably wowed. The first demo just seems to have a graphic wave over static text, for instance. No big deal? It’s blending the greyscale layers together and dithering them out to black and white for the OLED in real time! On an ATtiny85.

While the library is written in straight C++, there are even a couple examples of how you’d integrate this with Arduino’s Wire library if you so wished. We don’t know about you, but this makes us want to whip together an ATtiny85 and SSD1306 OLED demo board just to start playing around. This isn’t just an amazing hack, but it would also be a useful way to add graphics and a nice console to any project you’re working on.

Did we mention it’s all done on an ATtiny85?  Over I2C? Kudos!

Continue reading “Mindblowing Graphics From An ATtiny85”

ESP32: Is Two Better Than One?

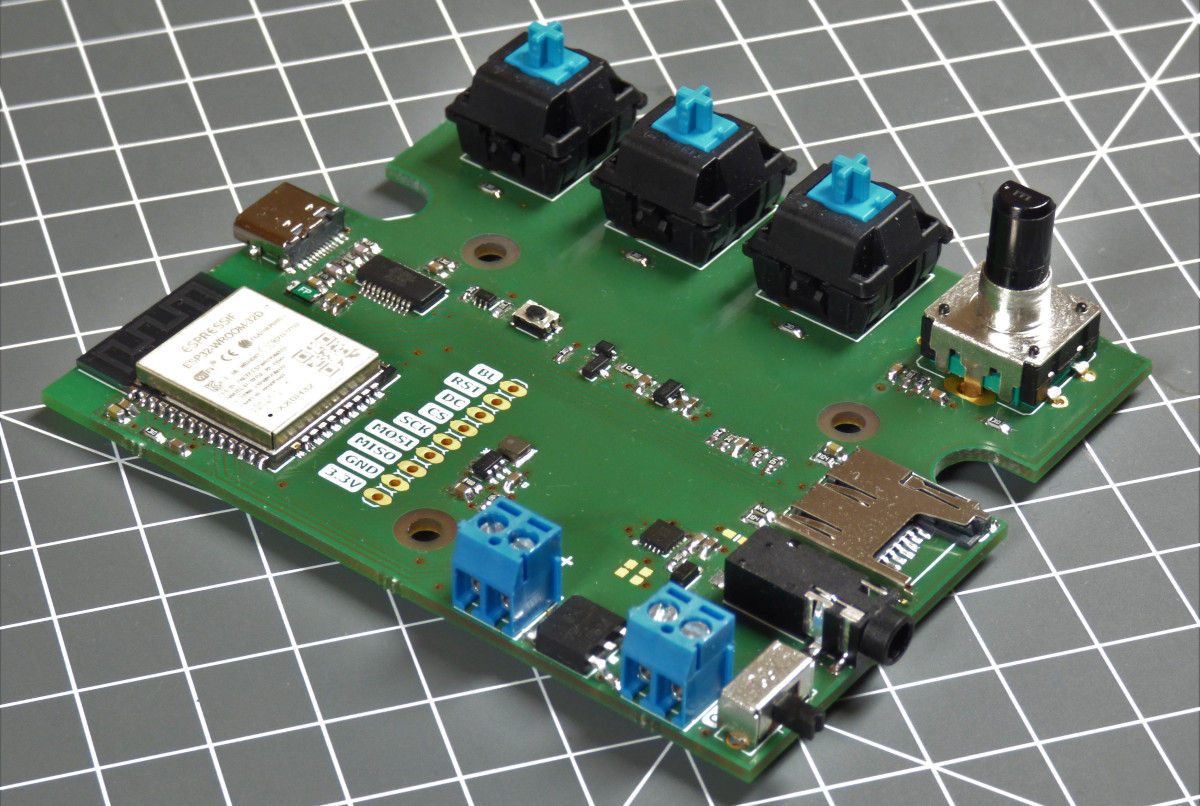
We’ve looked at the WROOM-DA module before. It’s an ESP32 with two antennas, and [Andreas Spiess] says it is the ugliest ESP32 he’s ever seen. But beauty is only skin deep, after all. Did [Andreas] find beauty in the twin antennas? Watch the video below and see for yourself.

According to the block diagram, the twin antennas are not used simultaneously but offer diversity one at a time. There is also 8GB 8 MB of flash, double the amount on traditional WROOM modules. Mounting the device was a bit difficult since most ESP32 carrier boards will block some portion of the antenna array.

Continue reading “ESP32: Is Two Better Than One?”

SAMD11 Provides Two Serial Ports For Price Of One

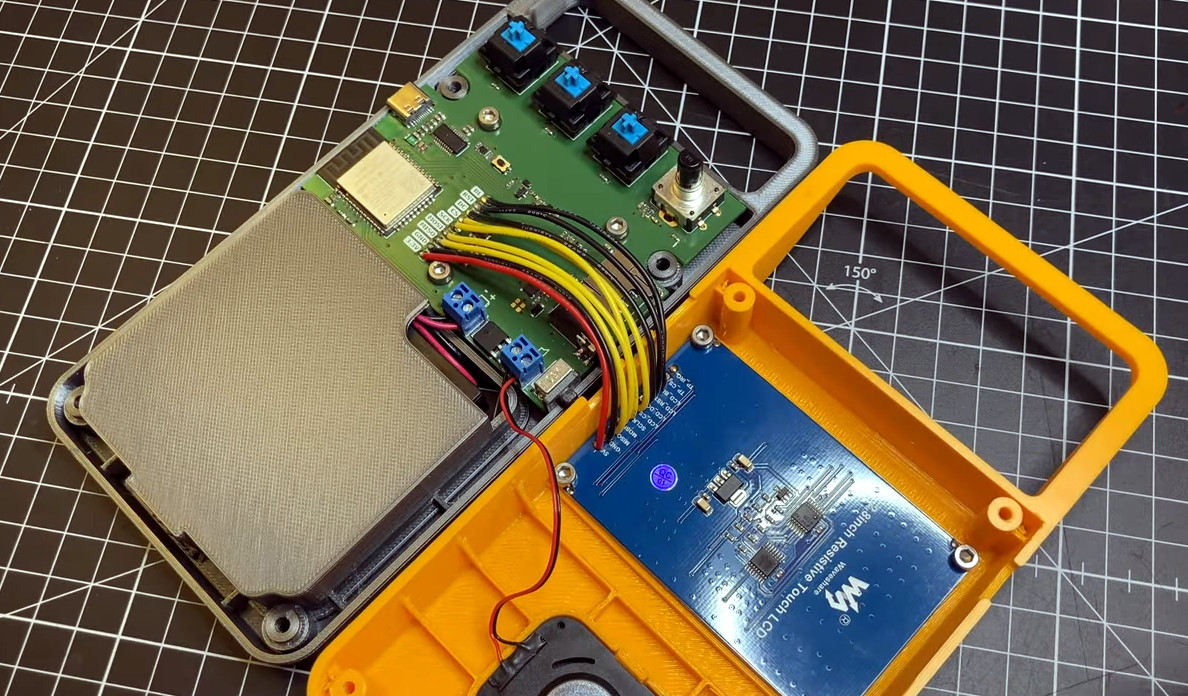
While the average computer user likely hasn’t given much thought to the lowly serial port in decades, the same can’t be said for the hardware hacker. Cheap serial-to-USB adapters are invaluable for snooping debug ports or programming chips, and if you ask us, you can never have too many laying around the bench. [Quentin Bolsée] loves them so much that he’s even figured out how to build a dual-port adapter with a SAMD11C14 microcontroller.

As [Quentin] explains in the write-up, this isn’t just some kind of Y-cable. When connected to the host computer, the adapter shows up as two distinct serial ports, each with independent settings for things like baud rate and parity. This handy little gadget will let you tap into the serial ports of two devices simultaneously if you’re looking to do some Hollywood-style hacking, but more practically, it allows you to establish a debug and programming interface to the same board using just one USB connection.

[Quentin] milled a custom PCB for his adapter, which we have to say looks phenomenal, but those with more limited equipment at home should be able to send the MIT licensed board files off for production. He’s also provided the source code for the SAMD11C14’s firmware, so you’ve got everything you need to spin up your own version of this neat tool.

Two ports not enough for your parallel hacking needs? Believe it or not, we’ve also seen a quad USB-to-serial adapter that you can put together, though it’s a considerably more complex circuit.

Turn Timing Diagrams Into ASCII Art, For Friendlier Pasting

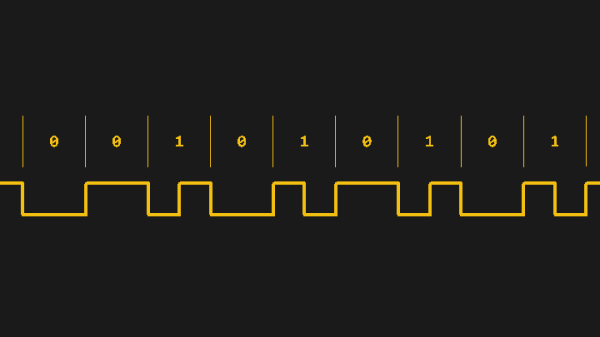
We all use text-based fields at one time or another, and being limited to ASCII only can end up being a limitation. That’s what led [Luke Wren] to create asciiwave, a fantastic tool that turns WaveDrom timing diagrams into ASCII art. Unlike images, ASCII timing diagrams are suitable for pasting into comment fields, change logs, or anywhere else that accepts text only. [Update: As the author kindly shared in the comments below, this tool’s original niche is pasting into HDL (e.g. Verilog) source code comments, where it has a special kind of usefulness.]

WaveDrom itself is a nifty JavaScript tool that we have covered before. It accepts timing diagrams expressed as JSON data, and renders nicely-readable digital timing diagrams as images directly inside one’s browser.

As cool and useful as that is, images can’t be pasted into text fields. That’s where asciiwave comes in. It reads the exact same format that WaveDrom uses, but generates an ASCII-art timing diagram instead. So if you’ve found WaveDrom useful, but wish you could generate ASCII versions, here’s your solution.

Flashing TI Chips With An ESP

Texas Instruments is best known to the general public for building obsolete calculators and selling them at extraordinary prices to students, but they also build some interesting (and reasonably-priced) microcontrollers as well. While not as ubiquitous as Atmel and the Arduino platform, they can still be found in plenty of consumer electronics and reprogrammed, and [Aaron] aka [atc1441] demonstrates how to modify them with an ESP32 as an intermediary.

Specifically, the TI chips in this build revolve around the 8051-core  microcontrollers, which [Aaron] has found in small e-paper price tags and other RF hardware. He’s using an ESP32 to reprogram the TI chips, and leveraging a web server on the ESP in order to be able to re-flash them over WiFi. Some of the e-paper displays have built-in header pins which makes connecting them to the ESP fairly easy, and once that’s out of the way [Aaron] also provides an entire software library for interacting with these microcontrollers through the browser interface.

Right now the project supports the CC2430, CC2510 and CC1110 variants, but [Aaron] plans to add support for more in the future. It’s a fairly comprehensive build, and much better than buying the proprietary TI programmer, so if you have some of these e-paper displays laying around the barrier to entry has been dramatically lowered. If you don’t have this specific type of display laying around, we’ve seen similar teardowns and repurposing of other e-paper devices in the past as well.

Continue reading “Flashing TI Chips With An ESP”

A metal spaceship throttle replica with a spherical knob

Razor Crest Control Lever For The Grogu In Your Life

If you’re looking to add a little more sci-fi authenticity to your gaming setup, you could do much worse than this functional control lever replica that [ZapWizard] has entered into the Hackaday.io Sci-Fi Contest.

Taking inspiration from Disney’s The Mandalorian, this functional prop is almost identical to the throttle seen on the bridge of the Razor Crest gunship, piloted by the television show’s eponymous bounty hunter. The electronic heart of this build is relatively straightforward – a Trinket M0 measures the resistance of an ultra-thin potentiometer, and masquerades as a typical one-axis USB throttle.

The mechanical components and aesthetically pleasing housing is where this project really shines. Helical 3D printed gears smooth out the movement of the solid aluminum throttle shaft, and a simple detent mechanism ‘catches’ the throttle at the middle point. The ballast and baseplate are cut from stainless steel, giving the throttle considerable heft, aiding in its stability on a tabletop (it’s also possible to secure it down using screws or powerful magnets). The throttle case is 3D printed and covered in aluminum foil tape, which is then chemically blackened and aged for that well-loved appearance.

Of course, the most iconic part of this build is the spherical knob, which screws onto the aluminum shaft for Grogu’s convenience. [ZapWizard] put in an order for one over at Custom 3D Stuff, and it absolutely ties the entire build together.

Interested in prop builds from the world of science-fiction, functional or otherwise? Then take a look through the entries in our Sci-Fi Contest. Or better yet, start building your own entry — there’s still about a month to go before the deadline.

Continue reading Razor Crest Control Lever For The Grogu In Your Life”

the RP2040 stamp

Putting The RP2040 On A Stamp

In the electronics world, a little one-inch square board with castellated edges allows a lot of circuitry to be easily added in a small surface area. You can grab a prepopulated module, throw it onto your PCB of choice, and save yourself a lot of time routing and soldering. This tiny Raspberry Pi 2040 module from [SolderParty] ticks all those boxes.

With all 30 GPIO broken out, 8MB of onboard flash, and a NeoPixel onboard, you have plenty to play with on top of the already impressive specs of the RPi2040. Gone are the days of in-circuit programmers, and it uses a UF2 bootloader to make it easy B to transfer new images over USB. Rust, MicroPython, Arduino, and the PicoSDK are all development options for code. All the KiCad files, BOM, schematics, and firmware are up on GitHub under a CERN license for your perusal pleasure. They’ve helpfully included footprints as well as a reference carrier board design.

It is a handy little project that might be good to keep in mind or just use as a reference design for your efforts. We have a good overview of the RPi2040 from an STM perspective. If you’re curious about what you could even use this little stamp for, why not driving an HDMI signal?