[CNLohr] is kinda famous round these parts; due to some very impressive and successful hacks. However, for his 20k subscriber video, he had a bit to say about failure.
Of course glass circuit boards are cool. Linux Minecraft things are also cool. Hacks on the ESP8266 that are impressive enough people thought they were an April Fool’s joke are, admittedly, very cool. (Though, we have to confess, posting on April 1 may have added to the confusion.) For a guy who puts out so many successes you’d think he’d talk about the next ones planned; hyping up his growing subscriber base in order to reel in those sweet sweet Internet dollars.
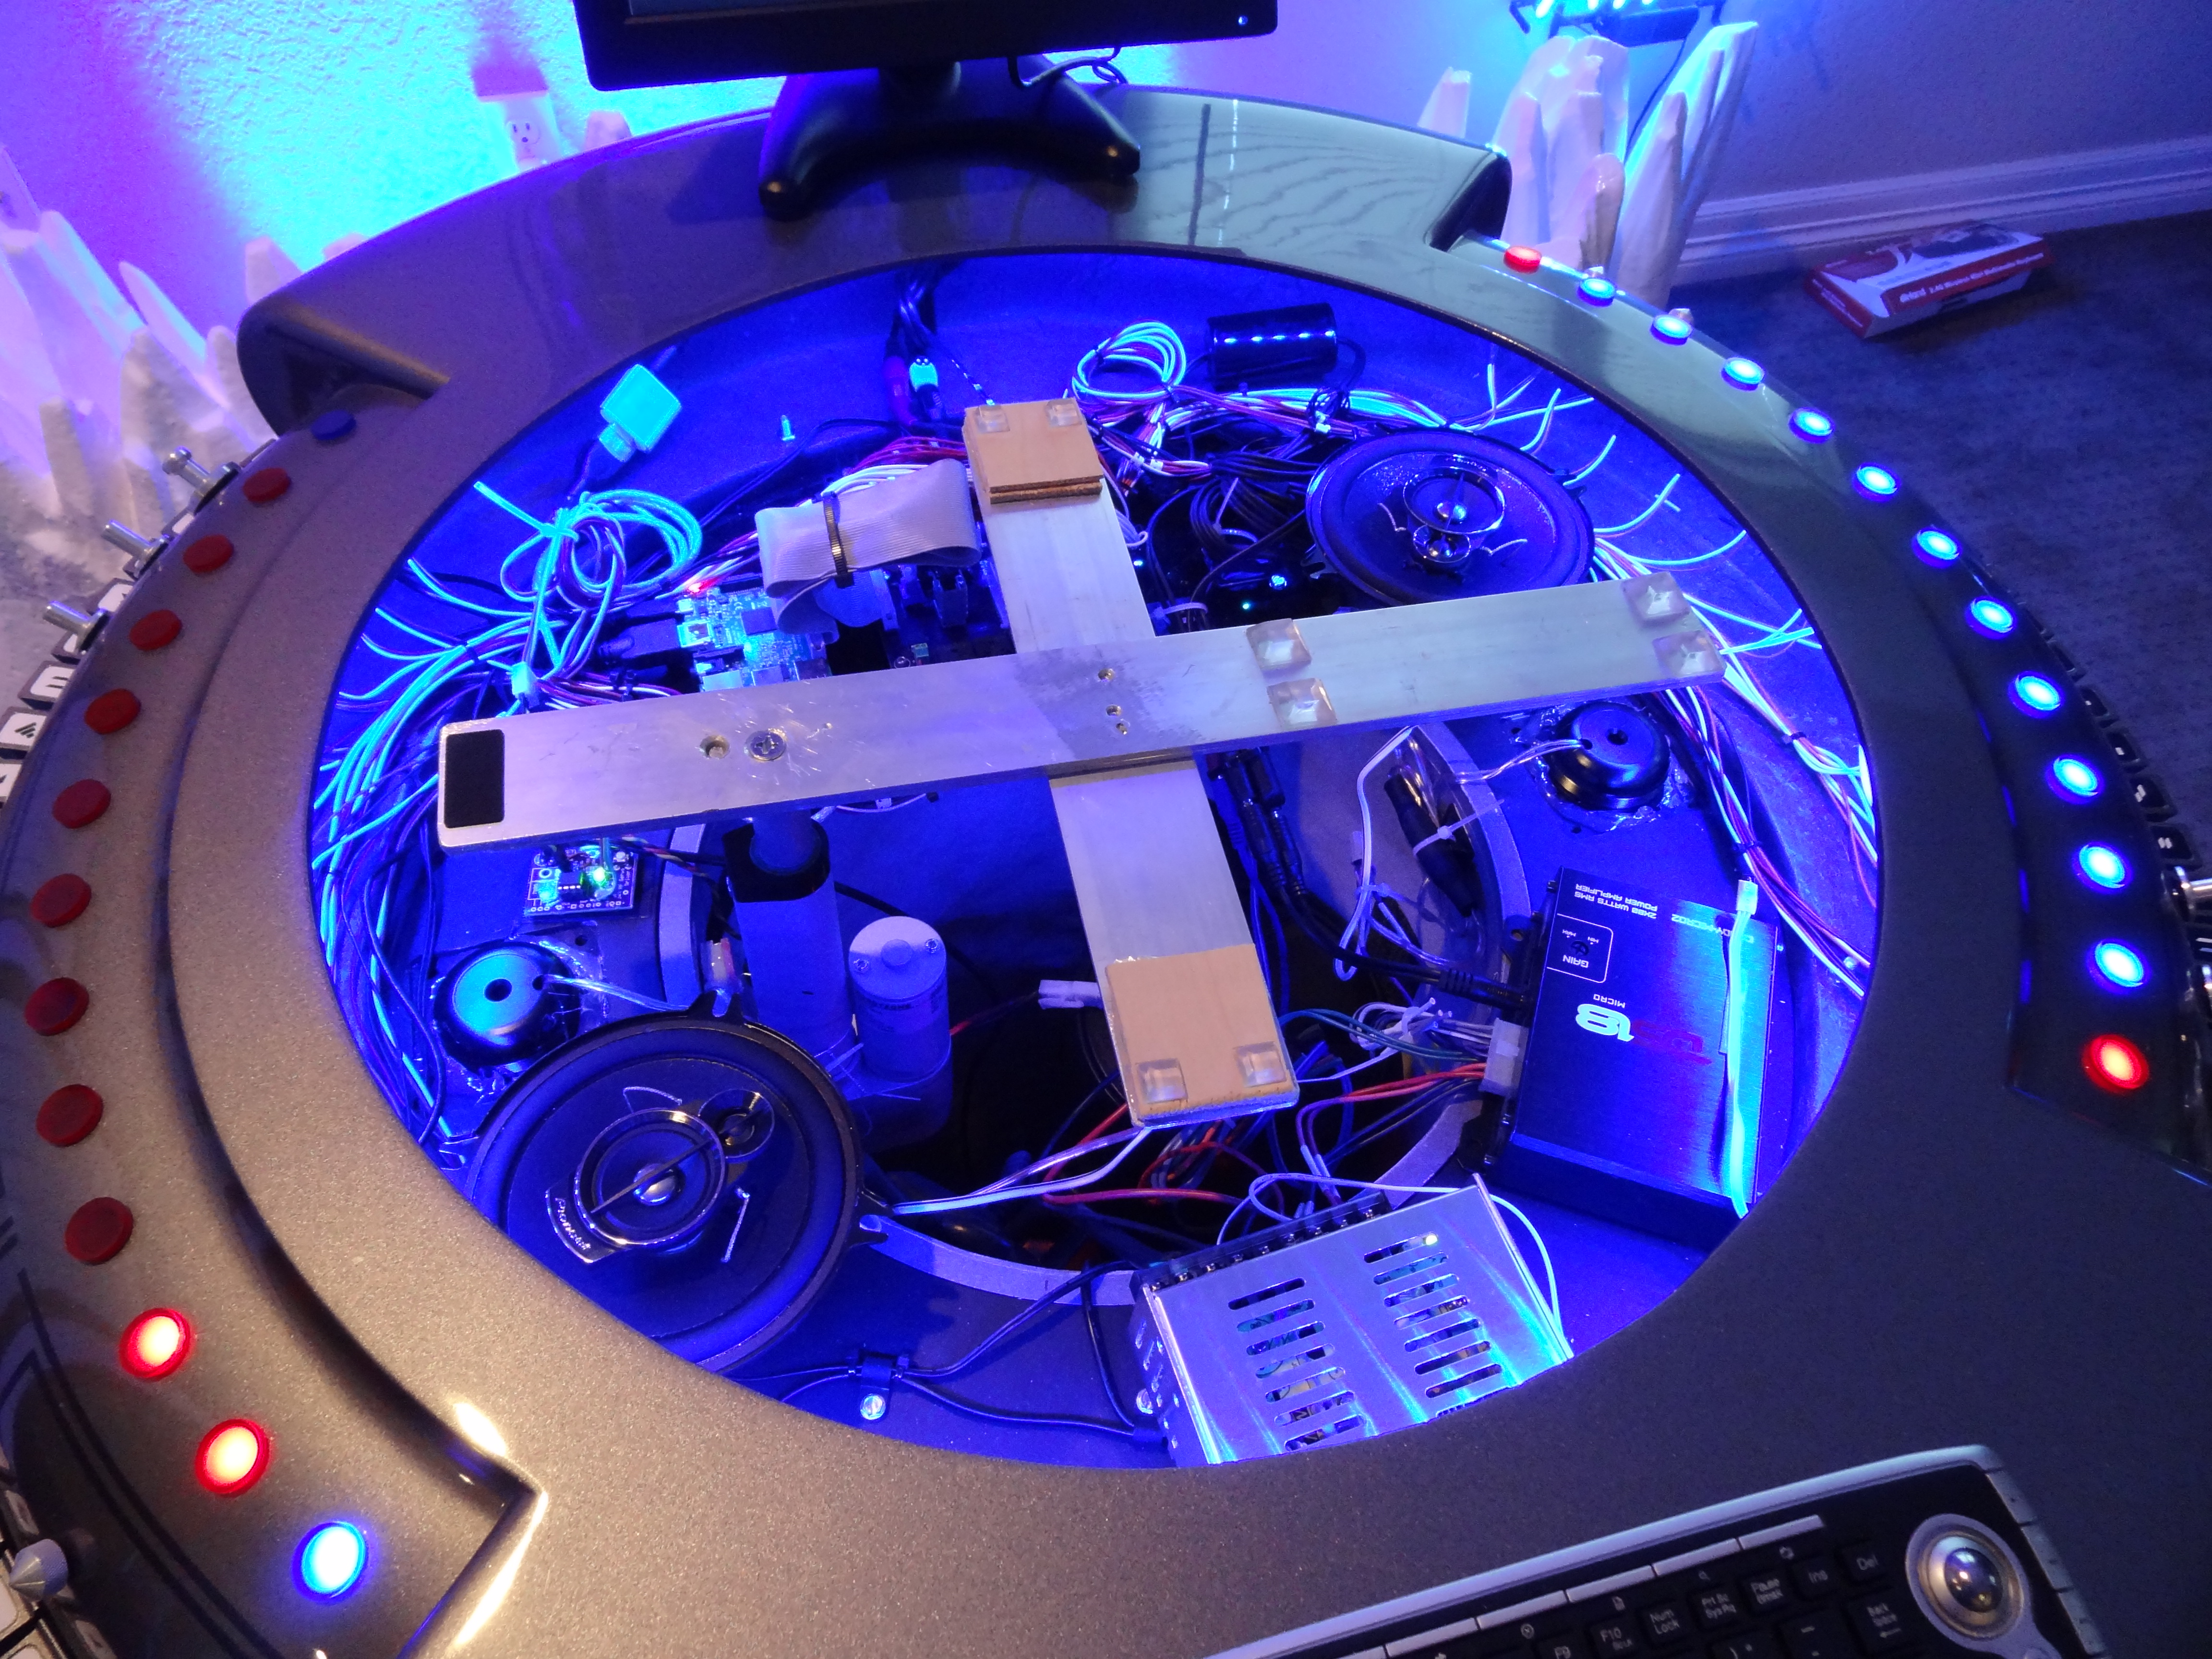
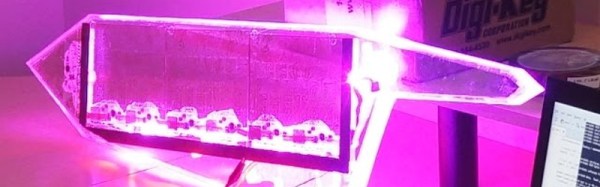
Instead he shows us a spectacular failure. We do mean spectacular. It’s got beautiful intricate copper on glass key pads. He came up with clever ways to do the lighting. The circuit is nicely soldered and the acrylic case looks like a glowing crystal. It just never went anywhere and never worked. He got lots of people involved and completely failed to deliver.
However, in the end it was the failure that taught him what he needed to know. He’s since perfected the techniques and skills he lacked when he started this project a time ago. We’ve all had experiences like this, and enjoyed hearing about his. What failure taught you the most?
Continue reading “Fail More: The Story Of [CNLohr]’s Clear Keytar”