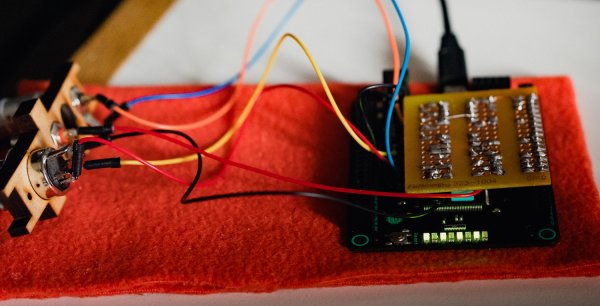
It’s possible to pick up a low-cost set of speakers for a few dollars, but by and large, you don’t get a lot of quality for your money. Expect a small pair of drivers, with tinny sound and ugly noises from the enclosure’s cheap materials. [JSK-koubou] has shown us, however, that these speakers can become so much more.
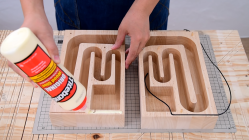
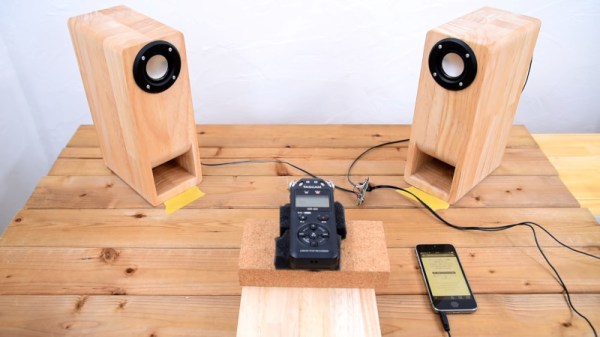
In this case at least, the basic speaker drivers and electronics inside were passable. Harvesting these, the builder then proceeds to create a stunning pair of tuned wooden enclosures for the speakers. This is achieved with a routing template, large blocks of wood and plenty of elbow grease.
The internal structure makes a huge difference to the bass response of the speakers, allowing them to far more faithfully recreate the music under test. Thanks to the artisan-level craftsmanship, the final product is stunning to look at, too. It’s impressive just how well a cheap pair of drivers can perform with a proper enclosure, and of course, there’s nothing to stop an even better set of drivers being installed, either.
When building your own speakers, your creativity is the limit. Video after the break.
Continue reading “Cheap Speakers Sound Great In A Proper Enclosure”