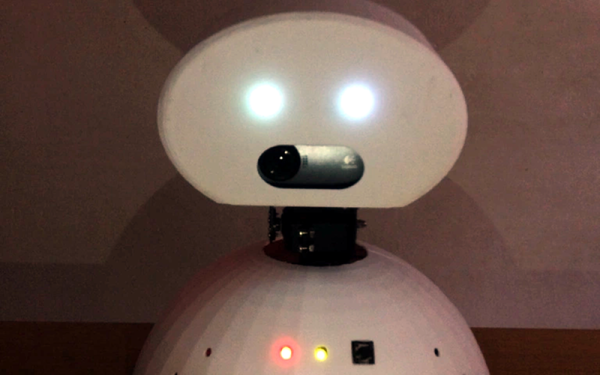
One of the great things about hacking together projects these days is how many powerful subsystems are readily available to reuse. [Sanjeet] took full advantage of a whole slate of reusable pieces when he built R3-14 — a personal assistant robot that you can see in action in the video below.
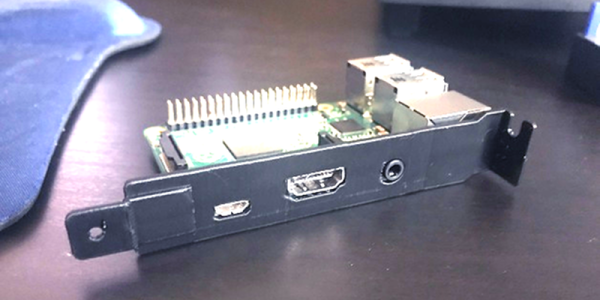
Many people started out in electronics building something simple like a crystal radio or an LED cube. But how far could you get if your projects had to begin at the most basic level, by drawing out copper wire, fabricating coils, capacitors, semiconductor devices, and batteries? Even if you know how to do all those things, it would take a lot of time, so there is no shame in using off-the-shelf components. By the same token, [Sanjeet] uses Google Assistant, 433 MHz RF transmitters, and a Raspberry Pi as components in this build. Along the way, he also contributed some reusable pieces himself, including an LED library for the PI and a library to allow Siri to control a Raspberry Pi.
Continue reading “R3-14, The Personal Assistant Two Years In The Making”