It seems like [Jason Bowling] never gets tired of finding new ways to combine the Raspberry Pi with his love of the cosmos. This time he’s come up with a very straightforward way of focusing his Celestron 127SLT with everyone’s favorite Linux SBC. He found the focus mechanism on the scope to be a bit fiddly, and operating it by hand was becoming a chore. With the Pi Zero and a stepper motor, he’s now able to focus the telescope with more accuracy and repeatability than clumsy human fingers will be able to replicate.
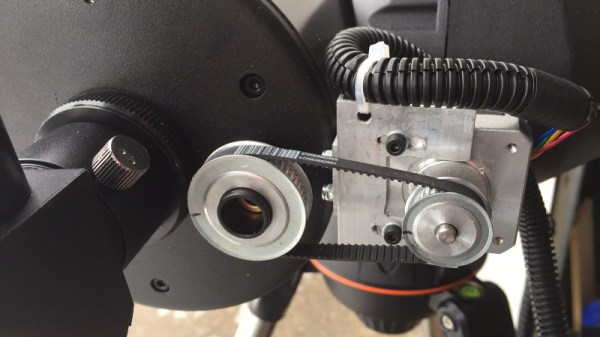
 On this particular type of telescope, the focus knob is a small knob on the back of the scope (rather than on the eyepiece), which just so happens to be the perfect size to slide a 15mm bore pulley over. With a pulley on the focus knob, he just needed to mount a stepper motor with matching toothed pulley next to it and find a small enough belt to link them together. Through the magic of Amazon and McMaster-Carr he was able to find all the parts without having to make anything himself, beyond the bent piece of aluminum he’s using as a stepper mount.
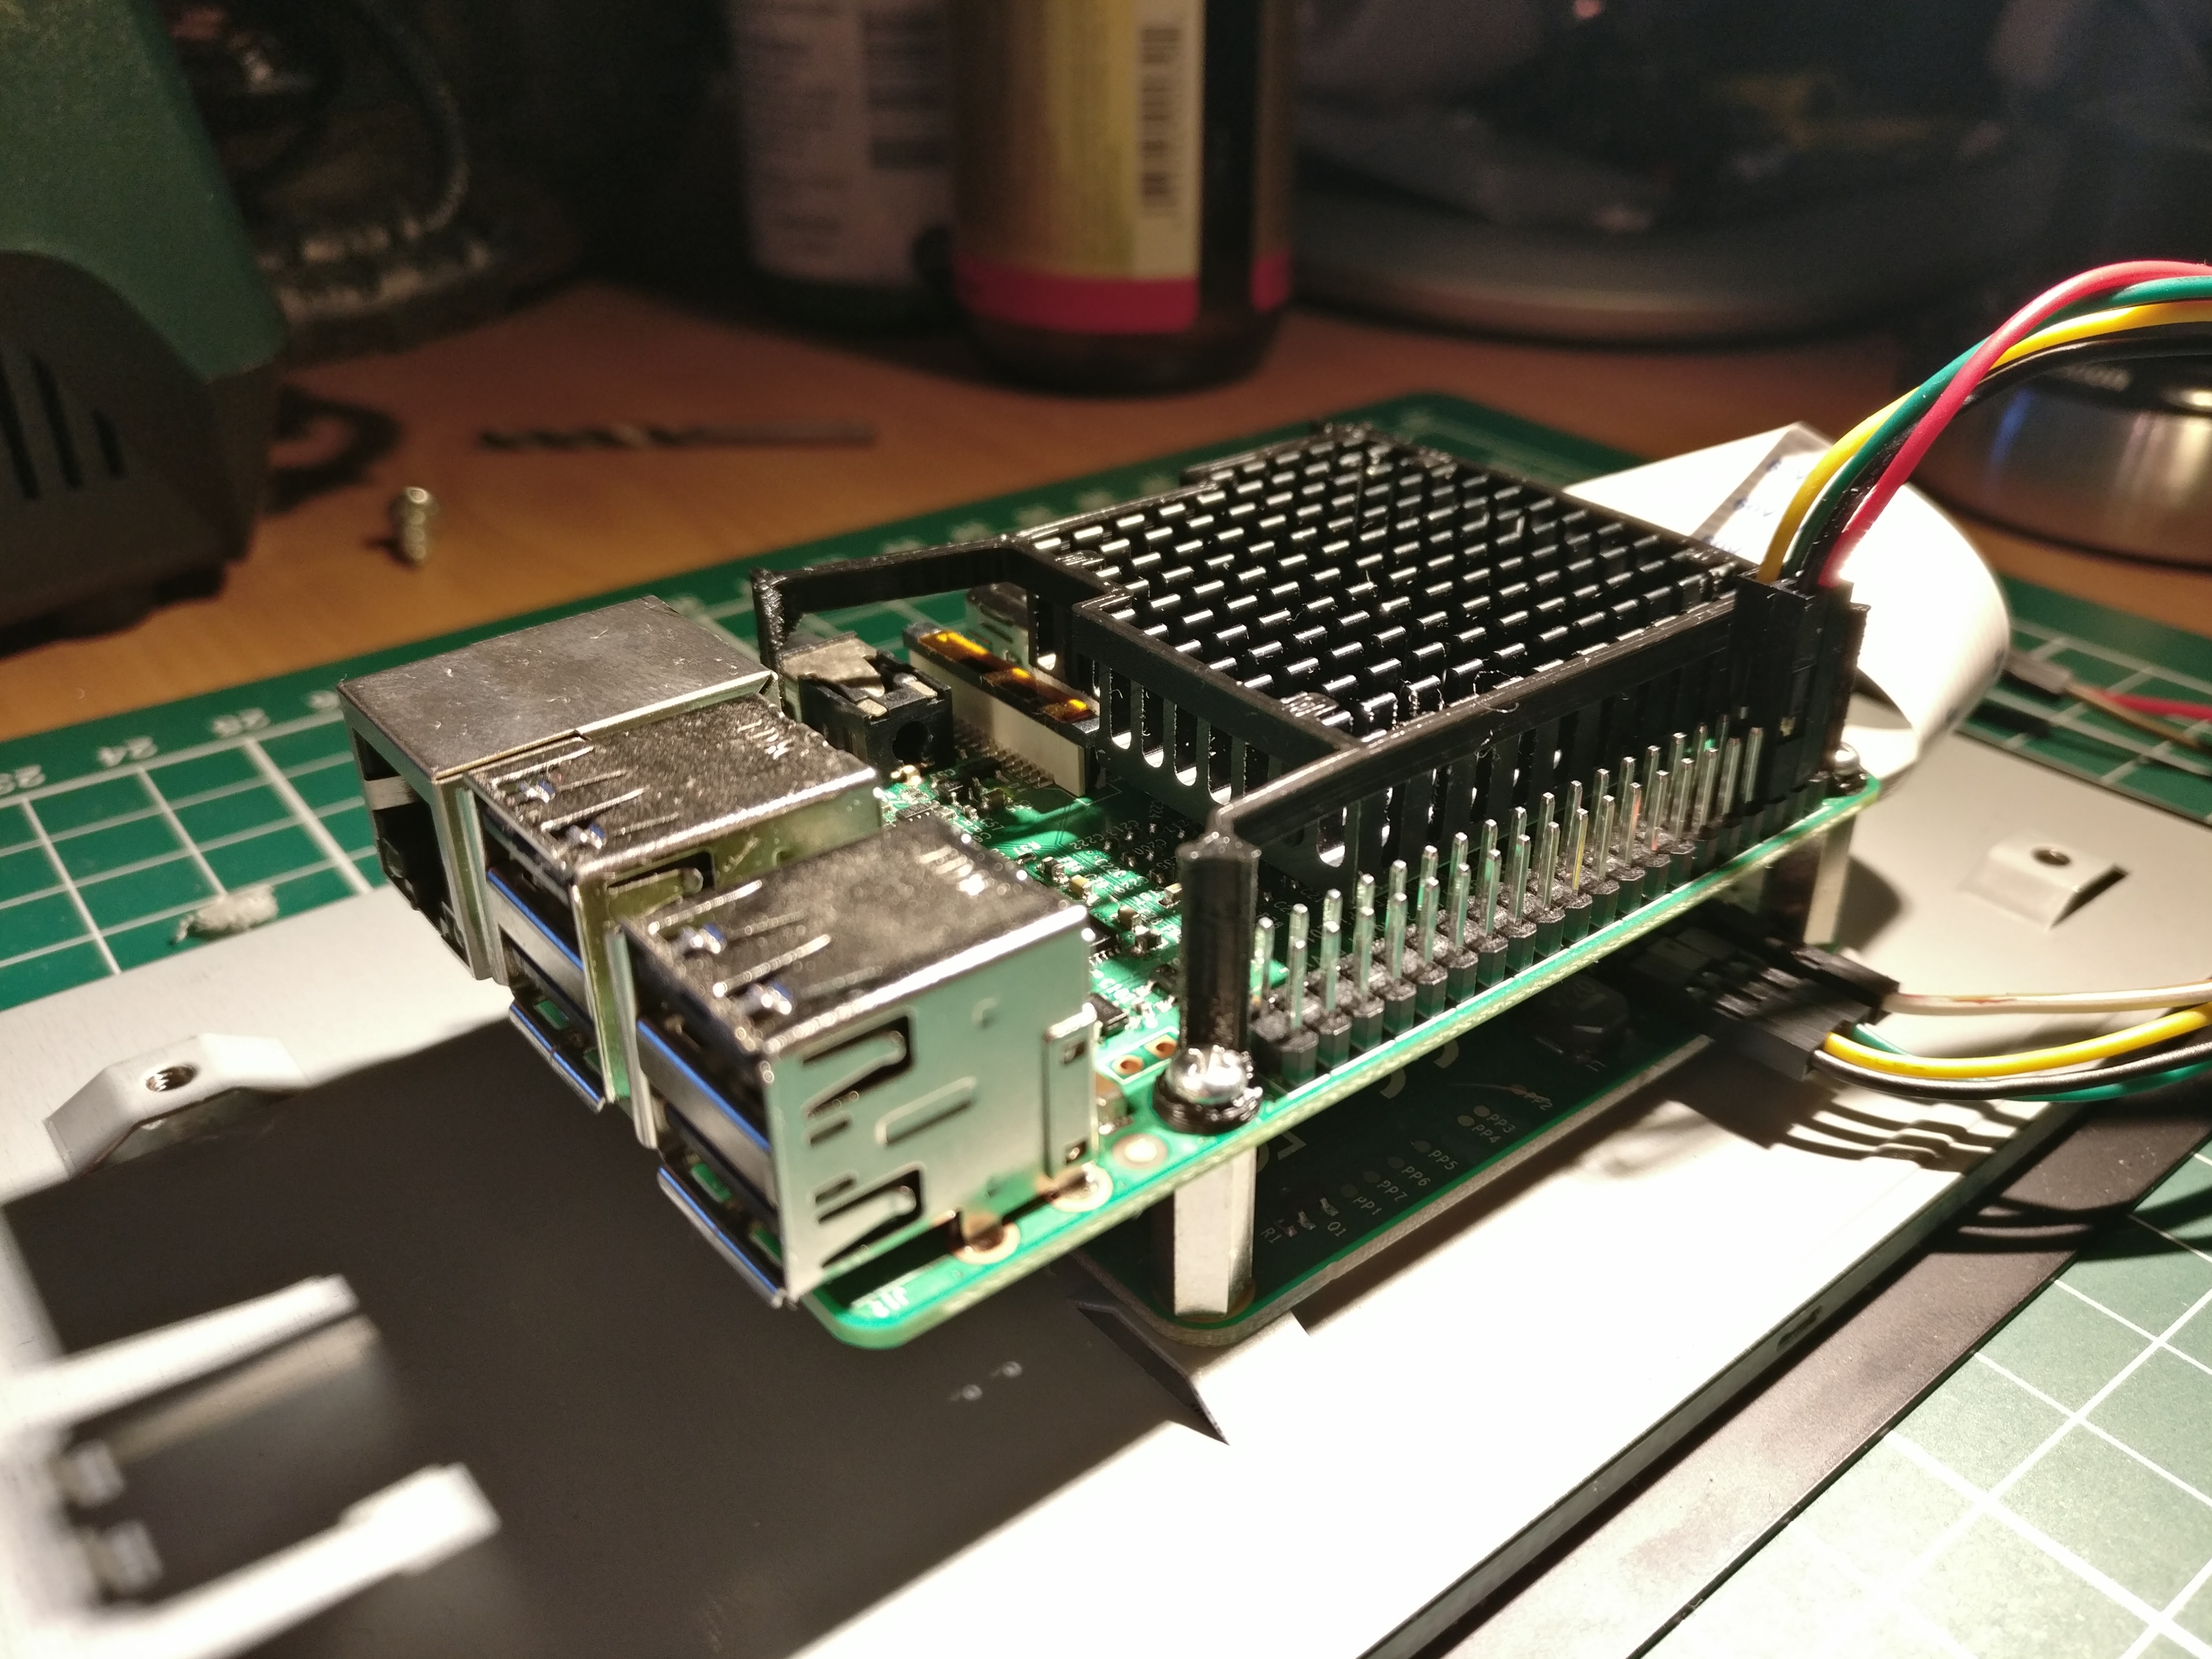
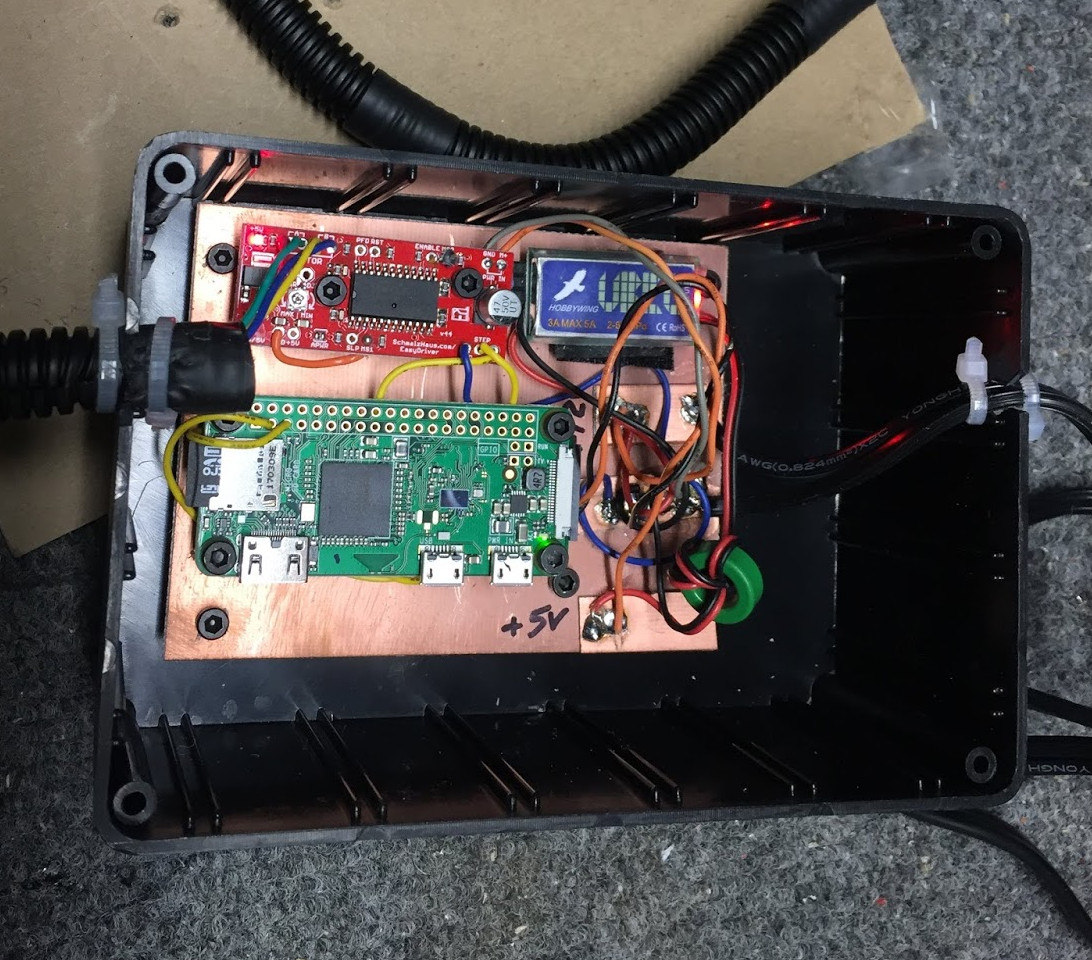
To control the stepper, [Jason] is using an EasyDriver connected up to the Pi’s GPIO, which along with a 5V regulator (which appears to be a UBEC from the RC world) is held in a tidy weather proof box mounted to the telescope’s tripod. The regulator is necessary because the whole setup is powered by a 12V portable “jump start” battery pack for portability. Handy when you’re stargazing in the middle of a field somewhere.
[Jason] promises a future blog post where he details how he used Flask to create a web-based control for the hardware, which we’ll be keeping an eye out for. In the meantime, he reports that his automated focus system is working perfectly and keeps the image stable in the eyepiece even while moving (something he was never able to do by hand).
Last year this same scope had a Raspberry Pi camera mounted to it to deliver some very impressive pictures without breaking the bank. We’re interested in seeing how [Jason] ties these systems together going forward.