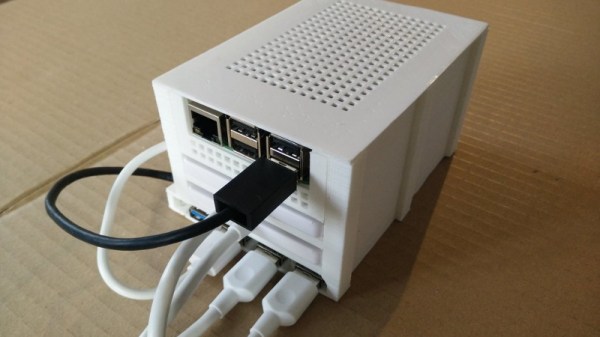
Back in 2018, [Paul-Louis Ageneau] created a 3D printed network-attached storage (NAS) enclosure for his Raspberry Pi. The design worked well, the Internet liked it when he posted the details on his blog, and all was right with the world. But of course, such glories are fleeting. Two years later that design needs updating, and thanks to the parametric nature of OpenSCAD, he’s been able to refresh his design for another tour of duty.
 In our book, this is as much a cautionary tale as it is a success story. On one hand, it’s a testament to the power of CAD and desktop 3D printing. That a design can be tweaked and reproduced down the line with only minimal hassle is great for folks like us. But it’s also a shame that he didn’t get more than two years before some of the parts he used in the original NAS became unobtainium.
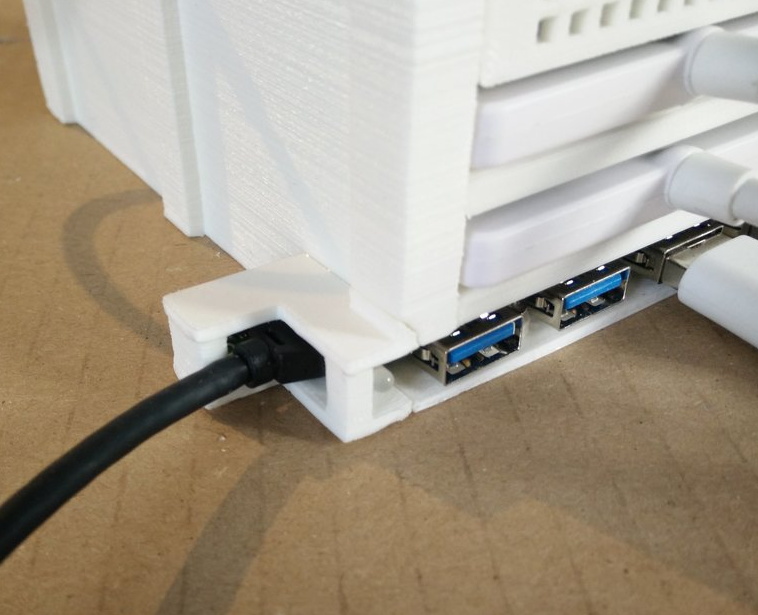
The main issue was that the integrated USB hub he used for the first version is no longer available, so the design had to be modified to accept a similar board. Unfortunately, the new hub is quite a bit wider than the old one. Resizing the entire case isn’t really an option since the Pi has to slide into it, so the hub now bumps out a bit on one side. He’s added a printable cover that cleans it up a bit, but the asymmetrical look might be a problem for some. While fiddling with the design, he also changed around the cooling setup so a larger fan could be mounted; now that the Raspberry Pi 4 is out, it can use all the cooling help it can get.
We covered the original version of the printed NAS back when it was first released, and it’s always good to see a creator coming back and keeping a project updated; even if it’s because hardware availability forced their hand.