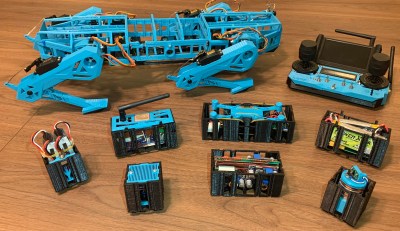
[Harry]’s newest robot, the MotherLoader V2, looks fantastic but was ultimately more of a learning experience and test bed for some experimental features. Luckily for us, [Harry] created a lengthy write-up detailing everything that he tried and revised.
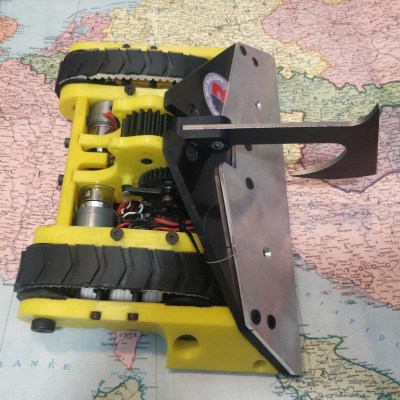 3D printing and aluminum both feature heavily in antweight robots, in part because when contestants are limited to 150 grams it’s safe to say that every bit counts. We recommend reading [Harry]’s entire article to get all the details, but here are some of the bigger takeaways.
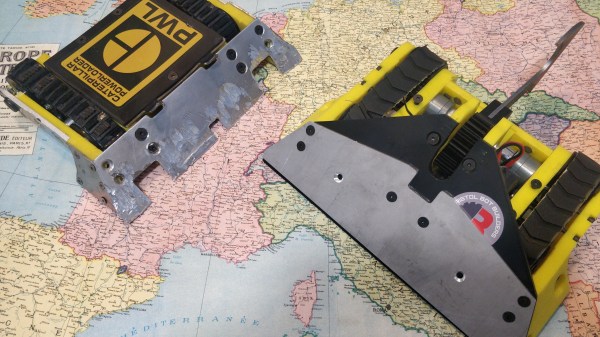
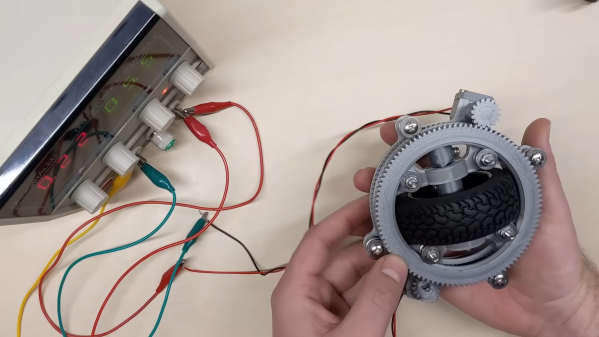
Treads provide a lot of contact surface, but there are a lot of ways they can go wrong. Pliability and grip have to be good matches for the robot’s design, otherwise the tread might bunch up or otherwise perform poorly when trying to maneuver. [Harry] had several dud efforts, but ended up with a great result by borrowing an idea from another competitor: composite tracks.
These have an inner track printed from flexible TPU filament, and an outer layer formed by casting silicone directly onto the 3D printed core. It’s a somewhat involved process, but the result is a durable and custom-fitted inner track on the inside, and a softer grip outside. Best of both worlds, and easily tailored to match requirements.
Speaking of TPU, [Harry] discovered that it can be worth printing structural parts with TPU. While ABS is usually the material of choice for durable components, printing solid parts in TPU has a lot to recommend it when it comes to 150 gram robots. Not only can TPU parts be stiff enough to hold up structurally, but they can really take a beating and happily spring back into shape afterwards.
We’ve seen [Harry]’s work before on antweight combat robots, and it’s always nice to peek behind the scenes and gaze into the details. Especially for processes like this, where failures are far more educational than successes.