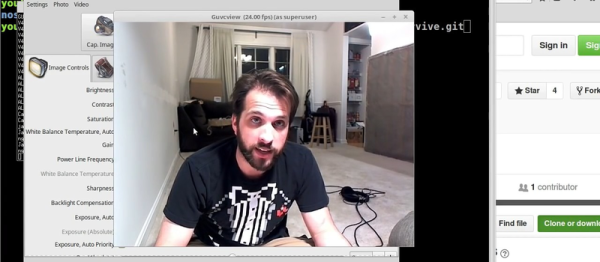
[CNLohr] needs no introduction around these parts. He’s pulled off a few really epic hacks. Recently, he’s set his sights on writing a simple, easy to extend library to work with the HTC Vive VR controller equipment, and in particular the Watchman controller.
There’s been a lot of previous work on the device, so [Charles] wasn’t starting from scratch, and he live-streamed his work, allowing others to play along. In the process, two engineers who actually worked on the hardware in question, [Alan Yates] and [Ben Jackson], stopped by and gave some oblique hints and “warmer-cooler” guidance. A much-condensed version is up on YouTube (and embedded below). In the links, you’ll find code and the live streams in their original glory, if you want to see what went down blow by blow. Code and more docs are in this Gist.
If you were a computer enthusiast in the late 1980s or early 1990s, the chances are that one of your objects of desire would have been a Commodore Amiga. These machines based on the 68000 line of processors and a series of specialized co-processors offered the best compromise between performance and affordability at the time, with multitasking, a GUI, and graphics capabilities that were streets ahead of their competition.
The Amiga story is littered with tales of what might have been, as dismal marketing and lacklustre product refreshes caused it to lurch from owner to owner and eventually fade away from the mainstream in the mid 1990s. But it’s been one of those products that never really died, as a band of enthusiasts have kept a small market for its software and hardware alive.
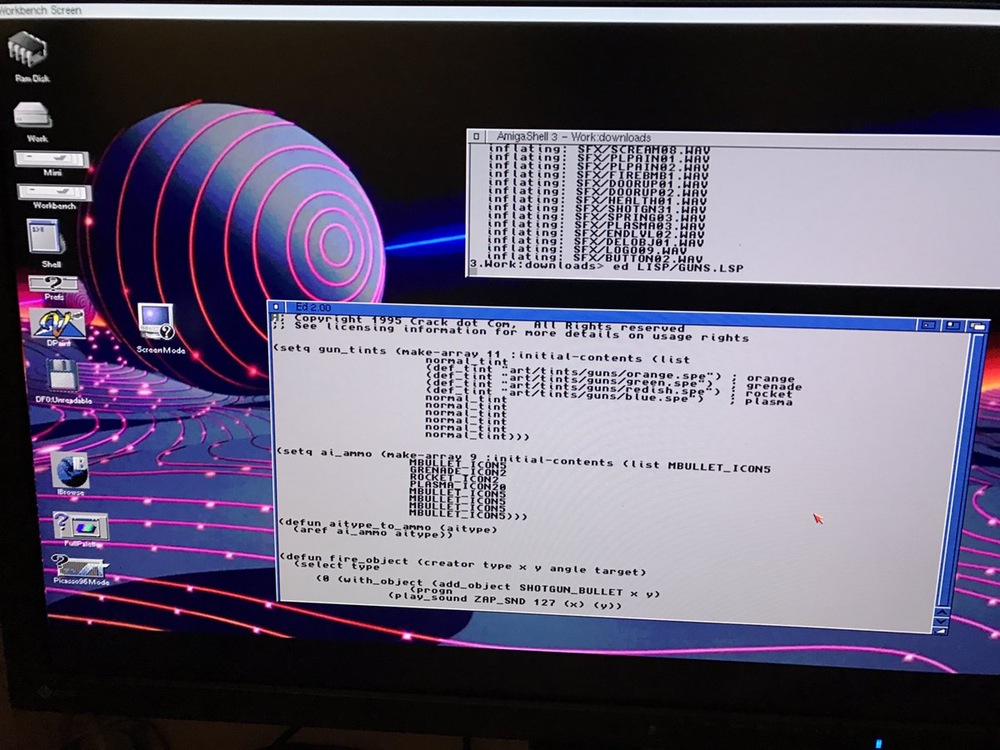
Workbench as you may not have seen it before.
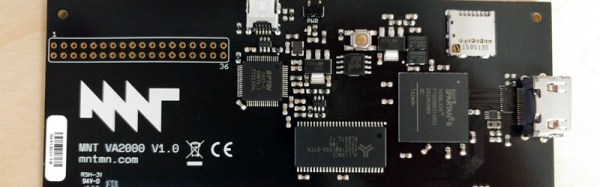
Earlier this year we showed you a prototype of an unusual graphics card, a modern GPU implemented on an FPGA board that brought up-to-date HDMI monitor support to the Zorro expansion slots found in the big-box Amigas. It’s thus very interesting today to find that the board made it to market, and that you can buy one for your Amiga if you have a spare 189 Euros (now sold out but taking pre-orders for another production run). Producing any niche electronic product is a significant challenge, so it is always positive to see one that makes it.
As well as HDMI output the board features a micro SD card slot that is mountable as an Amiga volume, and an expansion header that is toured as “Hacker friendly”. Best of all though, the whole board is open-source with all resources on a GitHub repository, so as well as reading our coverage of the prototype you can immerse yourself in its internals if that is your thing.
It’s always good to see a new piece of hardware for an old computer see the light of day, though it’s fair to say this development won’t revive the Amiga platform in the way that the Raspberry Pi has for RiscOS. Still, the mere fact of an open-source Zorro FPGA implementation being released should mean that other cards become possible, so we await developments with interest.
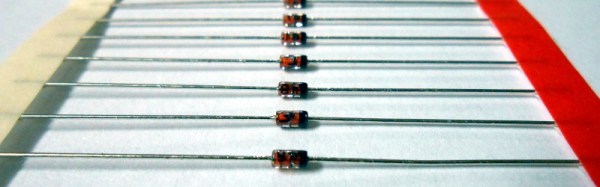
Vishay’s take on the 1N4148 data sheet (PDF), describing it as a switching diode.
When looking across the discrete components in your electronic armory, it is easy to overlook the humble diode. After all, one can be forgiven for the conclusion that the everyday version of this component doesn’t do much. They have none of the special skills you’d find in tunnel, Gunn, varicap, Zener, and avalanche diodes, or even LEDs, instead they are simply a one-way valve for electrical current. Connect them one way round and current flows, the other and it doesn’t. They rectify AC to DC, power supplies are full of them. Perhaps you’ve also used them to generate a stable voltage drop because they have a pretty constant voltage across them when current is flowing, but that’s it. Diodes: the shortest Hackaday article ever.
Not so fast with dismissing the diode though. There is another trick they have hiding up their sleeves, they can also act as a switch. It shouldn’t come as too much of a shock, after all a quick look at many datasheets for general purpose diodes should reveal their description as switching diodes.
So how does a diode switch work? The key lies in that one-way valve we mentioned earlier. When the diode is forward biased and conducting electricity it will pass through any variations in the voltage being put into them, but when it is reverse biased and not conducting any electricity it will not. Thus a signal can be switched on by passing it through a diode in forward bias, and then turned off by putting the diode into reverse bias.
A week or two ago we featured a research paper from NASA scientists that reported a tiny but measurable thrust from an electromagnetic drive mounted on a torsion balance in a vacuum chamber. This was interesting news because electromagnetic drives do not eject mass in the way that a traditional rocket engine does, so any thrust they may produce would violate Newton’s Third Law. Either the Laws Of Physics are not as inviolate as we have been led to believe, or some other factor has evaded the attempts of the team to exclude or explain everything that might otherwise produce a force.
As you might imagine, opinion has entrenched itself on both sides of this issue. Those who believe that EM drives have allowed us to stumble upon some hitherto undiscovered branch of physics seized upon the fact that the NASA paper was peer-reviewed to support their case, while those who believe the mechanism through which the force is generated will eventually be explained by conventional means stuck to their guns. The rest of us who sit on the fence await further developments from either side with interest.
Over at Phys.org they have an interview from the University of Connecticut with [Brice Cassenti], a propulsion expert, which brings his specialist knowledge to the issue. He believes that eventually the results will be explained by conventional means, but explains why the paper made it through peer review and addresses some of the speculation about the device being tested in space. If you are firmly in one of the opposing camps the interview may not persuade you to change your mind, but it nevertheless makes for an interesting read.
We are all used to Fused Deposition Modeling, or FDM, 3D printers. A nozzle squirts molten material under the control of a computer to make 3D objects. And even if they’re usually rather expensive we’re used to seeing printers that use Stereolithography (SLA), in which a light-catalysed liquid monomer is exposed layer-by layer to allow a 3D object to be drawn out. The real objects of desire though are unlikely to grace the average hackspace. Selective Laser Sintering 3D printers use a laser on a bed of powder to solidify a 3D object layer by layer.
The laser creating a ring.
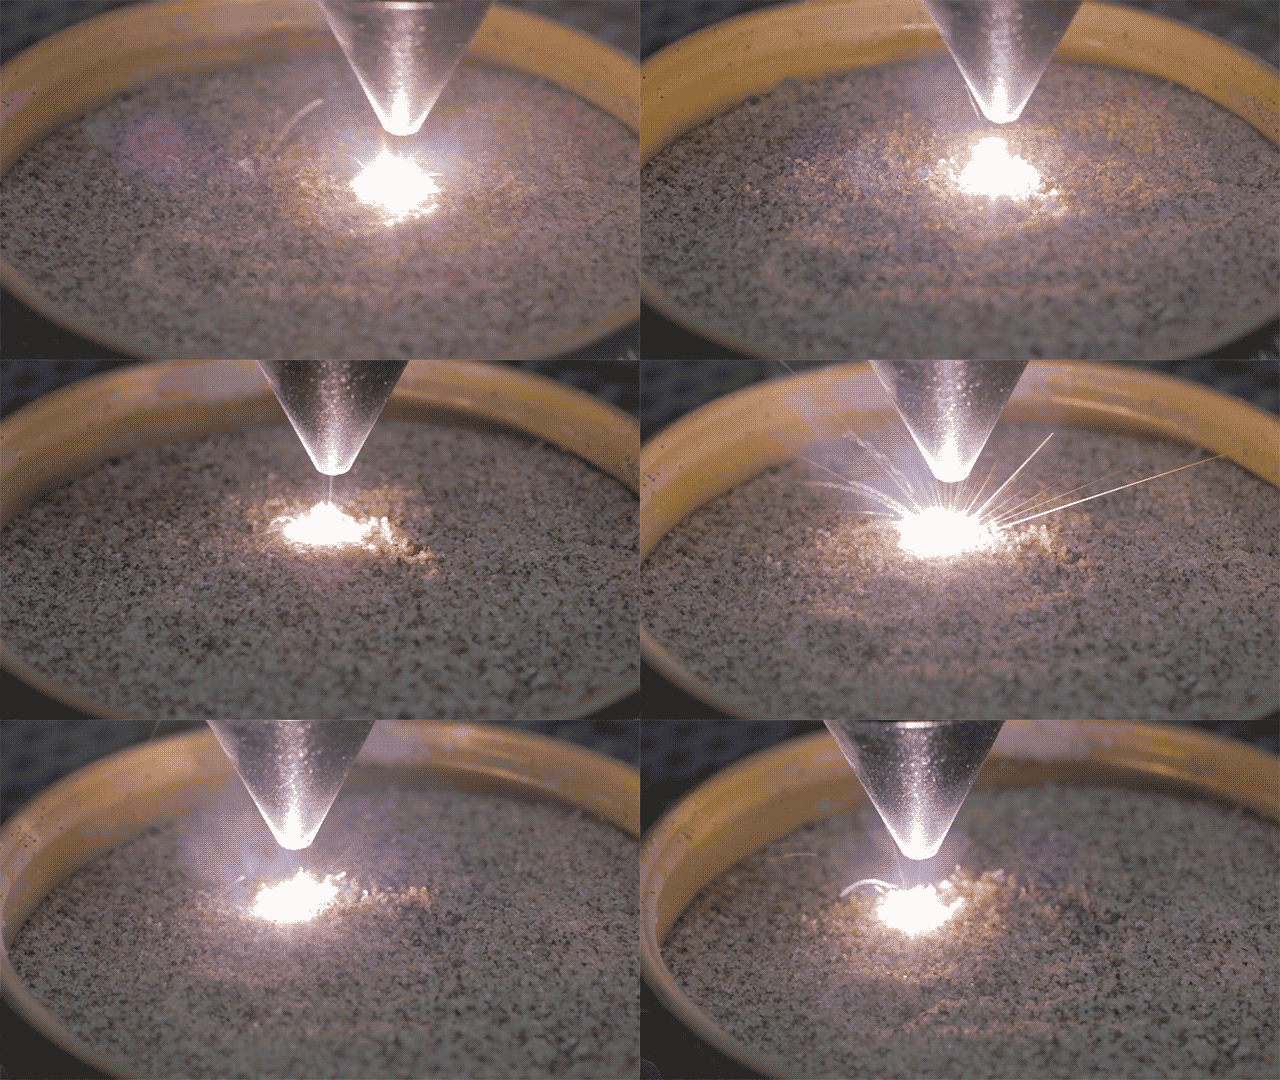
While an SLS printer may be a little beyond most budgets, it turns out that it’s not impossible to experiment with the technology. [William Osman] has an 80 W laser cutter, and he’s been experimenting with it sintering beach sand to create 2D objects. His write-up gives a basic introduction to glassmaking and shows the difference between using sand alone, and using sodium carbonate to reduce the melting point. He produces a few brittle barely sintered tests without it, then an array of shapes including a Flying Spaghetti Monster with it.
The results are more decorative than useful at the moment, however it is entirely possible that the technique could be refined. After all, this is beach sand rather than a carefully selected material, and it is quite possible that a finer and more uniform sand could give better results. He says that he’ll be investigating its use for 3D work in the future.
We’ve put his video of the whole process below the break, complete with worrying faults in home-made laser wiring. It’s worth a watch.
The first computer I personally owned had 256 bytes of memory. Bytes. The processor in my mouse and keyboard both have more memory than that. Lots more. Granted, 256 bytes was a bit extreme, but even the embedded systems I was building as part of my job back then generally had a small fraction of the 64K bytes of memory they could address.
Some people are probably glad they don’t have to worry about things like that anymore. Me, I kind of miss it. It was often like a puzzle trying to squeeze ten more bytes out of an EPROM to get a bug fix or a new feature put in. I though with the 1K challenge underway, I might share some of the tricks we used in those days to work around the small memory problems.
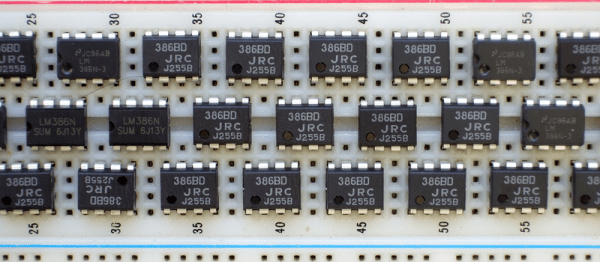
Everyone has a chip-of-shame: it’s the part that you know is suboptimal but you keep using it anyway because it just works well enough. Maybe it’s not what you would put into a design that you’re building more than a couple of, but for a quick and dirty lashup, it’s just the ticket. For Hackaday’s [Adam Fabio], that chip is the TIP120 transistor. Truth be told, we have more than one chip of shame, but for audio amplification purposes, it’s the LM386.
The LM386 is an old design, and requires a few supporting passive components to get its best performance, but it’s fundamentally solid. It’s not noise-free and doesn’t run on 3.3 V, but if you can fit a 9 V battery into your project and you need to push a moderate amount of sound out of a speaker, we’ll show you how to get the job done with an LM386.