Our favourite cyborg [Zack Freedman] has been stumbling over a common problem many of us will be all too familiar with — that of tool storage and the optimal retrieval thereof. His solution is the Gridfinity: A modular workshop organisation system.
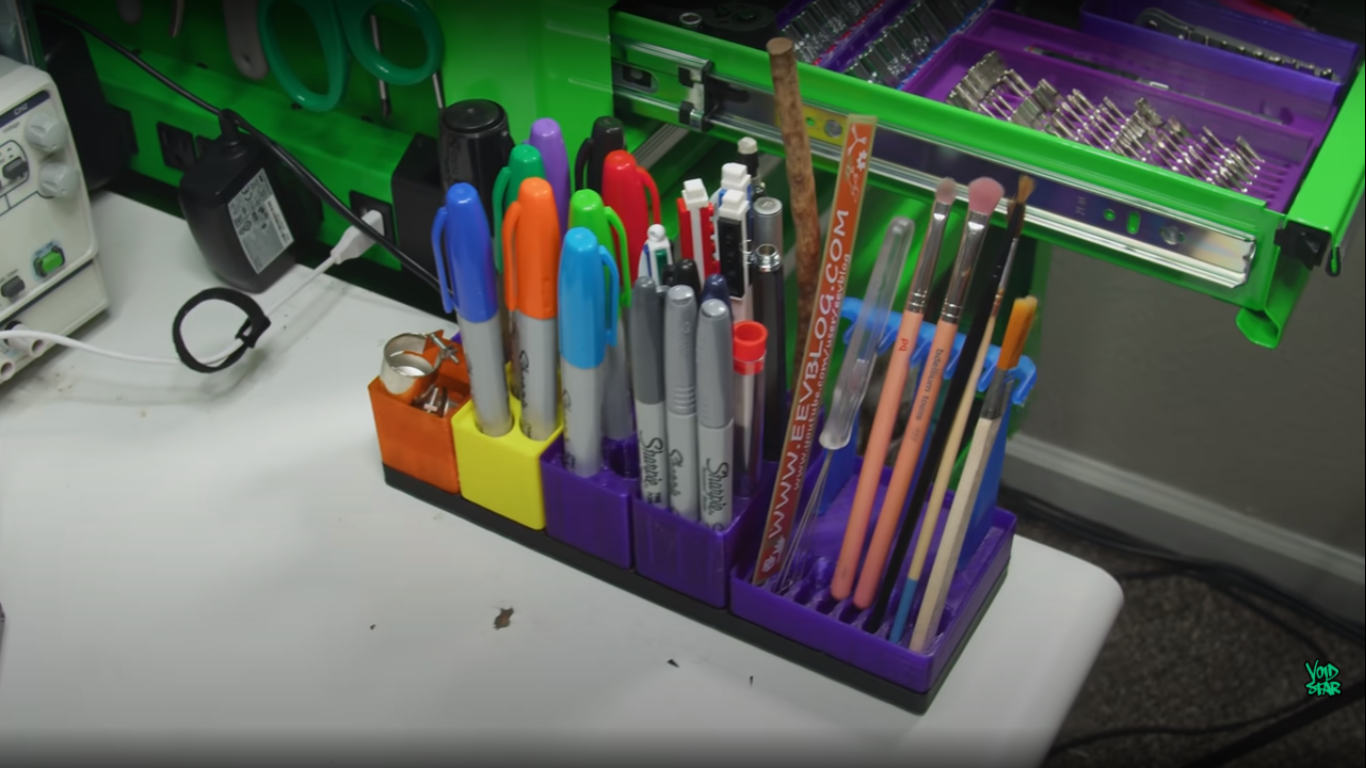
In [Zack]’s words, the perfect workshop has tools and materials arranged in the following way: (a) every item has a dedicated home within reach of where you’ll use it. (b) items are exposed and in position for instant grabification. (c) the storage system shields you from accidents like spills and injuries. (d) it is effortless to setup and easy to put back and rearrange. An instant-access storage solution such as the Gridfinity is designed not to help you store more stuff, but finish more projects. The idea is very simple — display your stuff so that you can quickly find what you need and get back to the project as quickly as possible. We think these aims are pretty spot on!
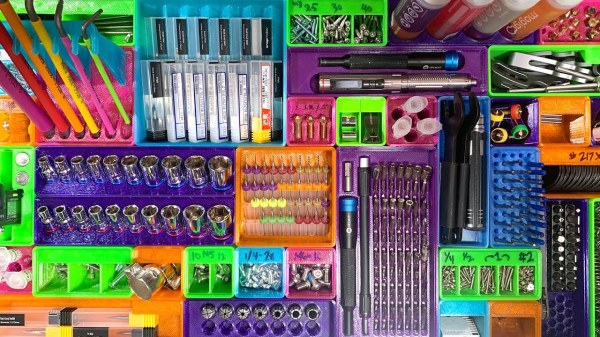
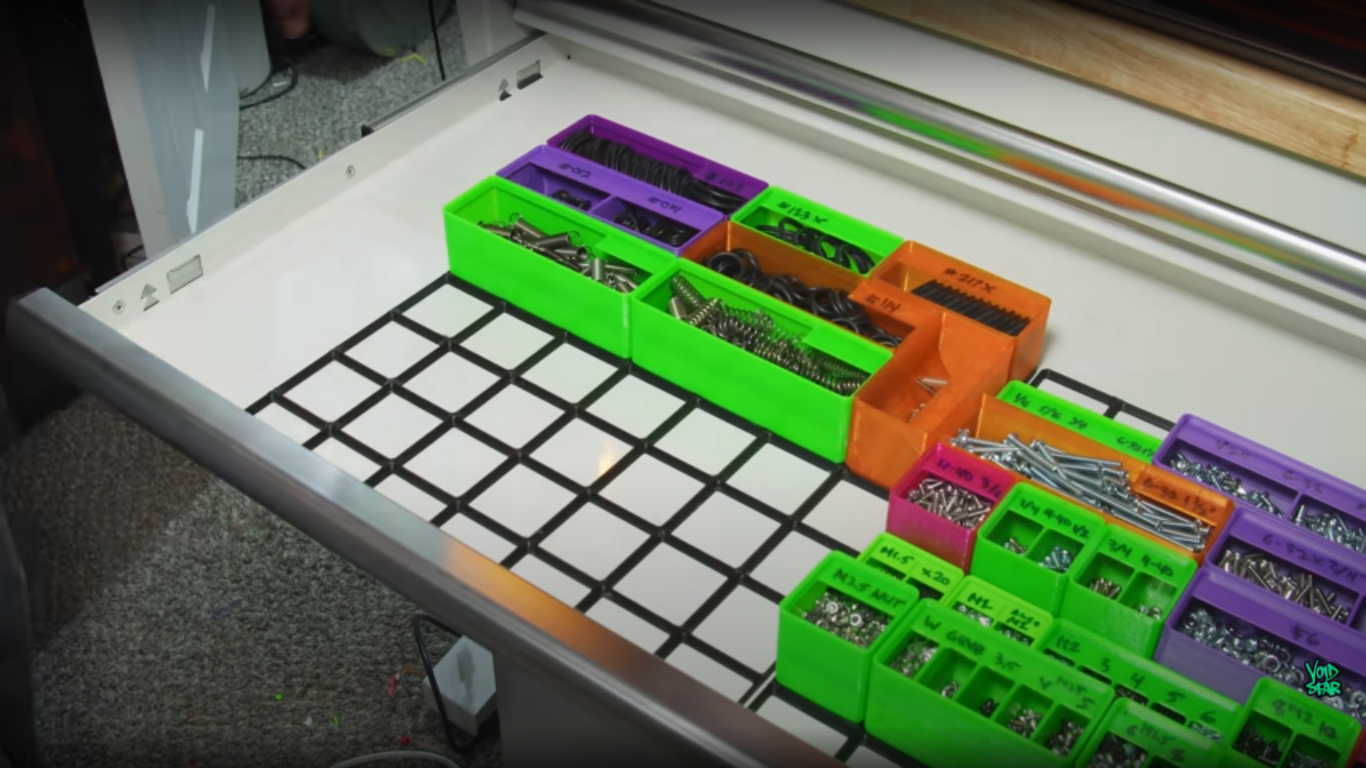
From an implementation perspective, the system consists of a 3D printed base plate with a grid structure. It is angled internally so storage bins drop in, but are not easy to knock out. Storage units drop into the grid in various sizes and orientations, such that everything is contained within the grid’s outer boundary, so the whole assembly will fit inside a drawer with ease. Small part storage bins have a curved inner surface enabling one to easily scoop out a part when required. A partial lid on the top allows them to be stacked vertically if required.
Whilst the system is work in progress, there are still about a hundred different storage units, for anything from 3D printer nozzles to racks for tweezers. Implemented as parameterised models in Fusion360, it is easy to tweak existing models for your stuff, or create totally new ones, from the supplied templates.
No discussion of tool organisation would be complete without first considering the king of tool organisation [Adam Savage], the principle of first order retrieval is a strong one. For a more in-your-face solution, you could go down the pegboard-on-wheels route, or perhaps if you’re less mobile and in a tight squeeze, then get comfortable with the French cleat and build something full custom right into the walls. Whatever solution you come up with, do share it with us!
Continue reading “Gridfinity: 3D Printed Super Quick Tool Storage And Retrieval”